
DMU Vijay Patel building
Photography at the De Montfort University Vijay Patel building
Lens choices for photographing the VJP building
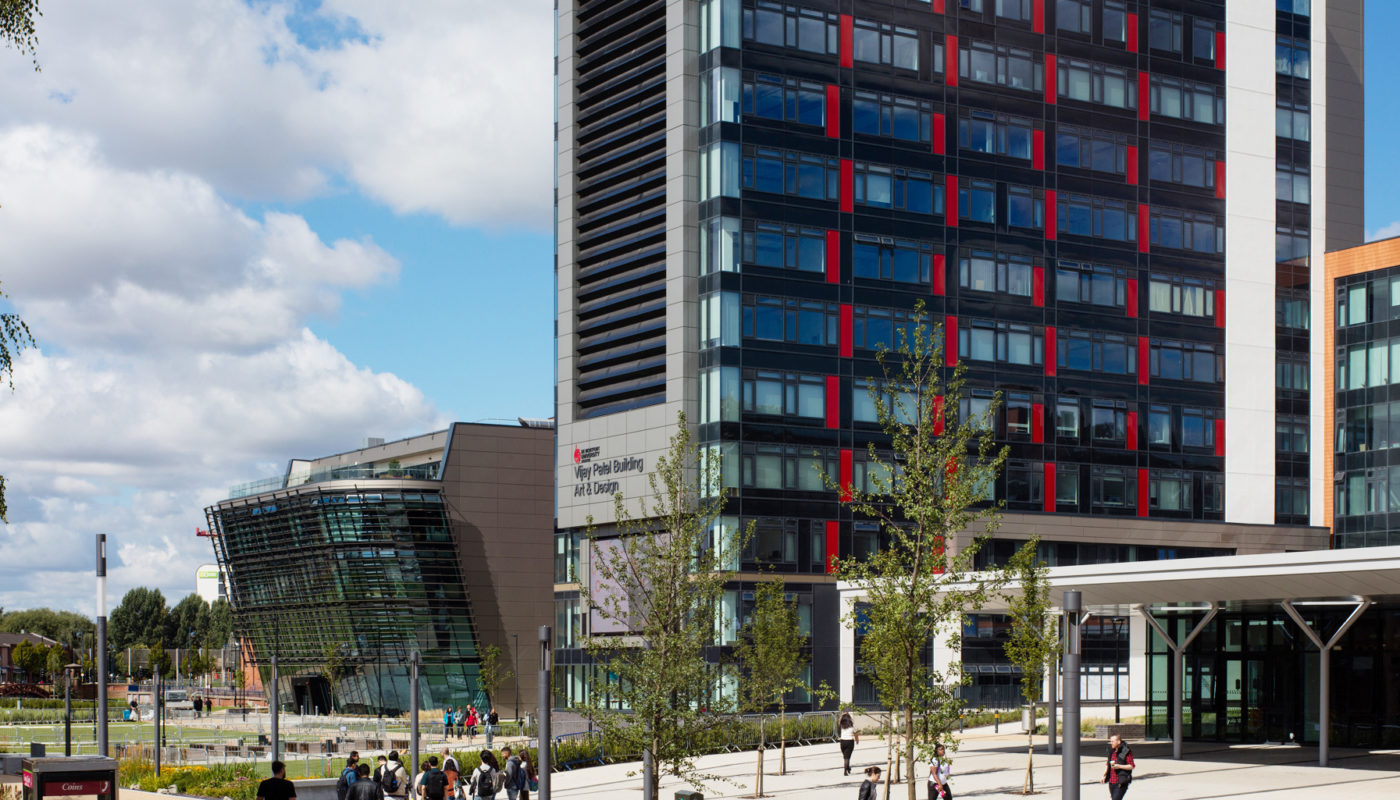
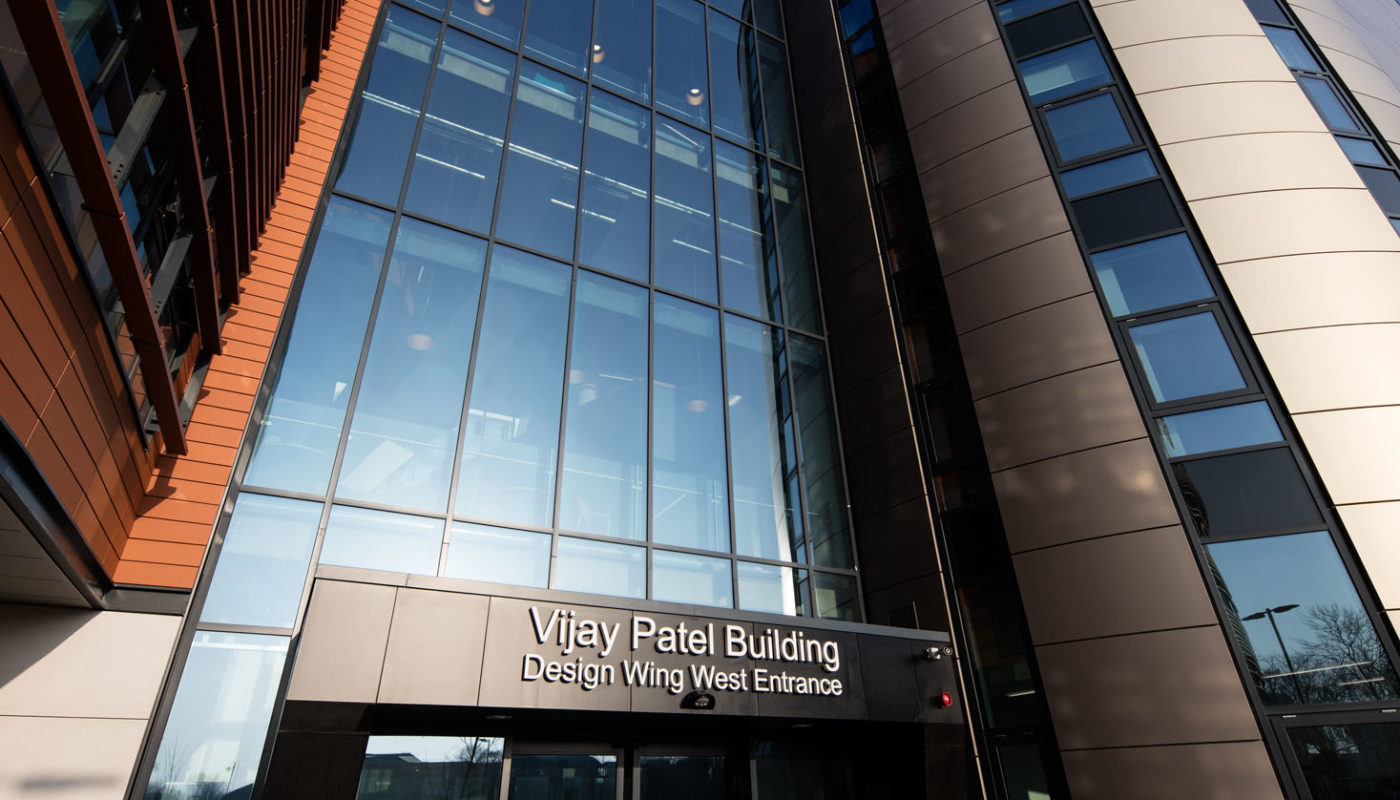
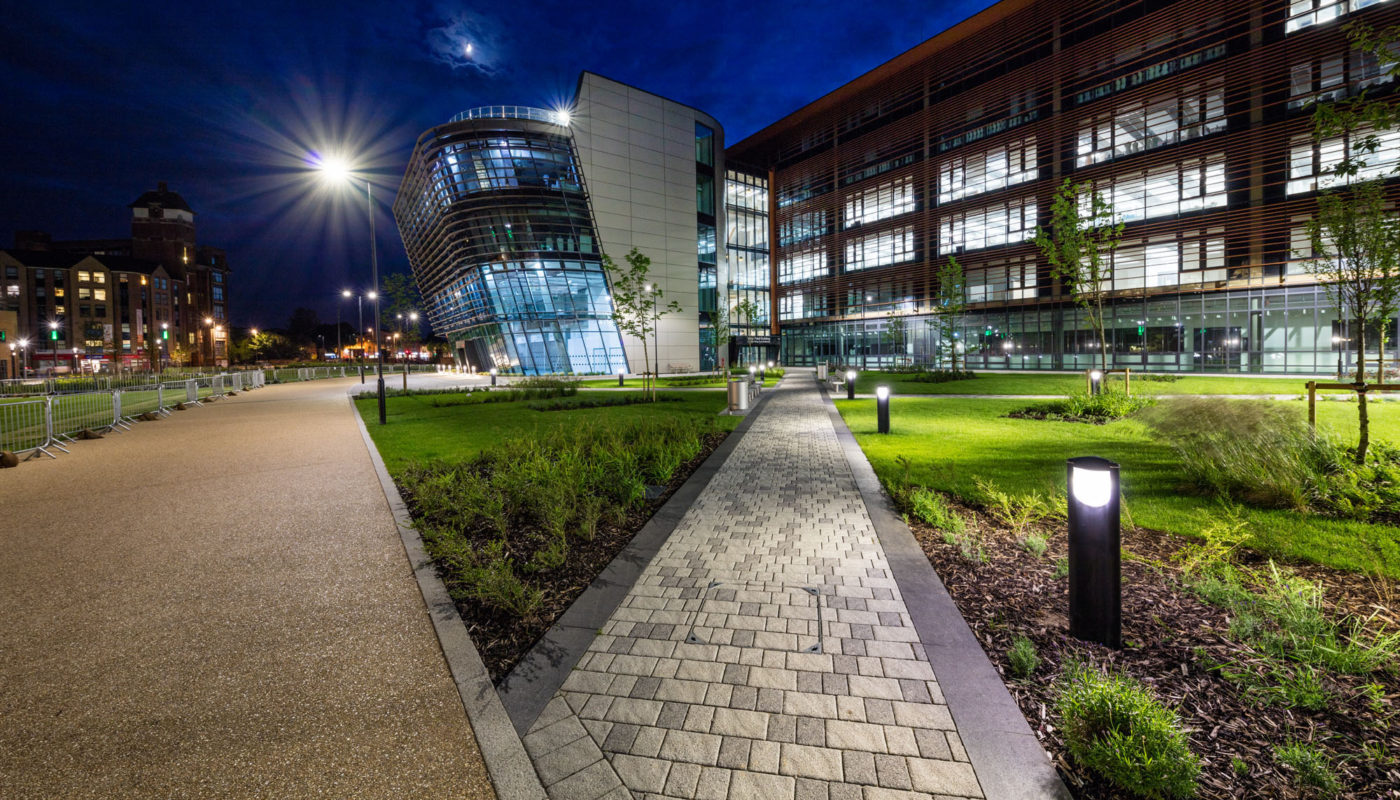
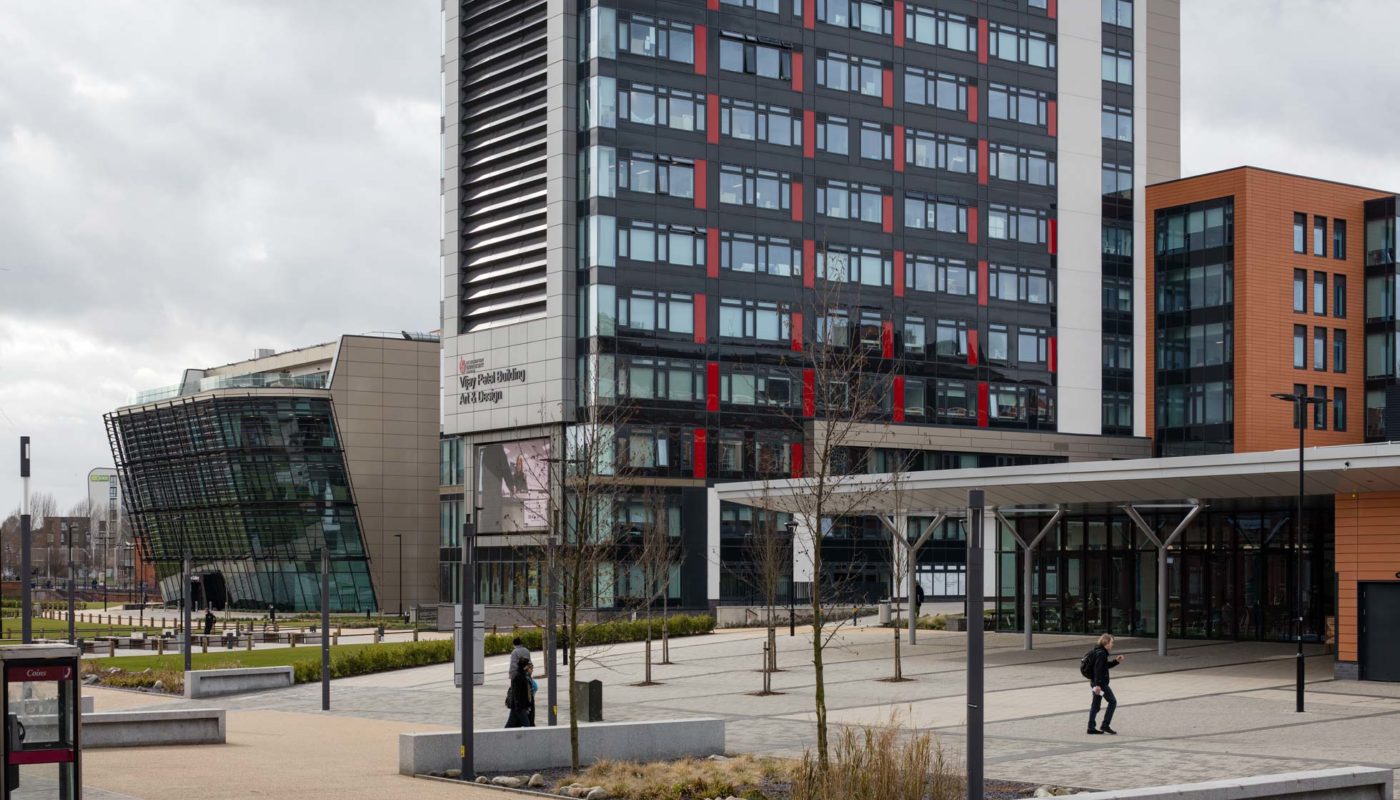
The new VJP building at De Montfort University in Leicester is not far from the Northlight offices, so is one of Keith’s favourite locations to test new lenses and equipment for our architectural photography. There is a full gallery of images further down the page.
Another article that might be of interest is Keith’s discussion about how photos work on architects’ web sites. This is part of our bespoke photography training for architects and property professionals and included in Keith’s talks and presentations about taking better photos yourself.
Click on any image to enlarge or see the gallery
Keith discusses some of the choices he made when shooting a variety of photos.
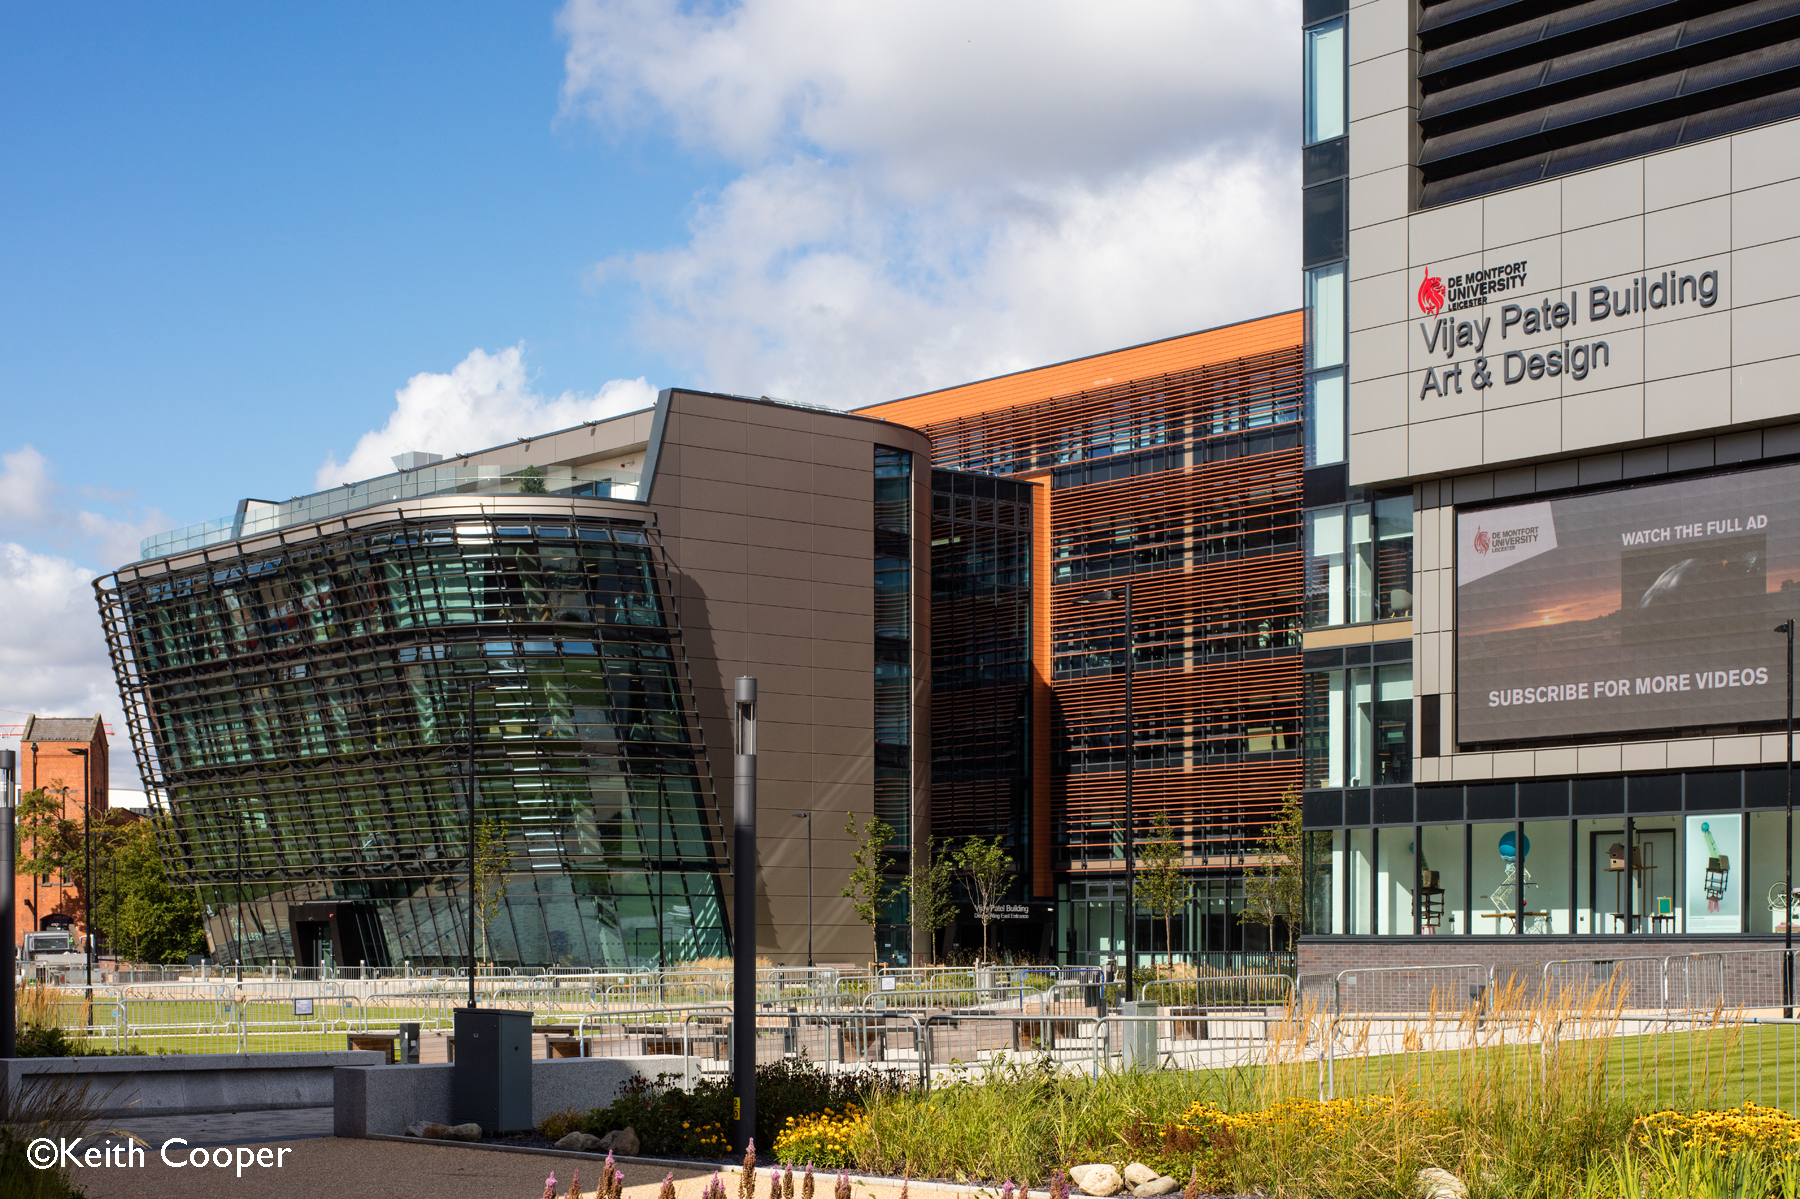
The building is by CPMG architects, shortlisted in the RIBA East Midlands 2018 Awards.
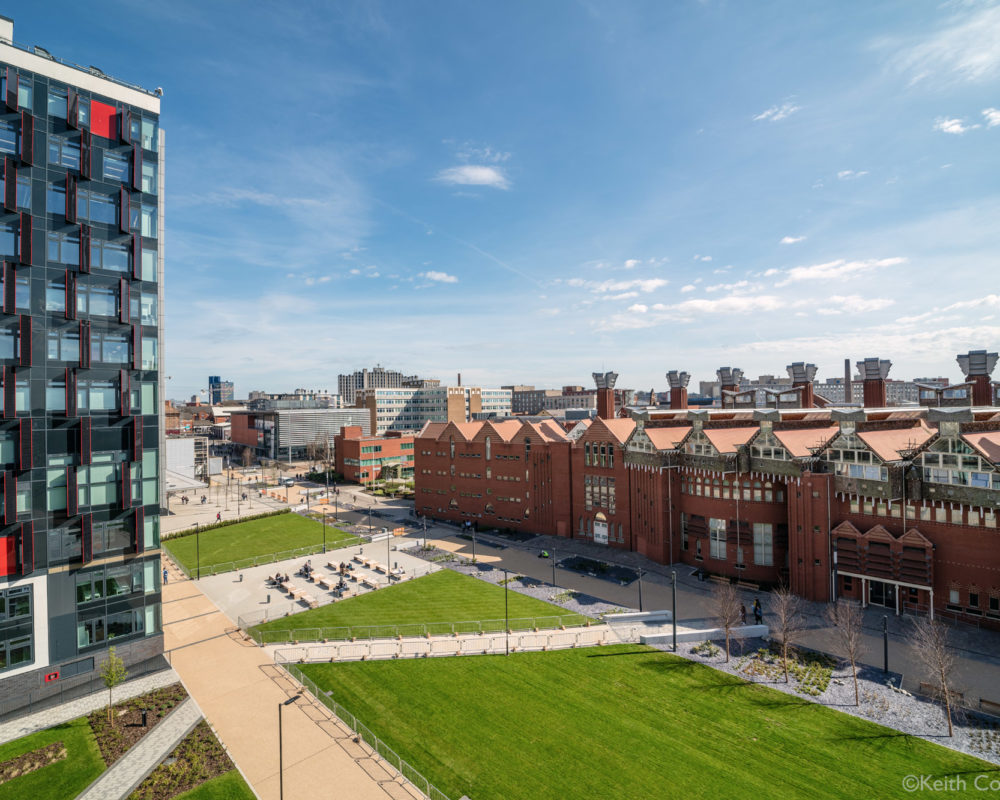
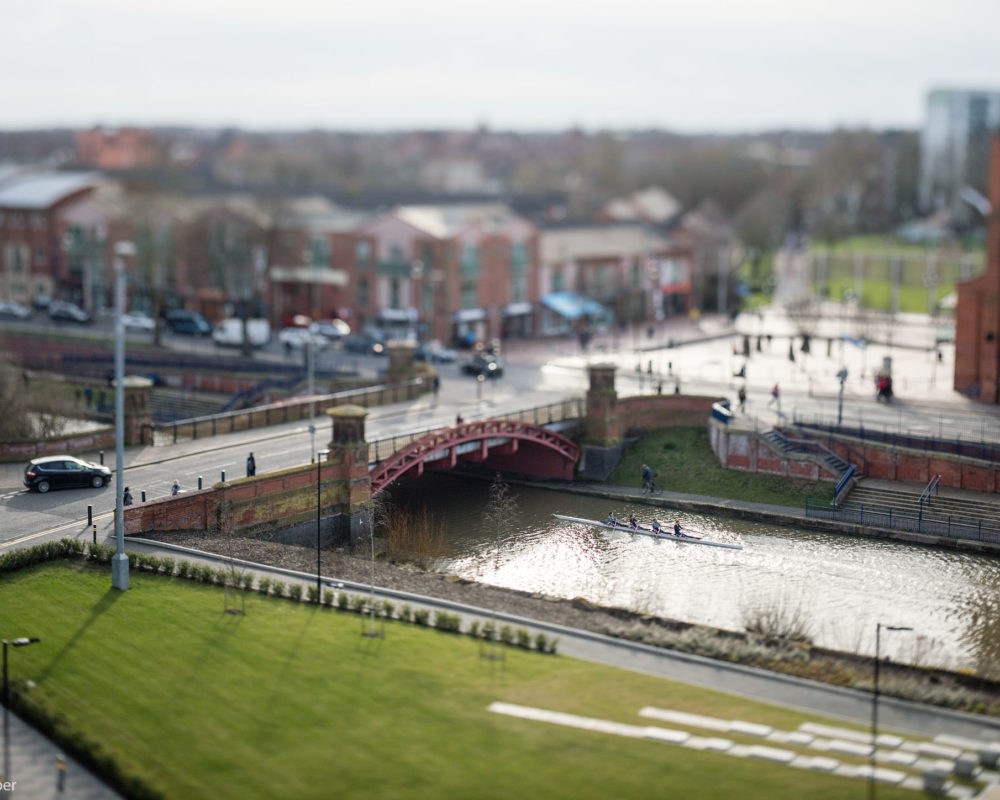
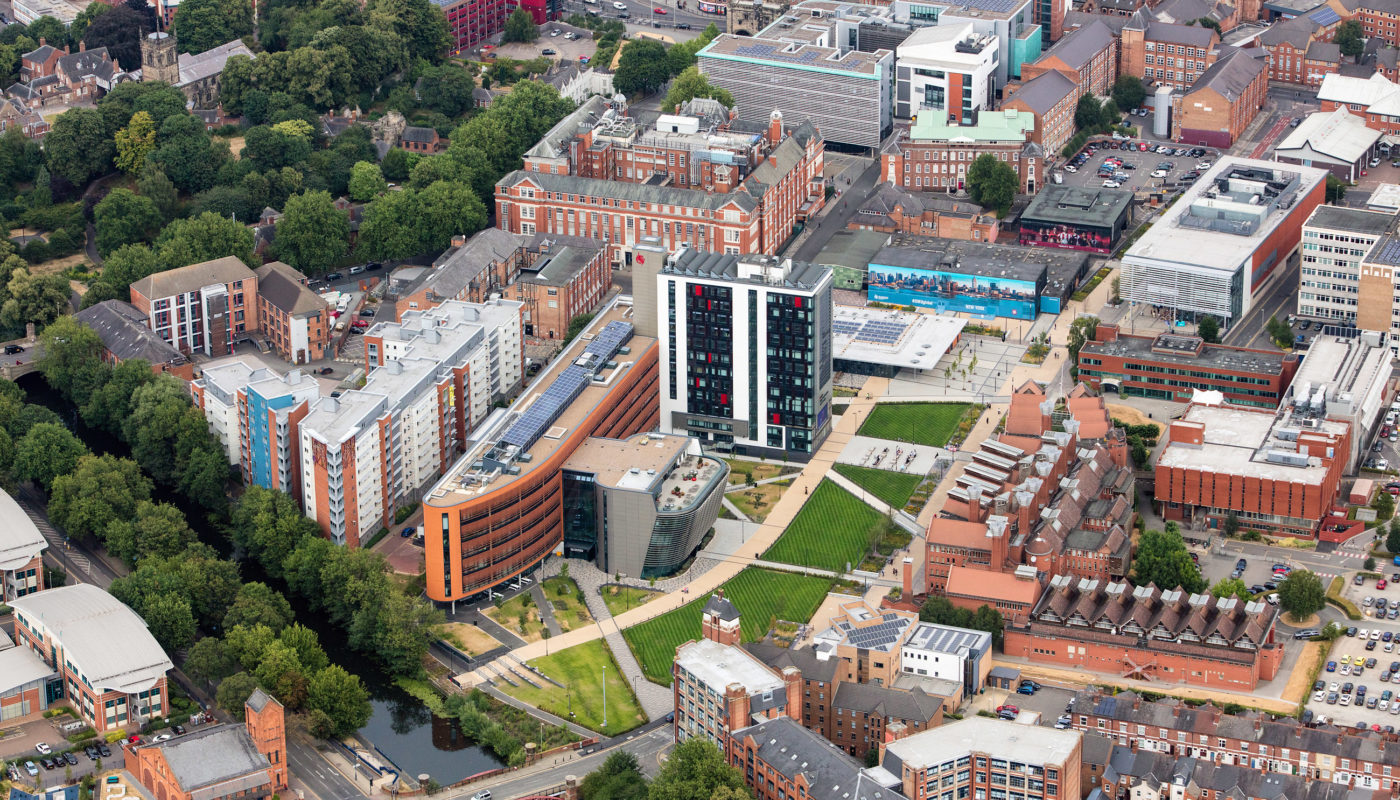
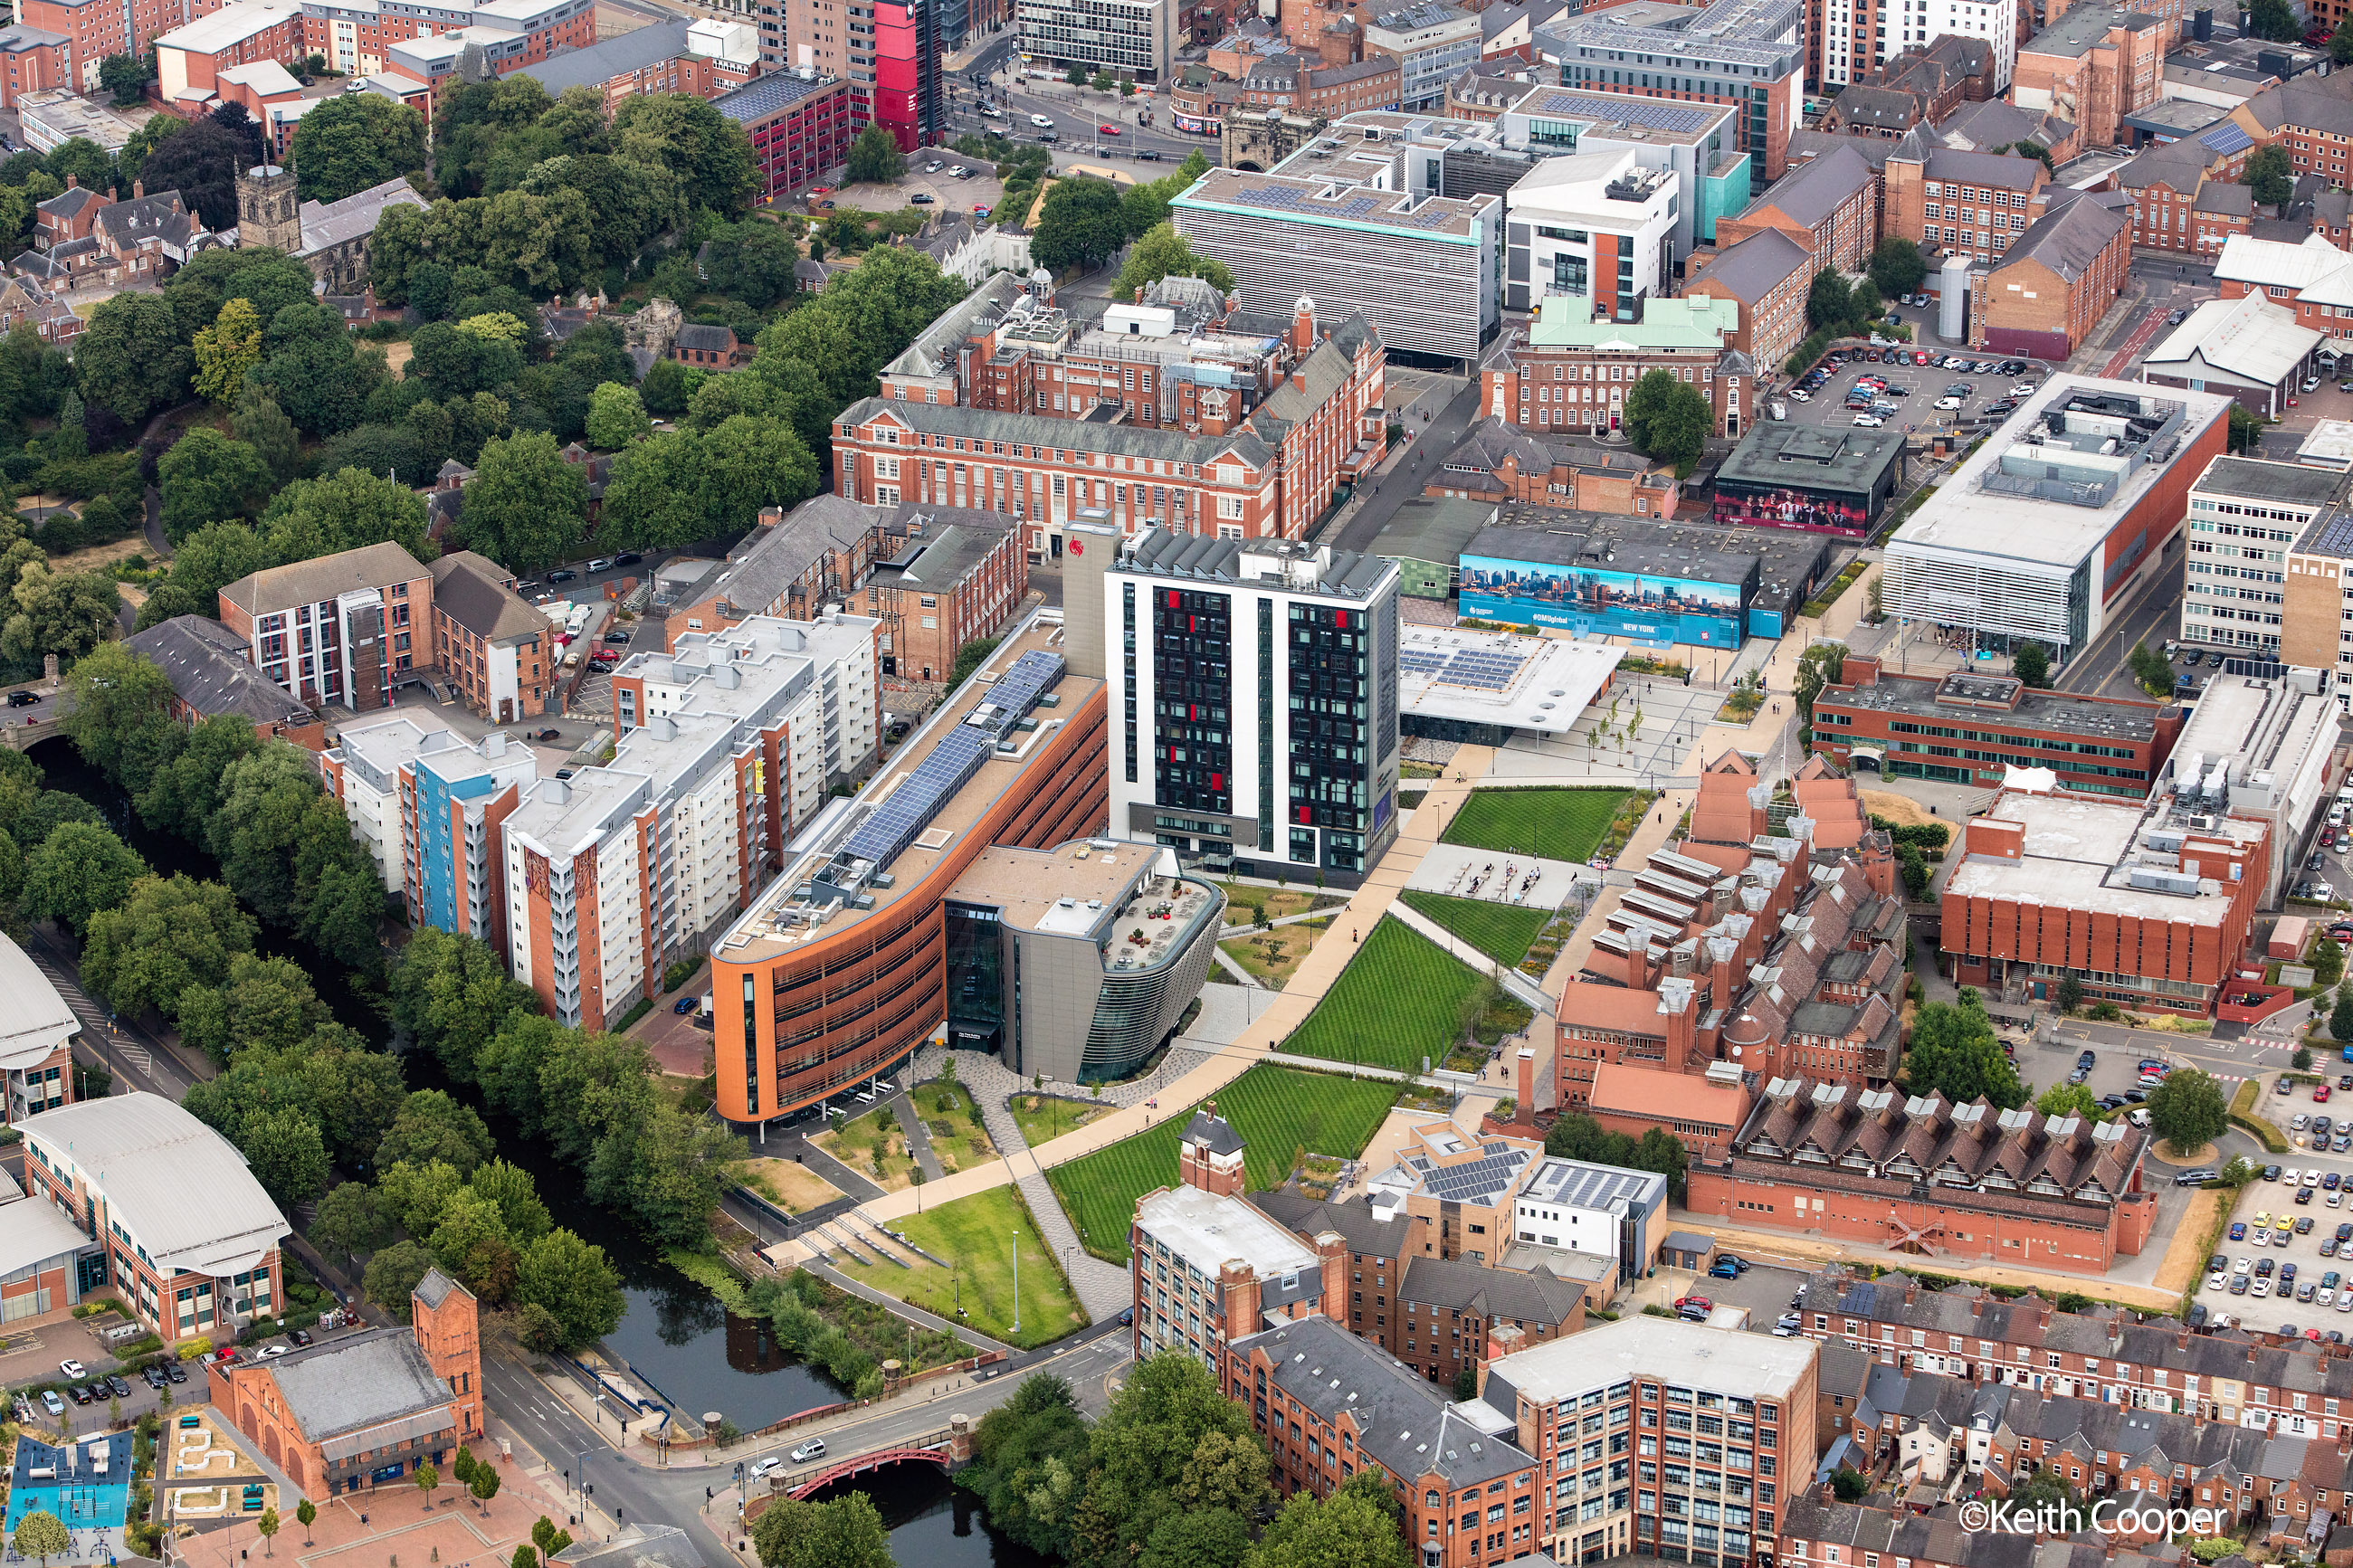
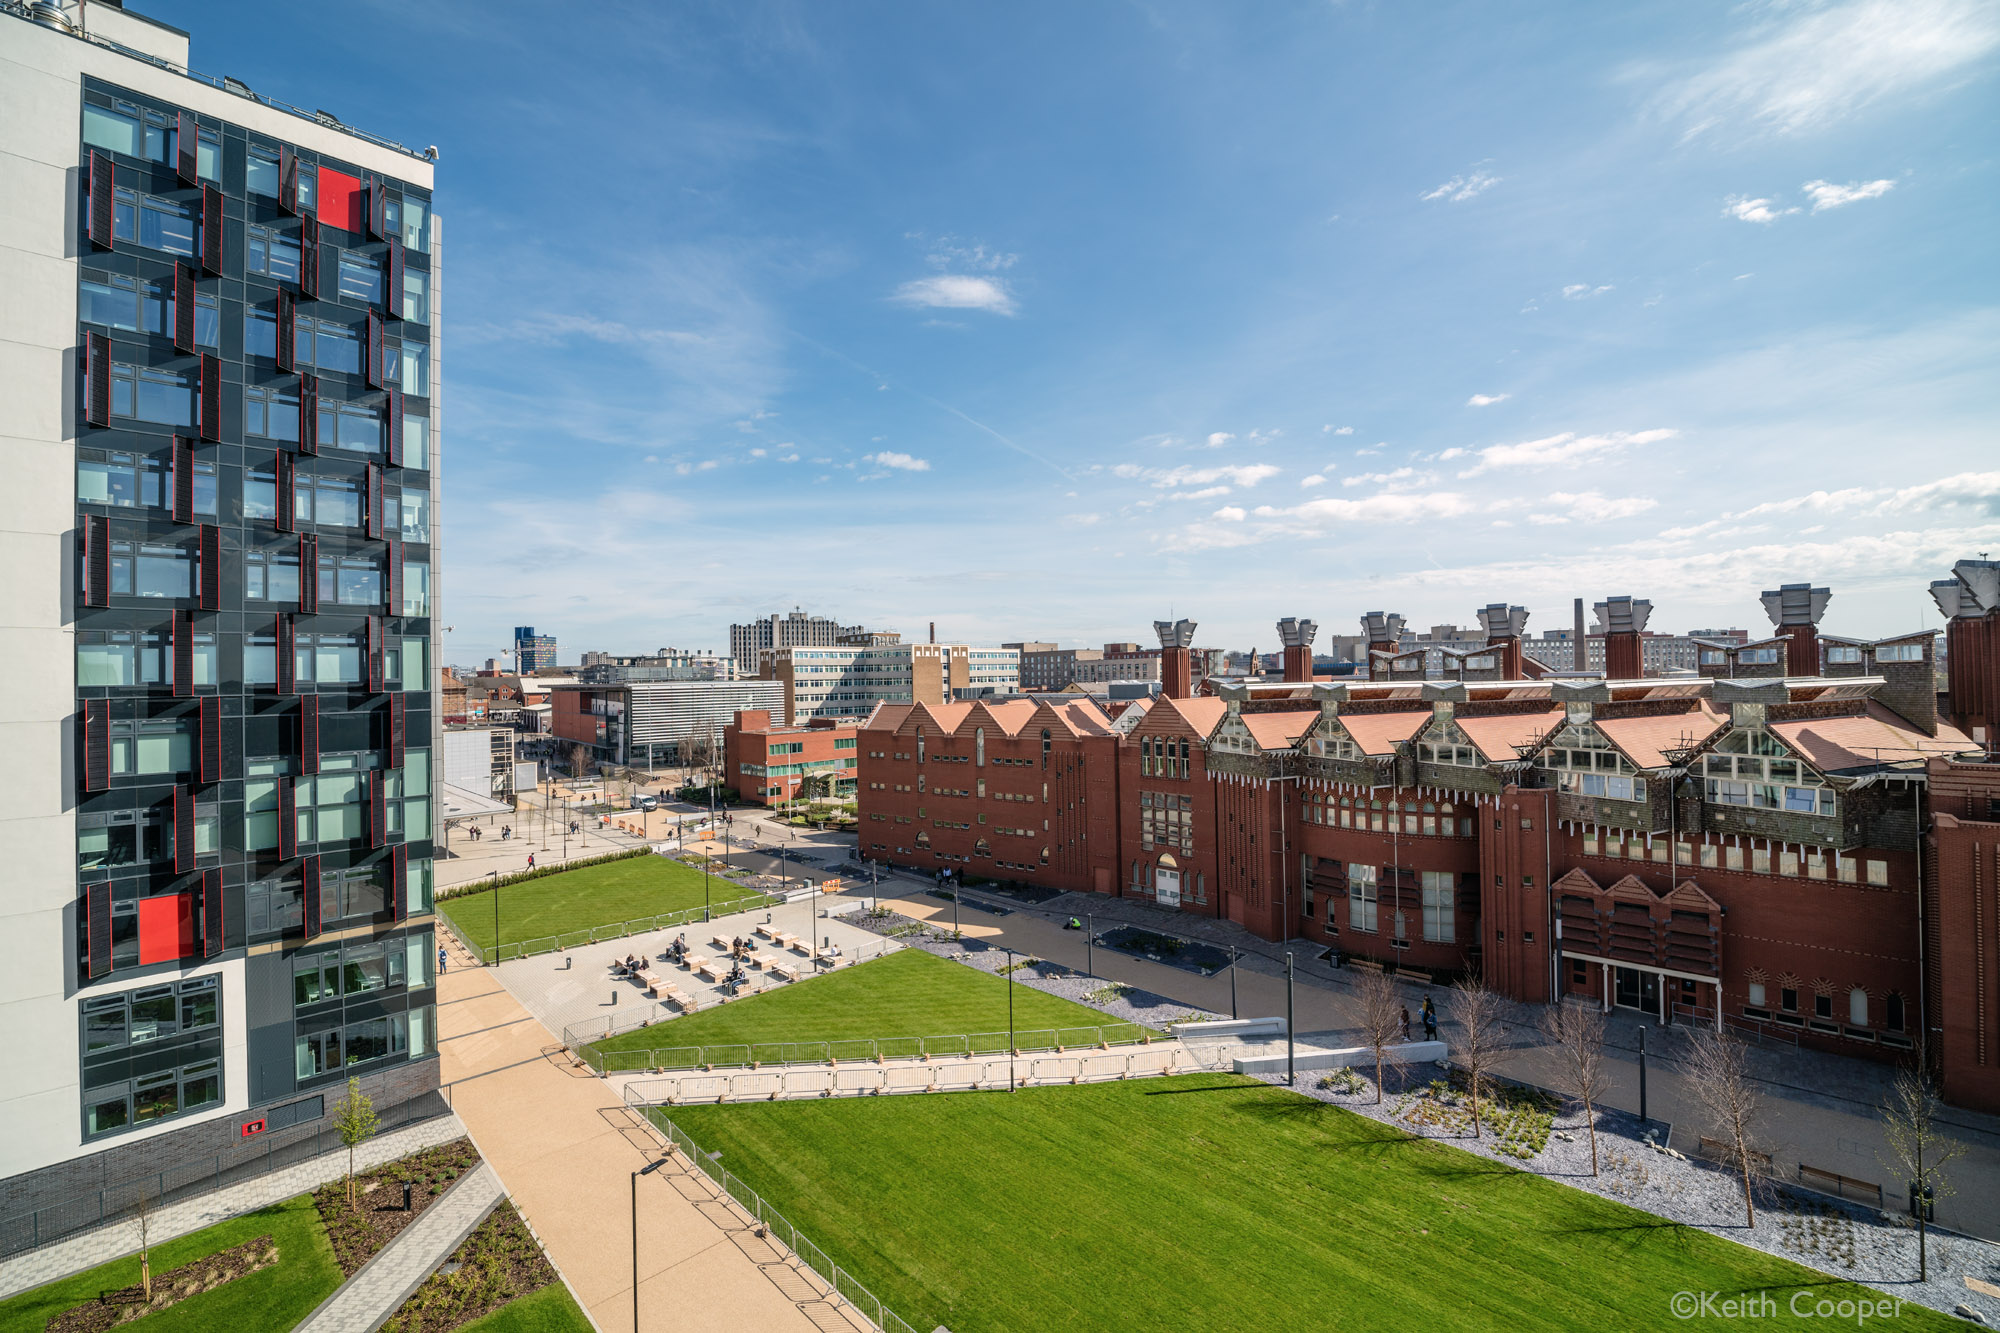
Here’s an aerial view taken by Keith, just to set the context.
Using the right tools for the job
This collection of images gives a feel for why having all the right equipment matters when showing a building. There is a list at the end, of related lens reviews and articles on the main Northlight web site.
I should note that the bulk of the photos don’t include any taken with my two favourite lenses for architectural work, the Canon TS-E17mm F4L and the TS-E24mm F3.5L – these photos are all from my lens testing work. I have added a few examples at the end to give a comparative feel for the field of view.
Most of the images are uncropped to show the benefits/features of a particular lens. Remember that cropping can be a powerful creative tool, if you have high enough detail/resolution images to start with. Our standard image size is 50 megapixels.
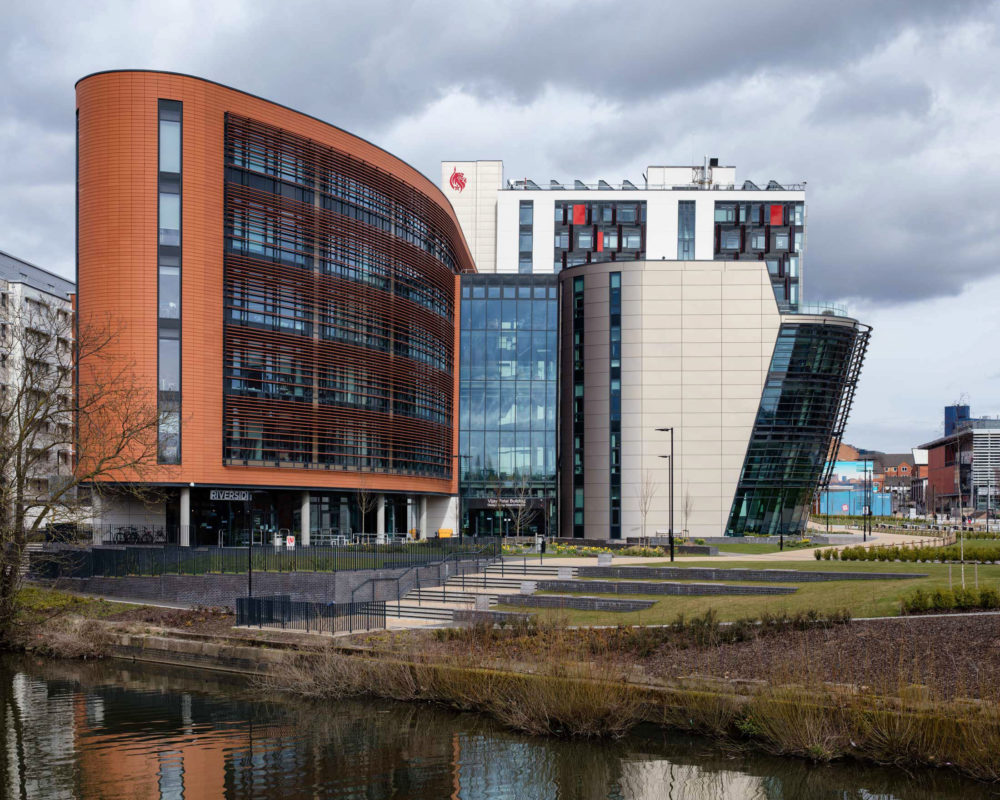
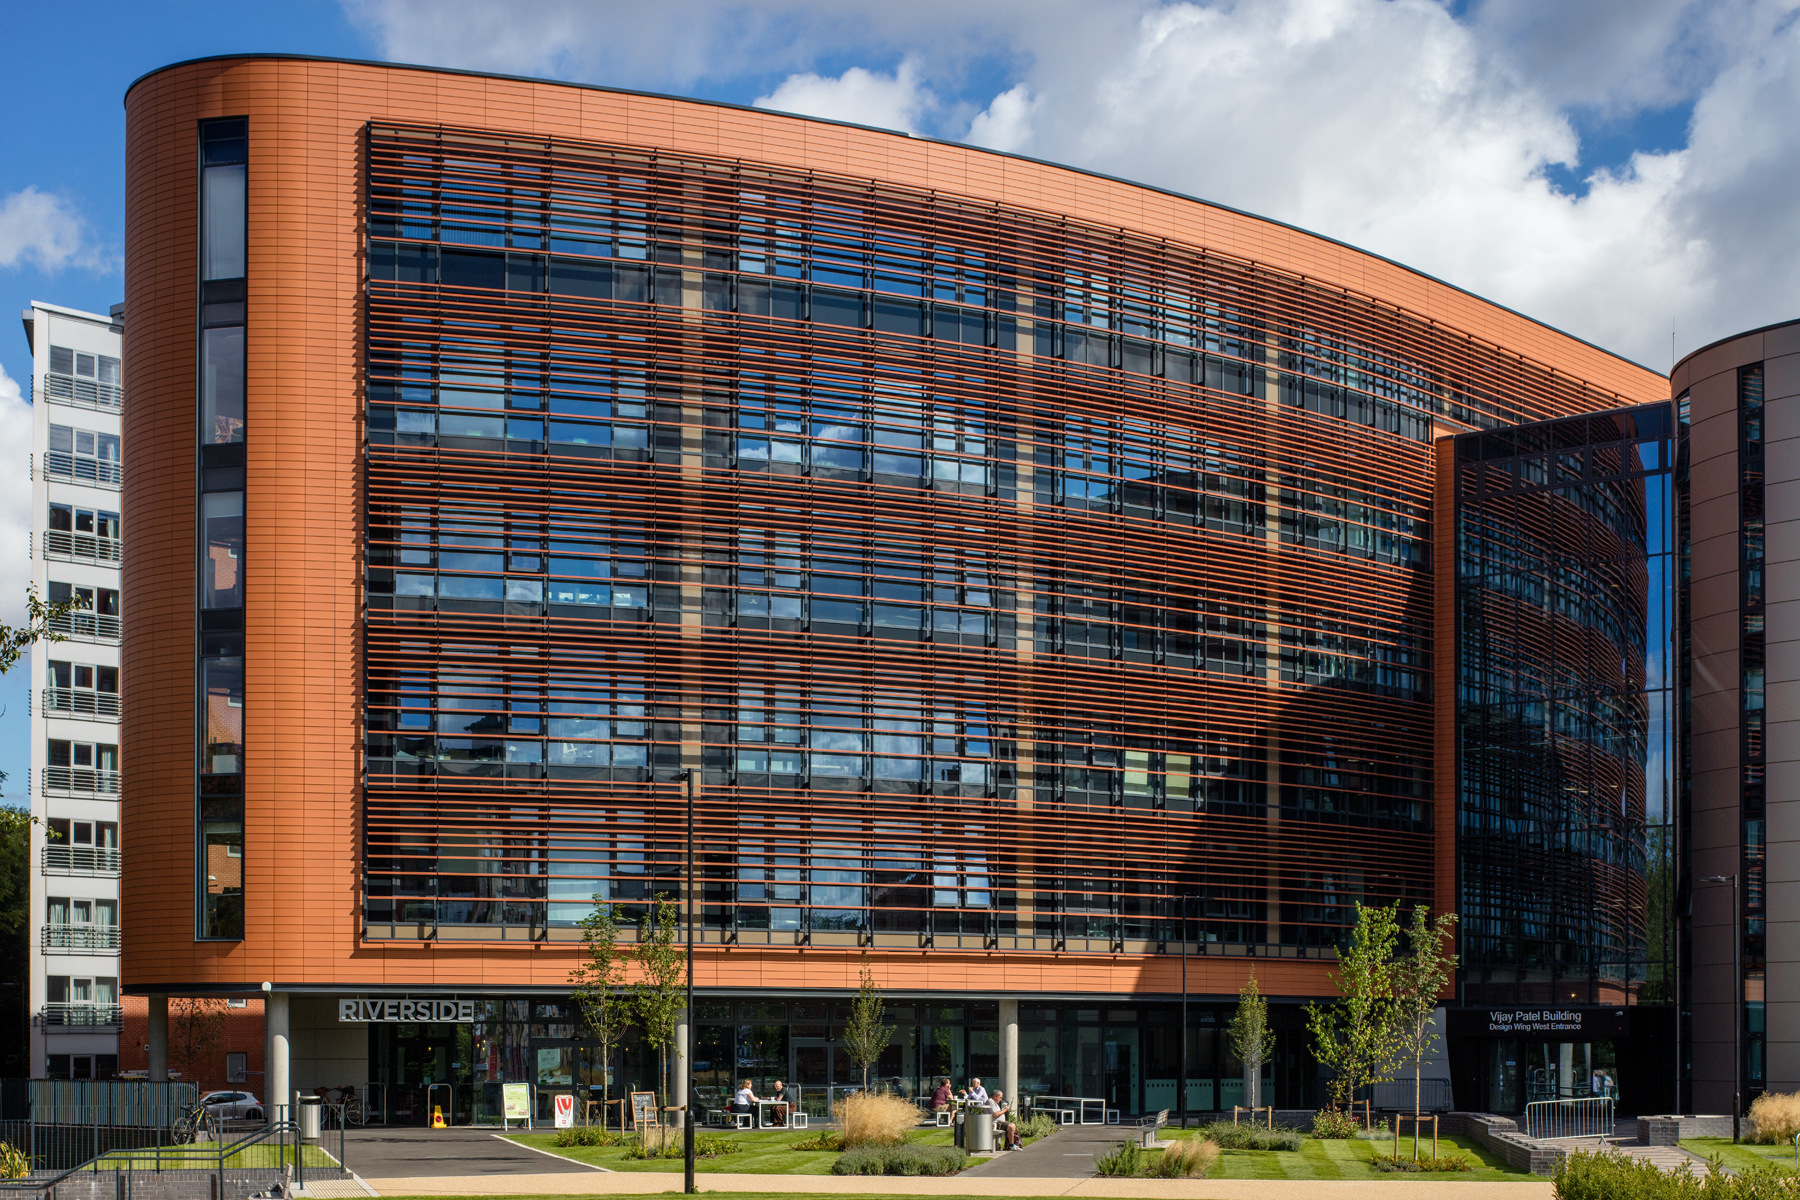
[50mm tilt/shift lens shifted and stitched to give a ~75MP image]
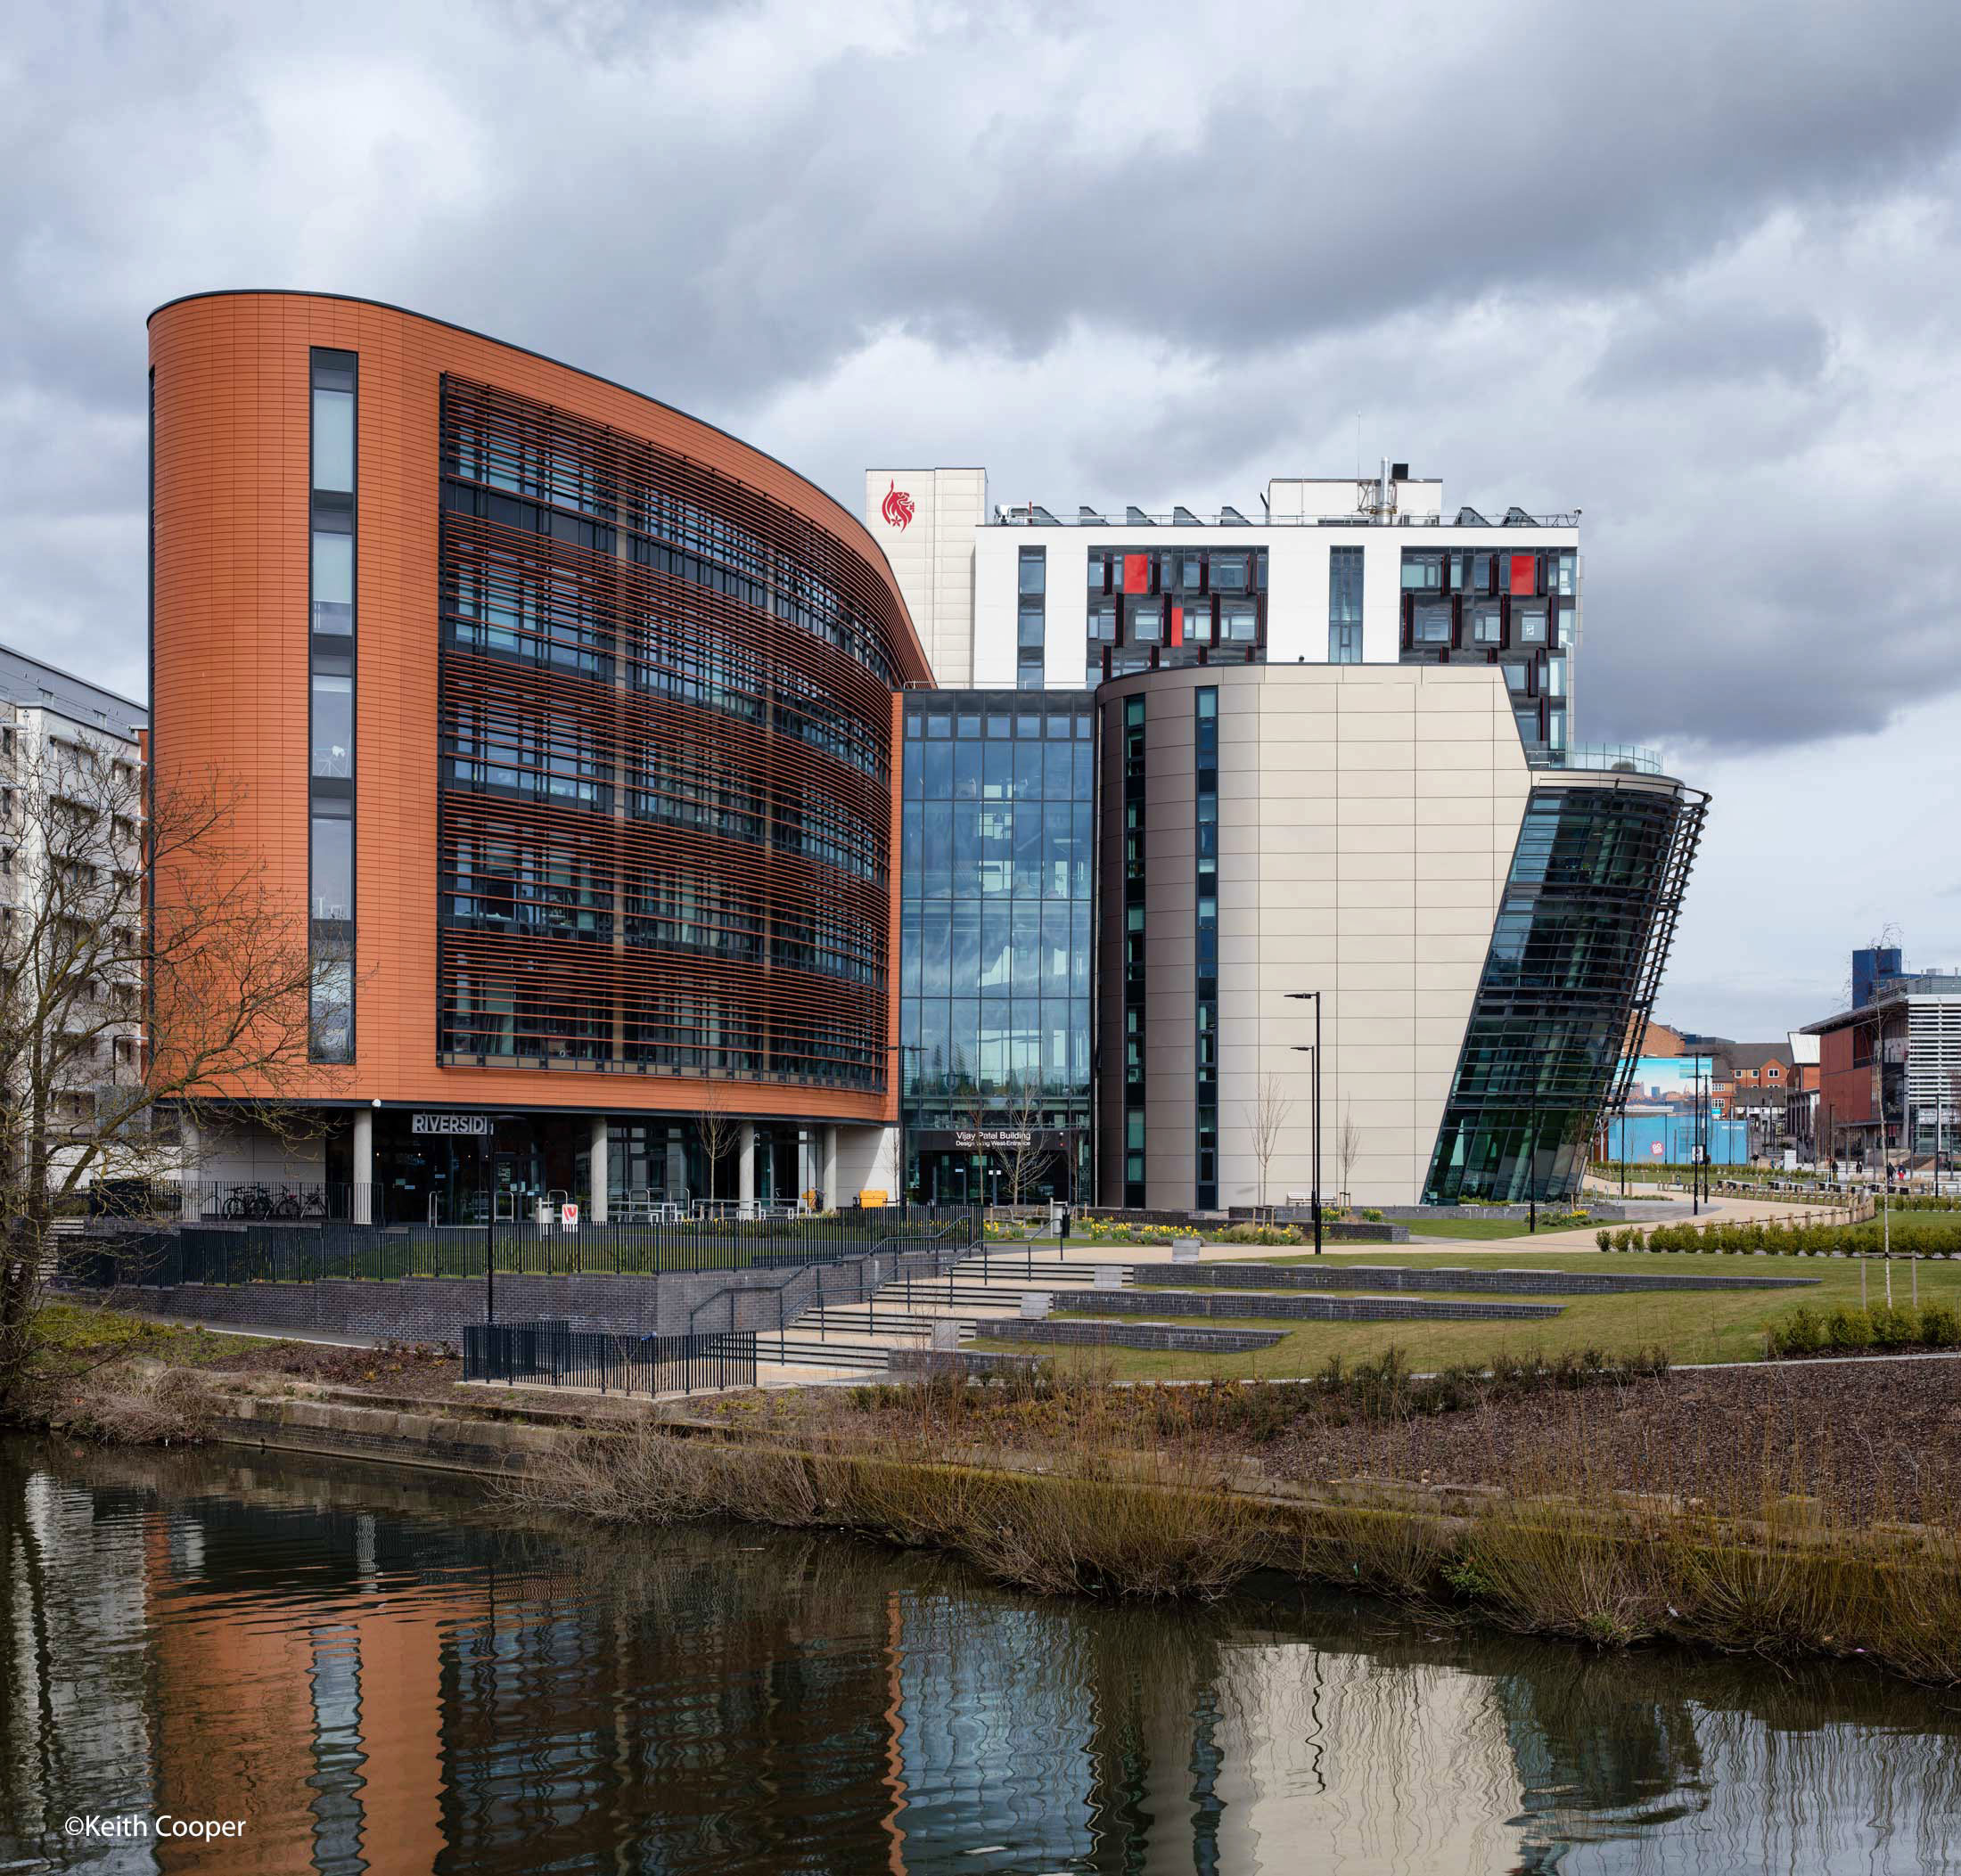
This much wider view adds in the context of river and tow path.
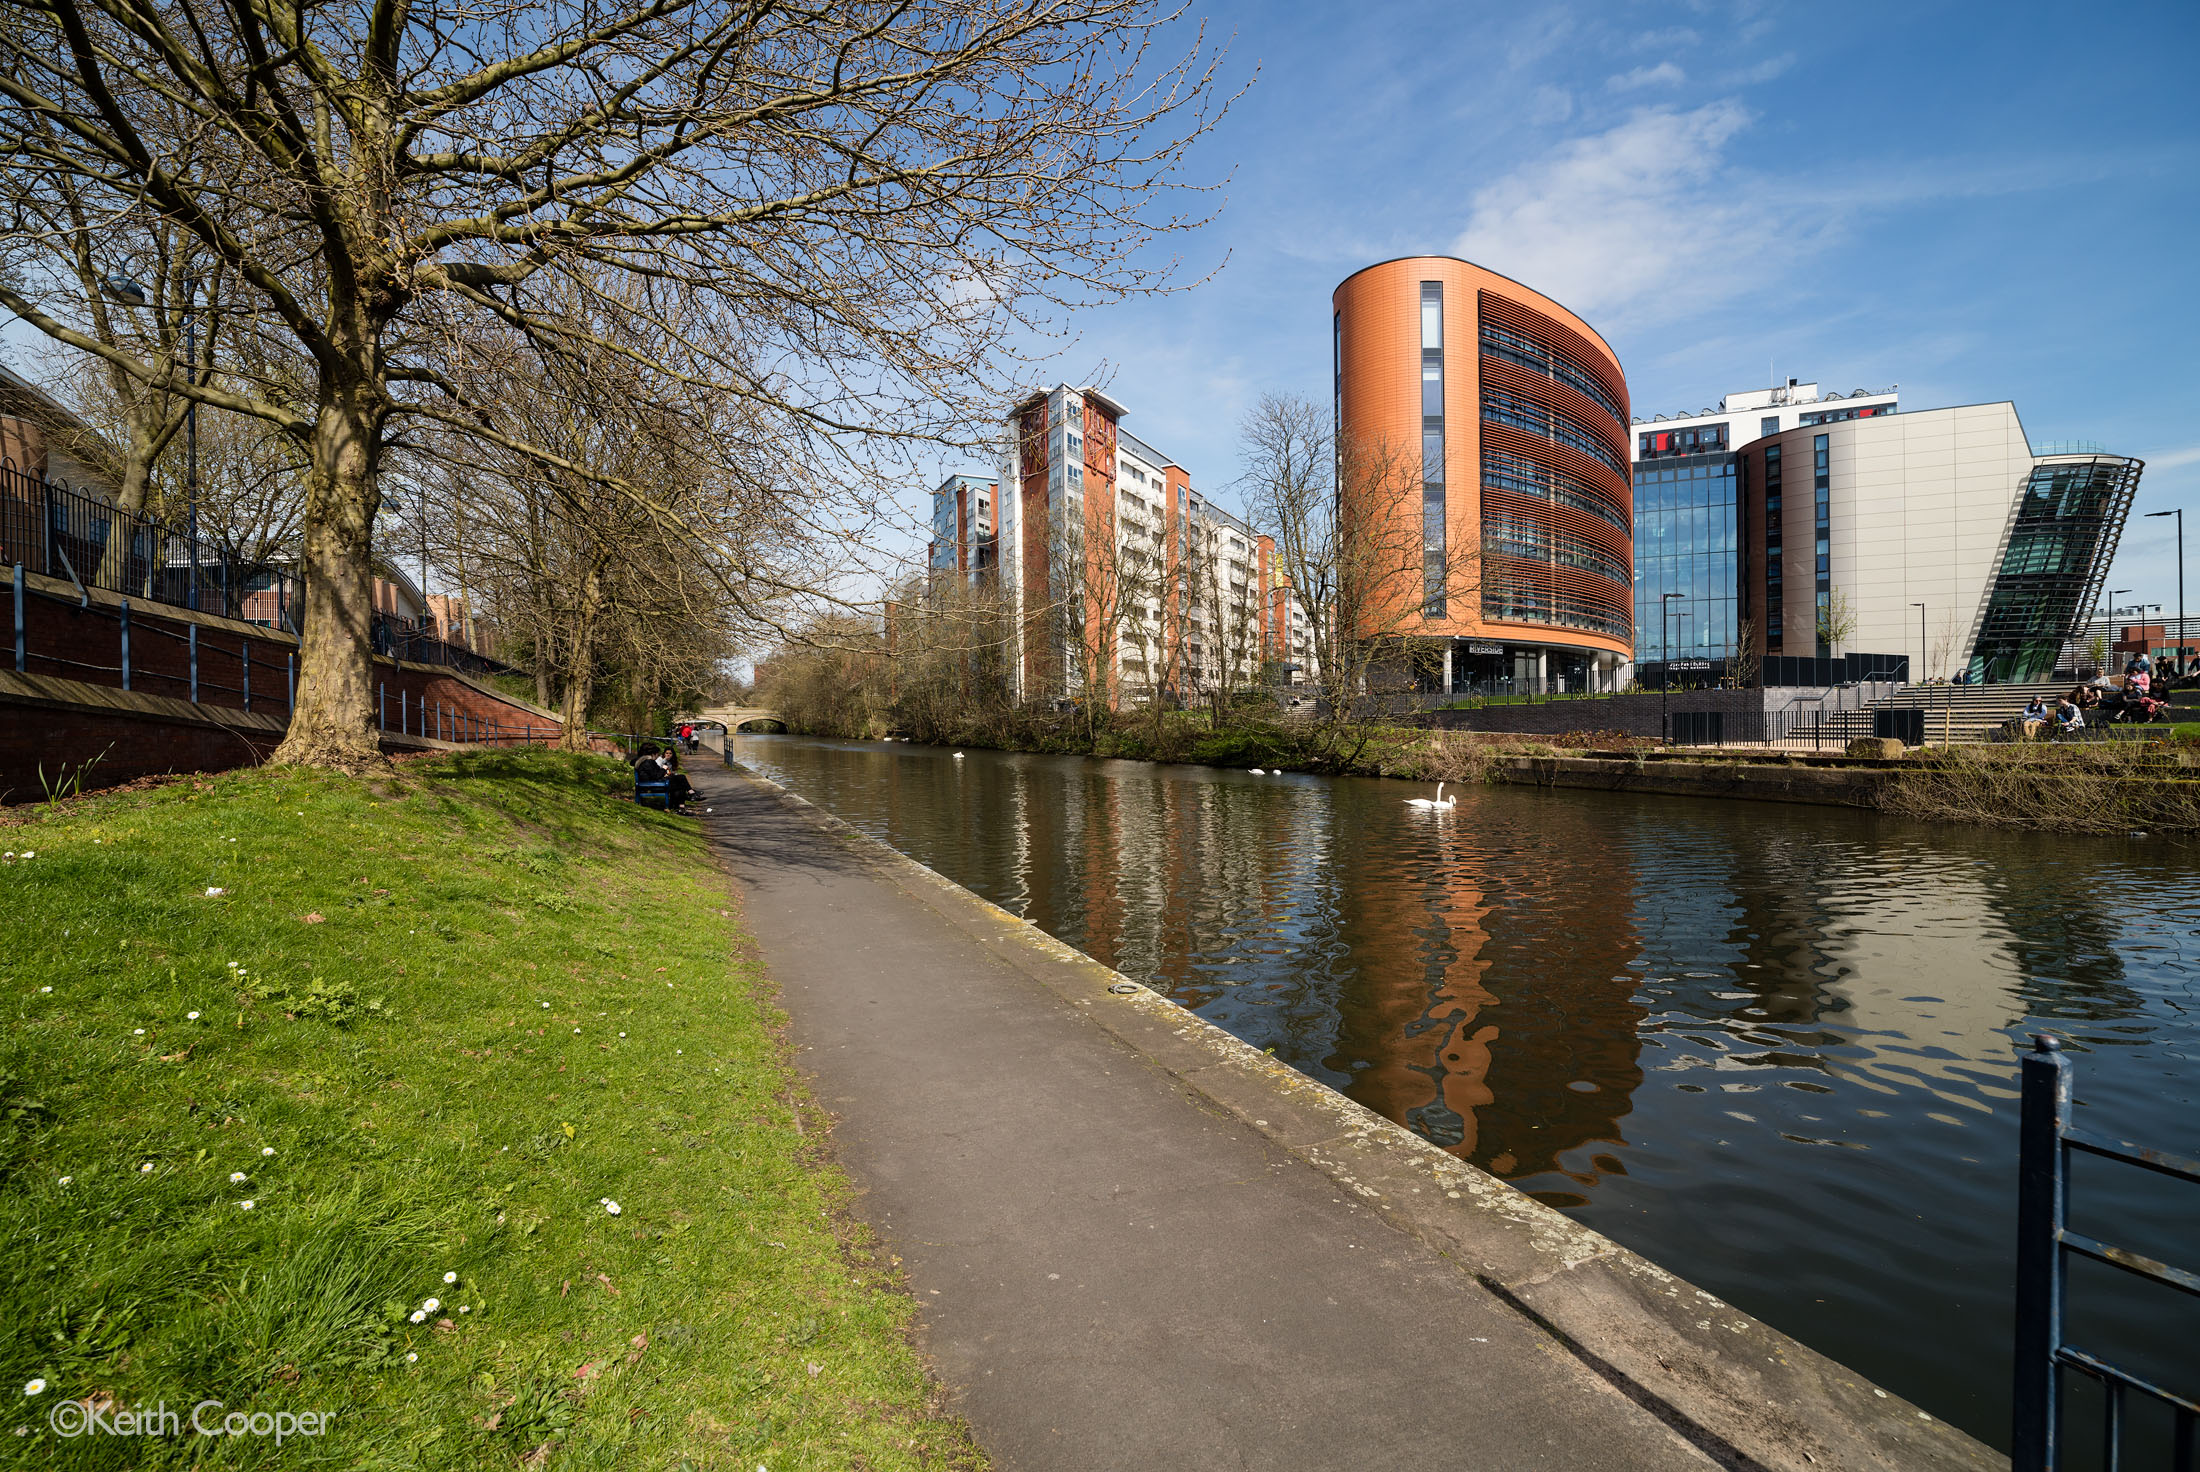
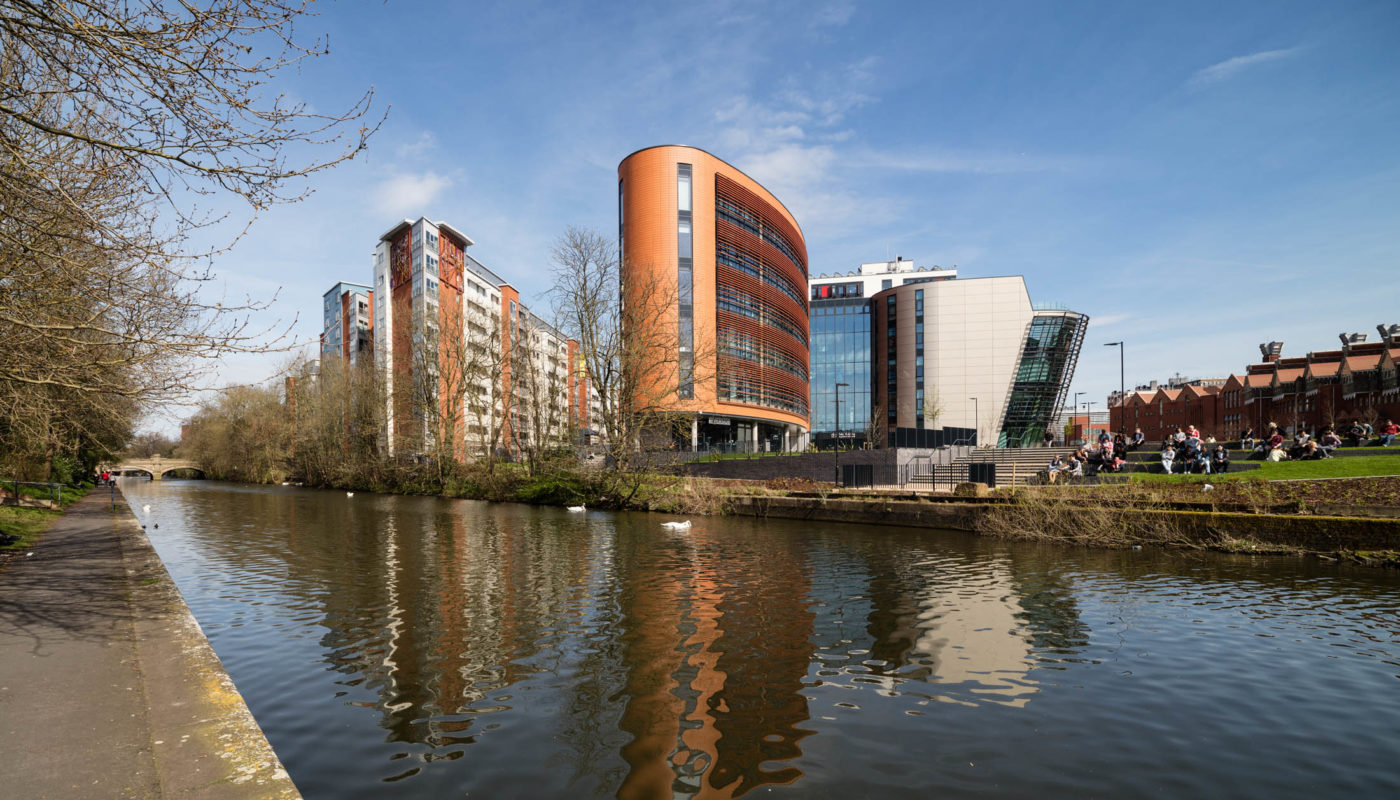
[14mm wide angle]
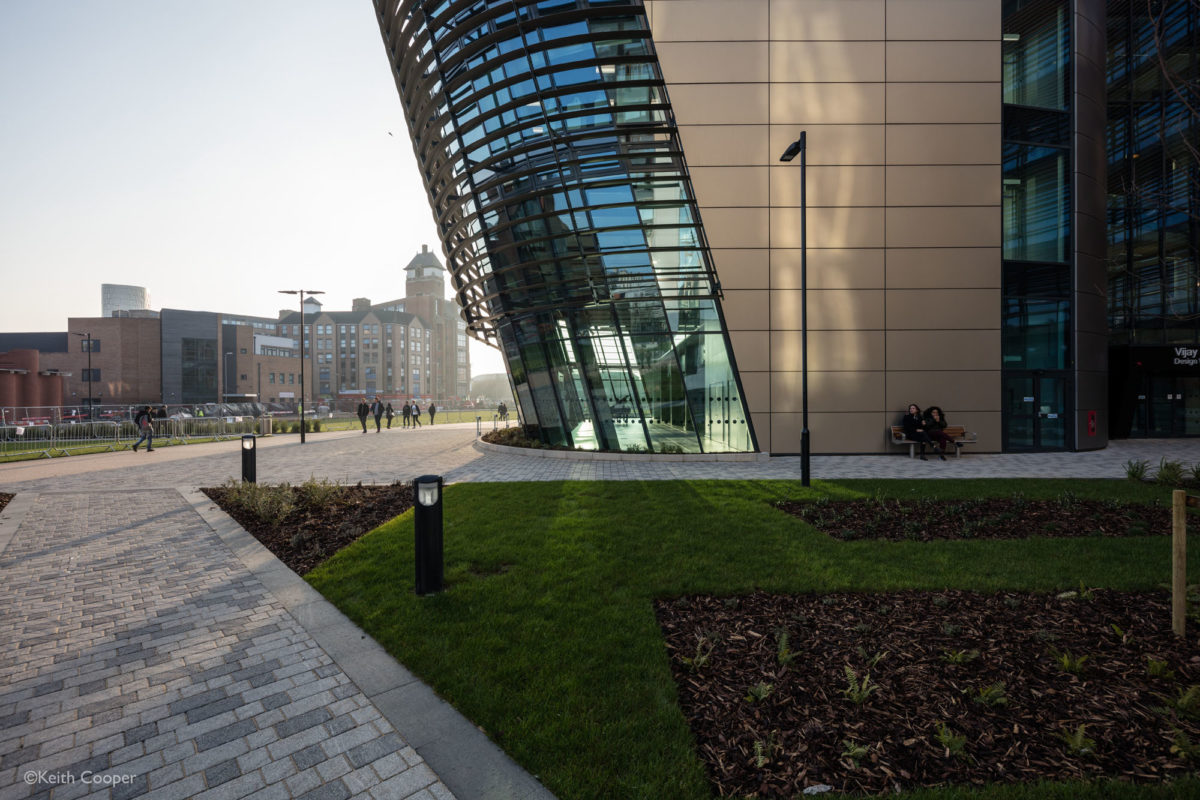
Moving towards the canal and a slight crop gives a very different feel for the closeness of the river and building.
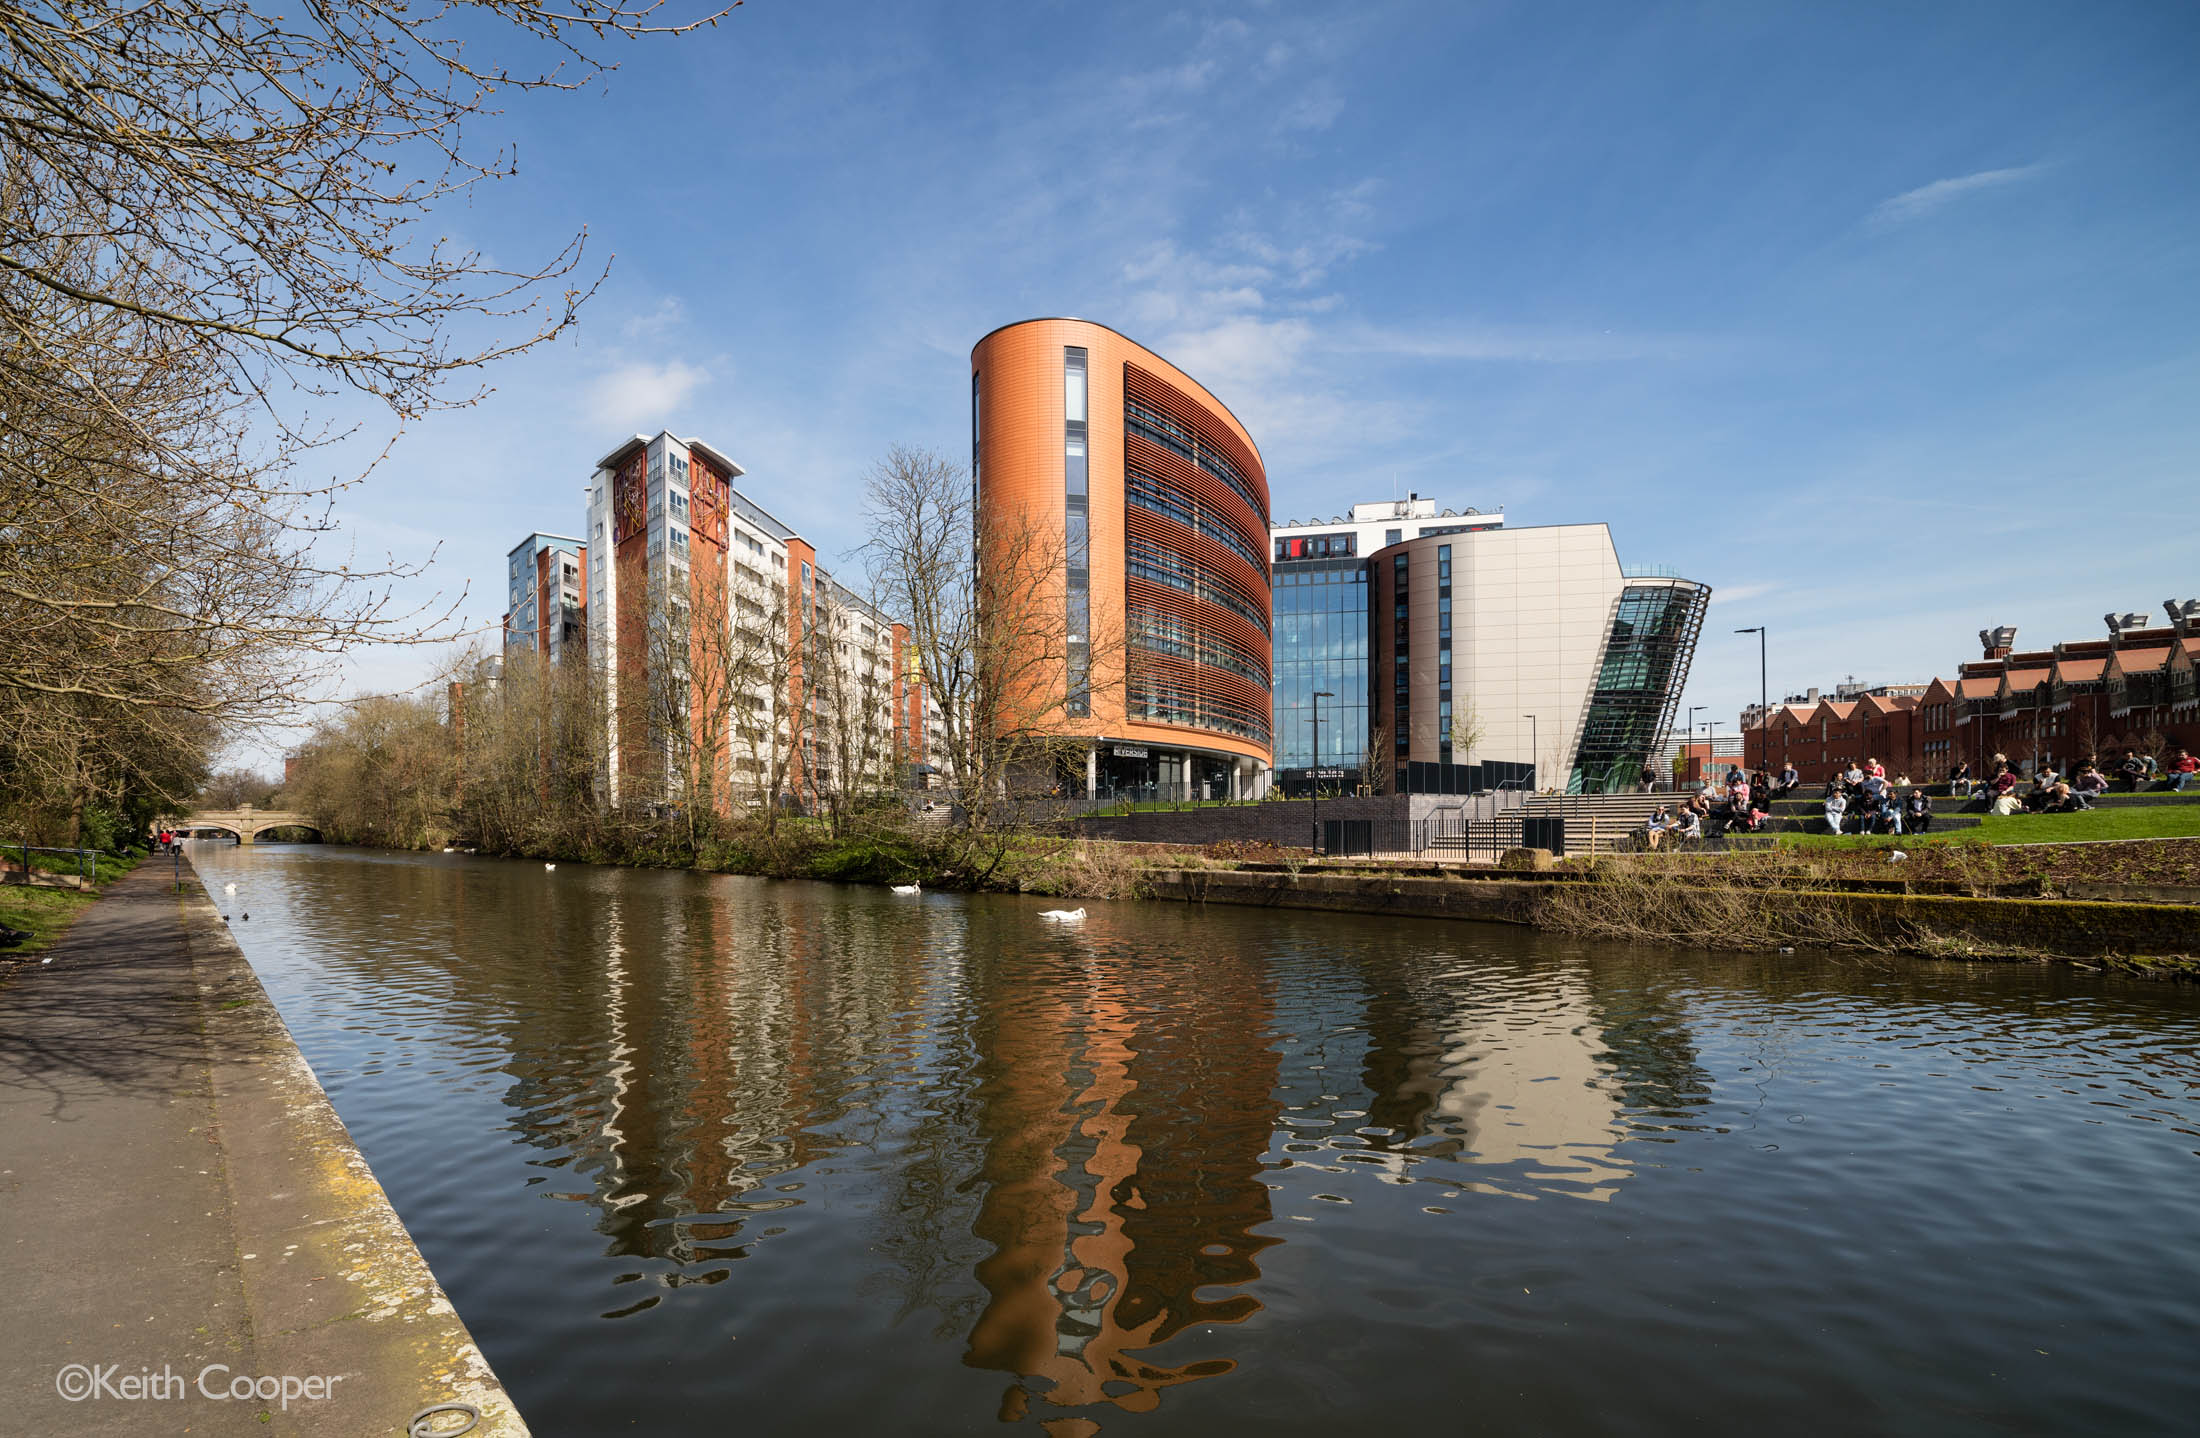
[14mm wide angle cropped]
You might wonder, why take the shot with the expanse of grass?
Well, if you were illustrating an article about Leicester’s cycle paths, or wanted space for an inset image or text, then having that space could be useful.
Taking photos like this depends on knowing what the client wants to use the images for…
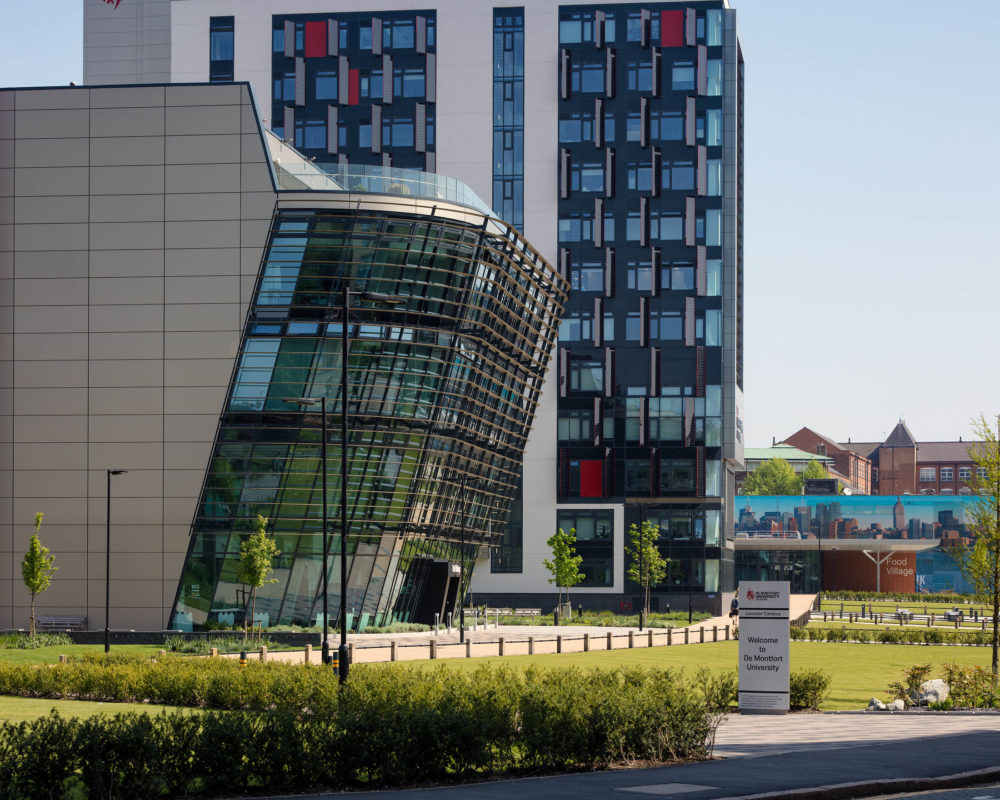
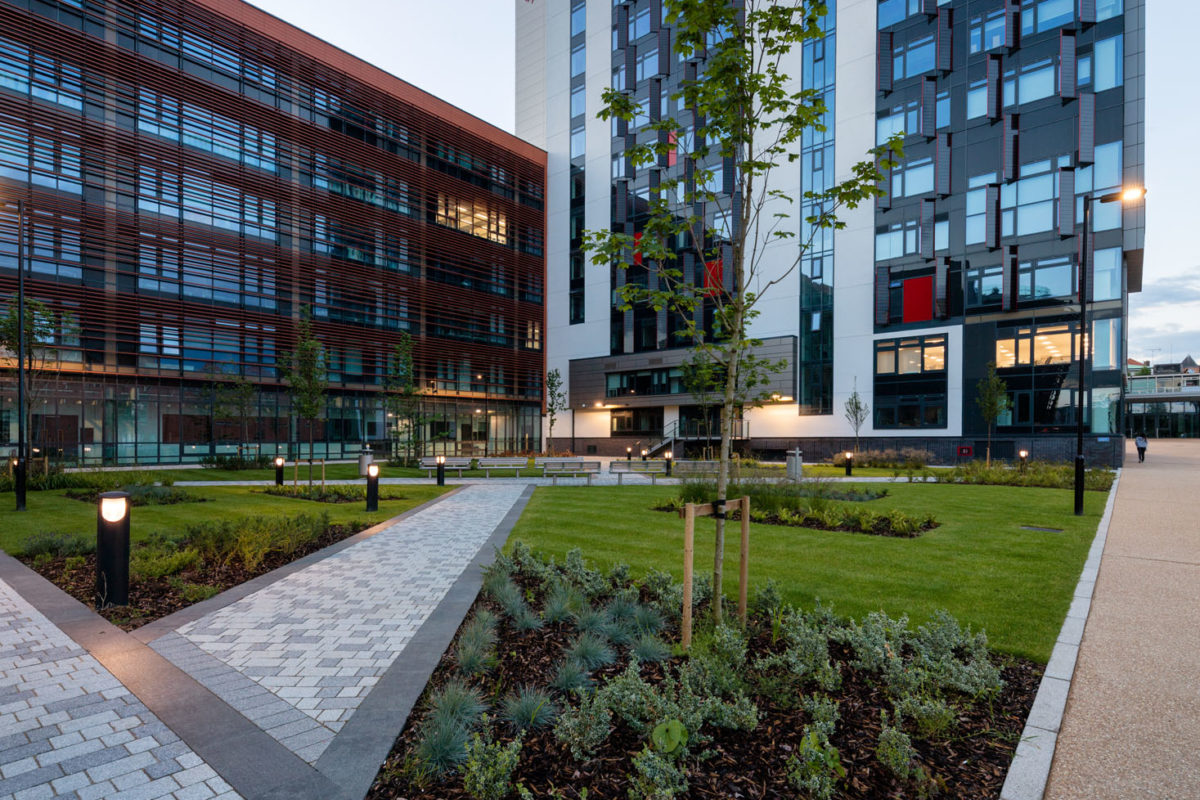
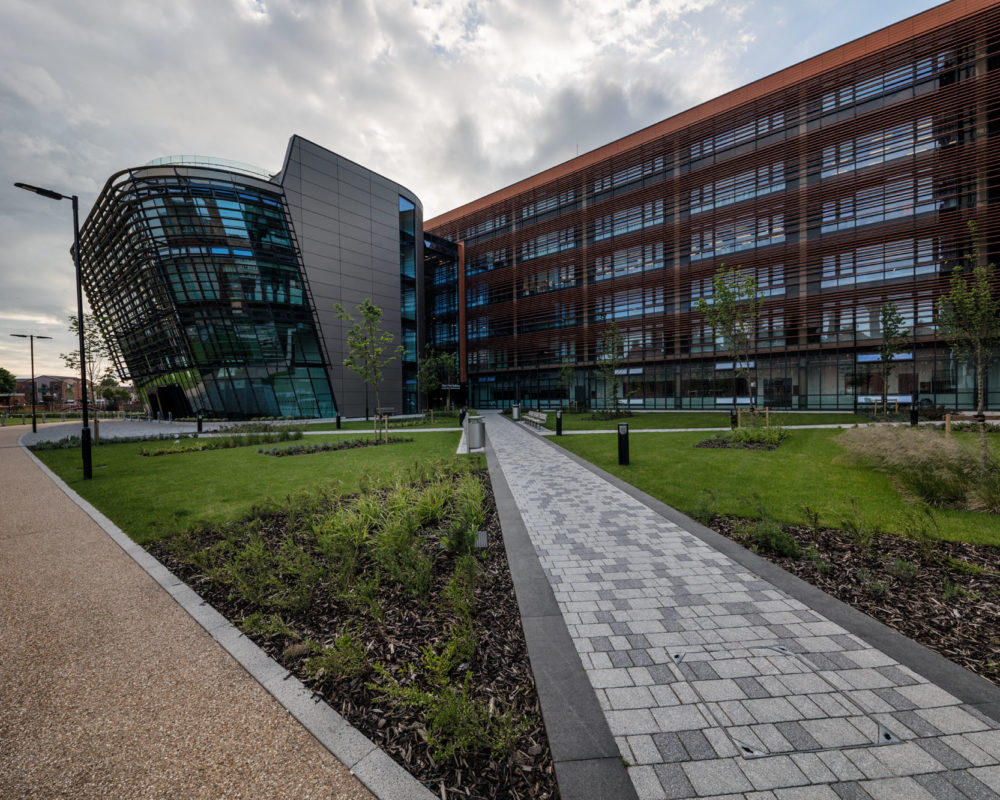
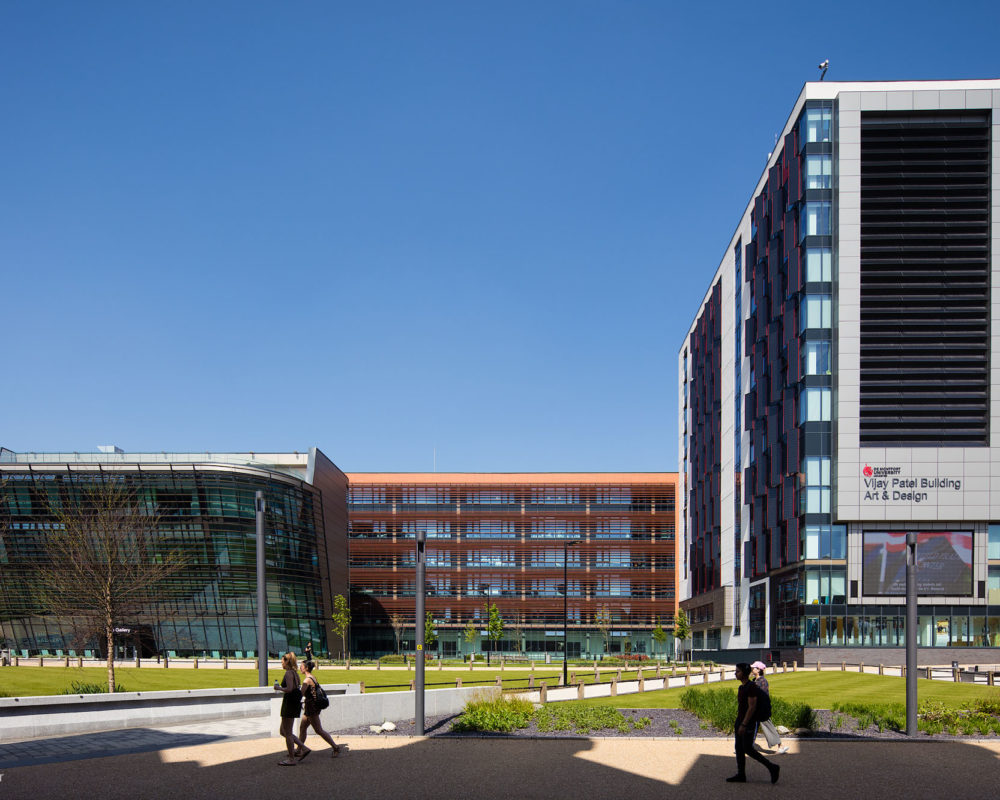
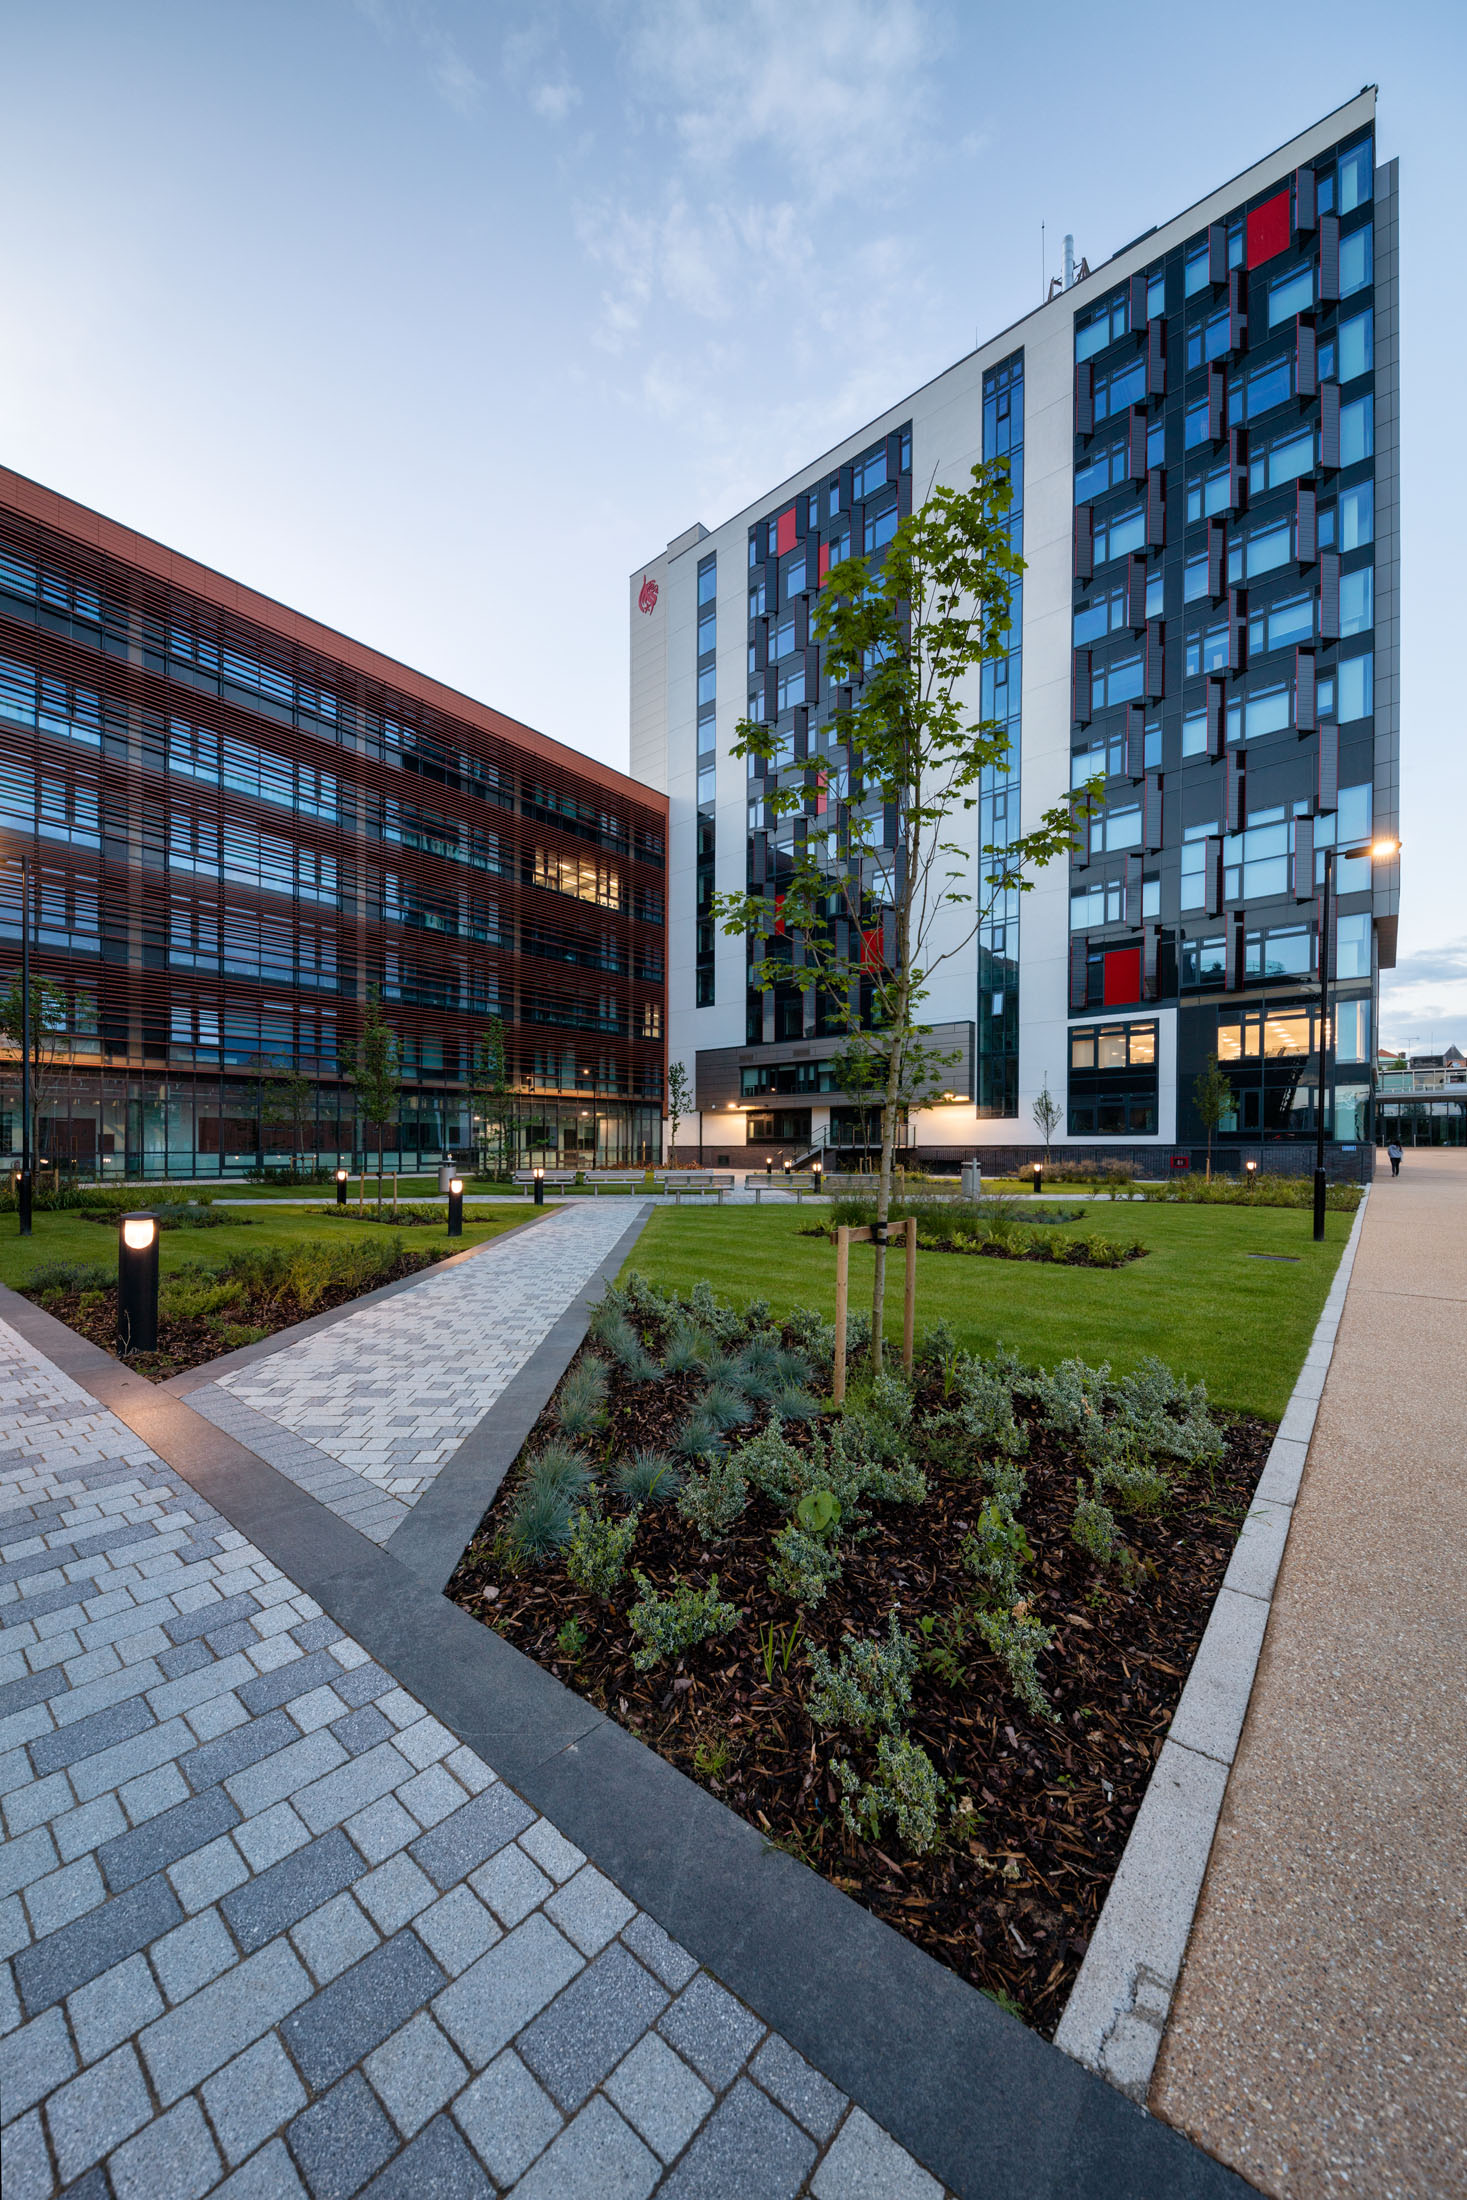
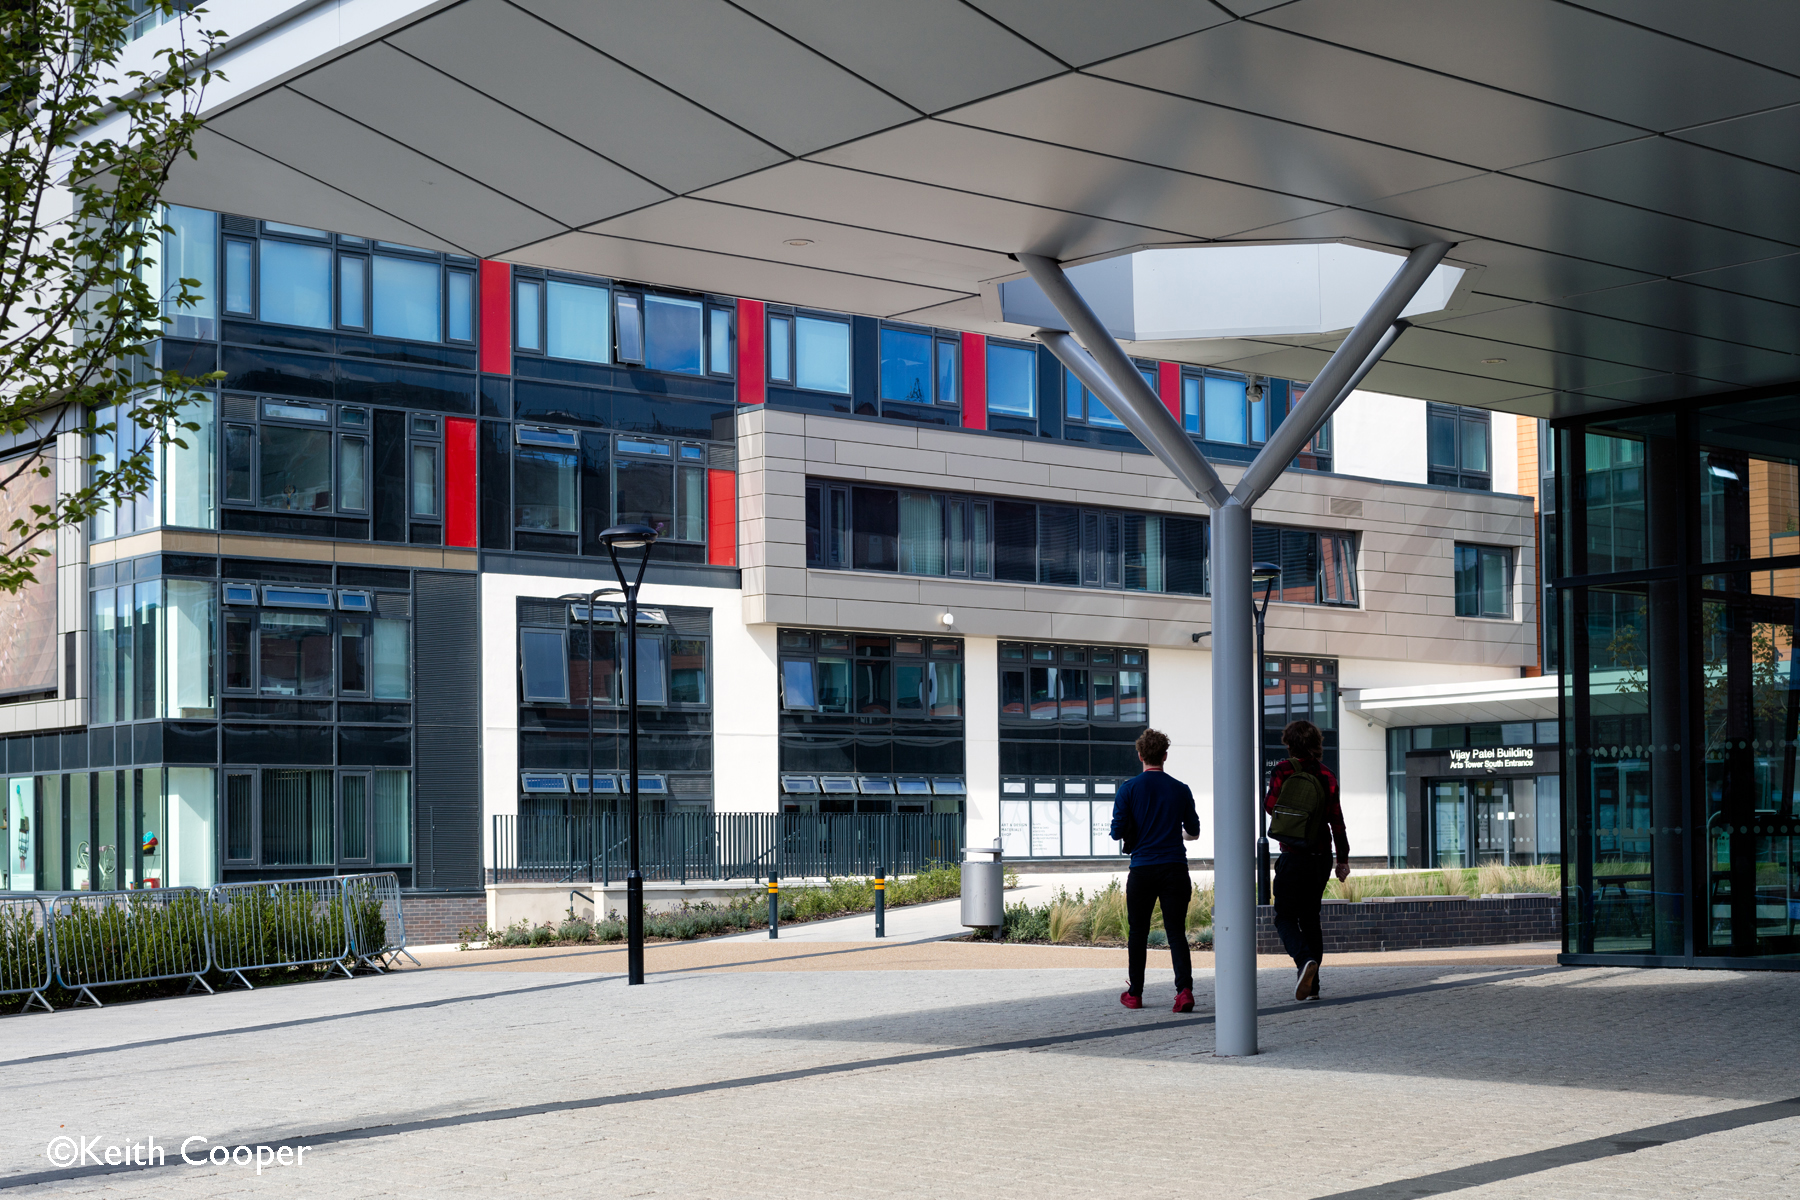
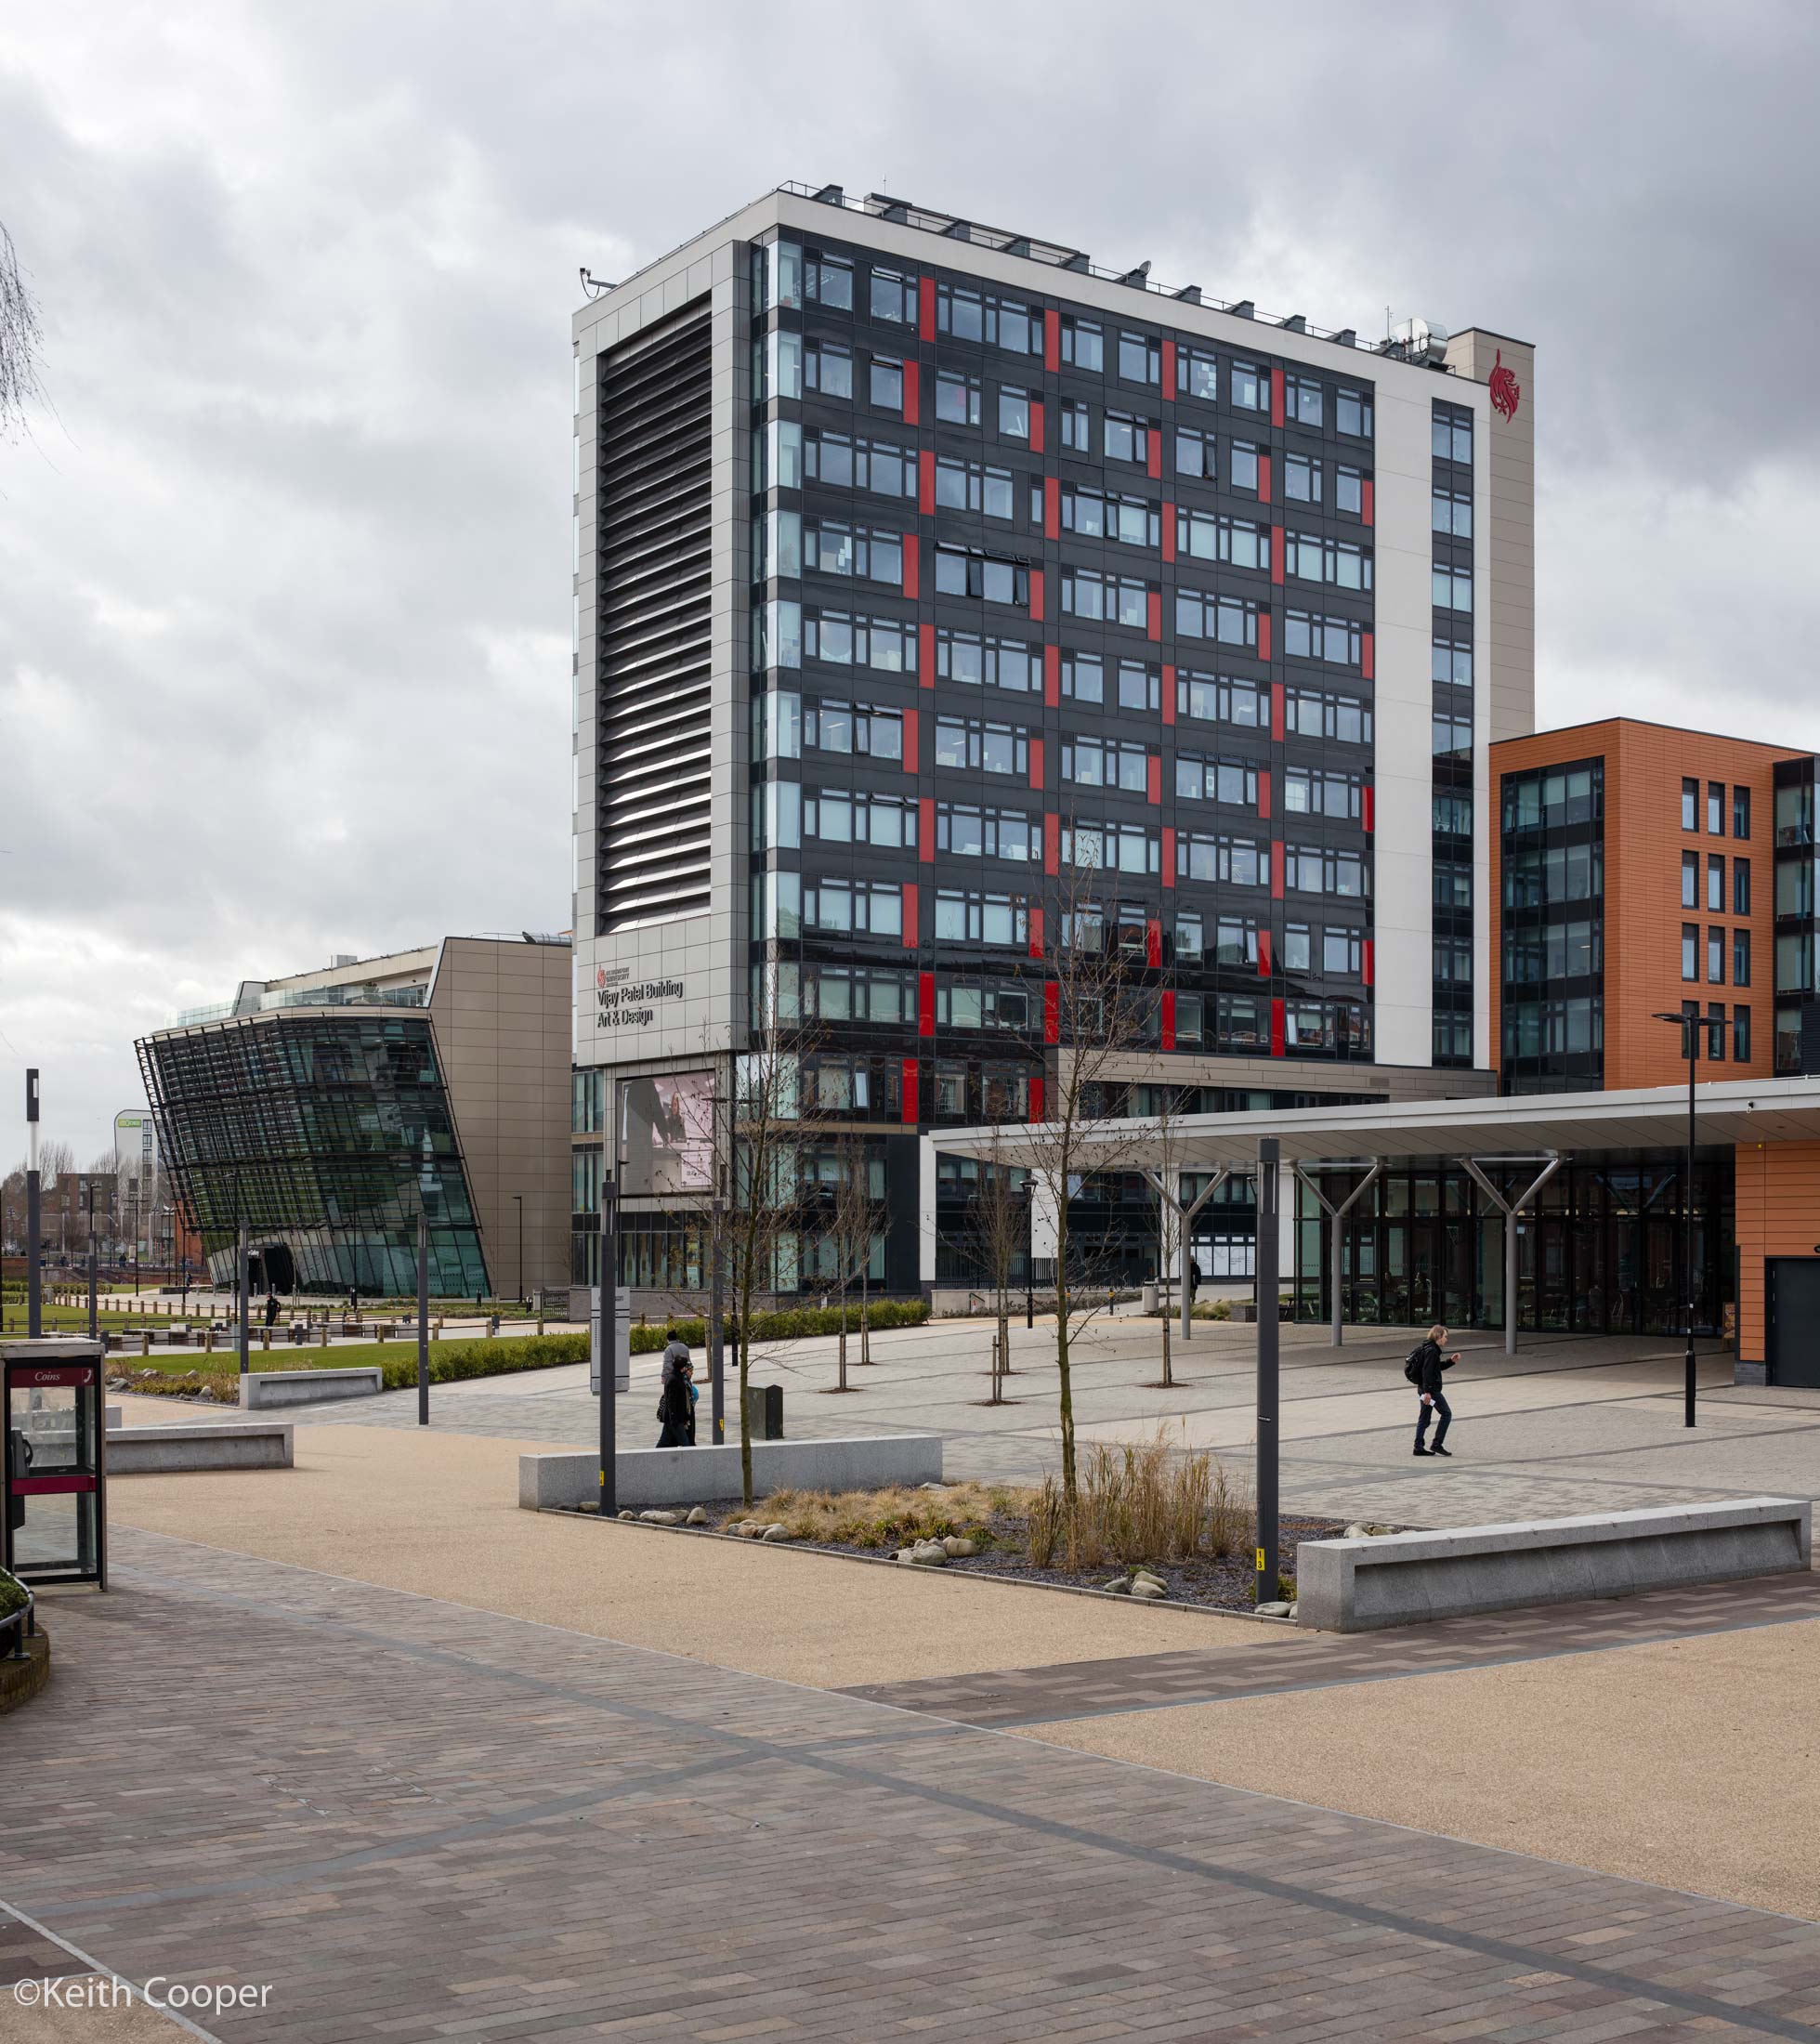
Note how much higher the Riverside building (the one in the middle) looks?
This is partly because we’re relatively close and I’m using a wide lens. It makes distant buildings look much smaller too.
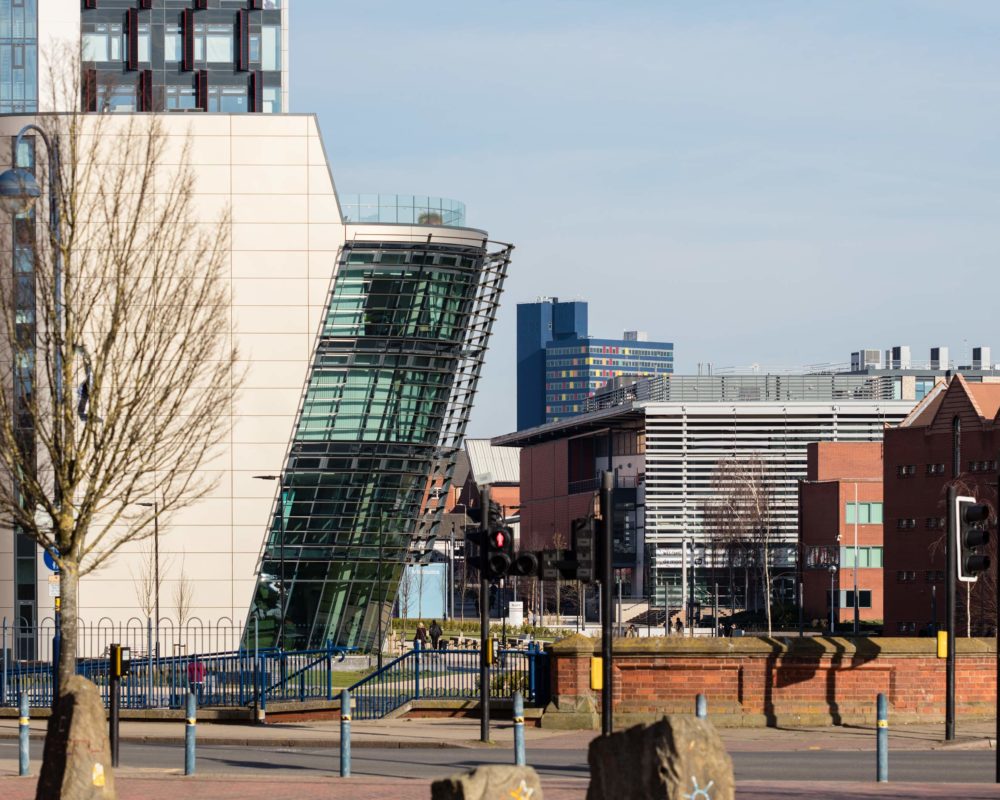
A much longer focal length (from further away) changes the relative proportions.
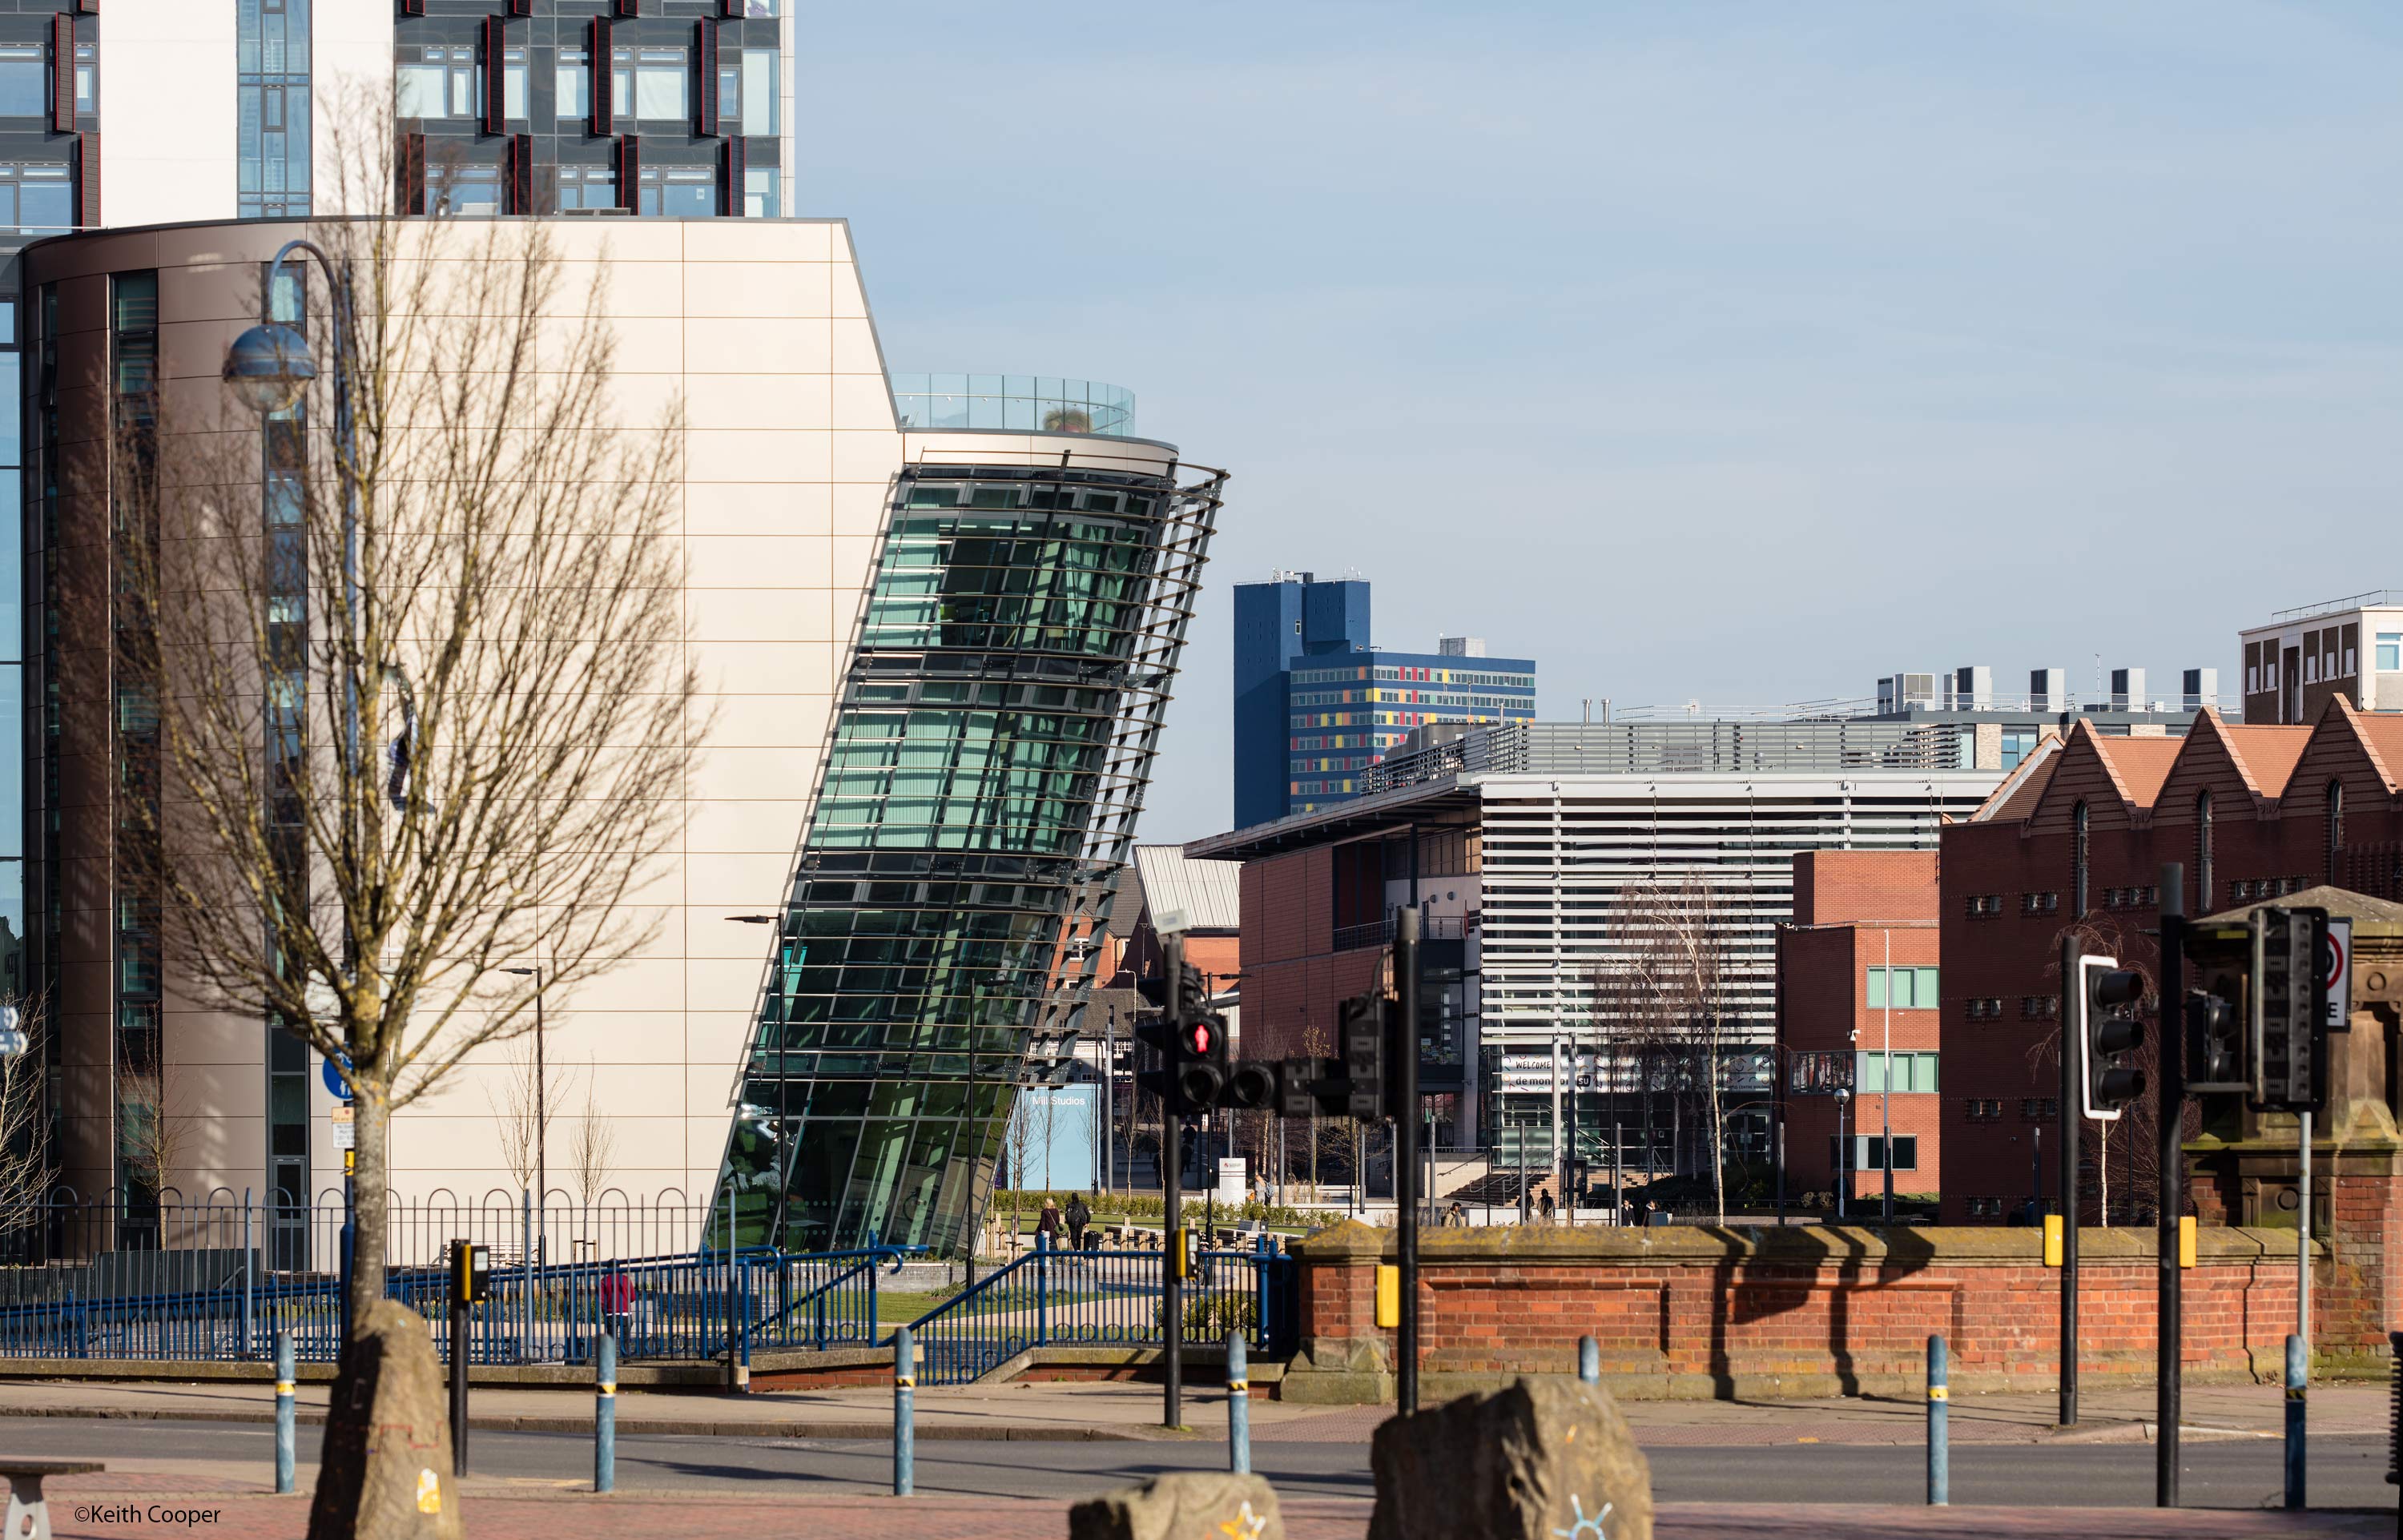
[TS-E 135mm lens with vertical shift]
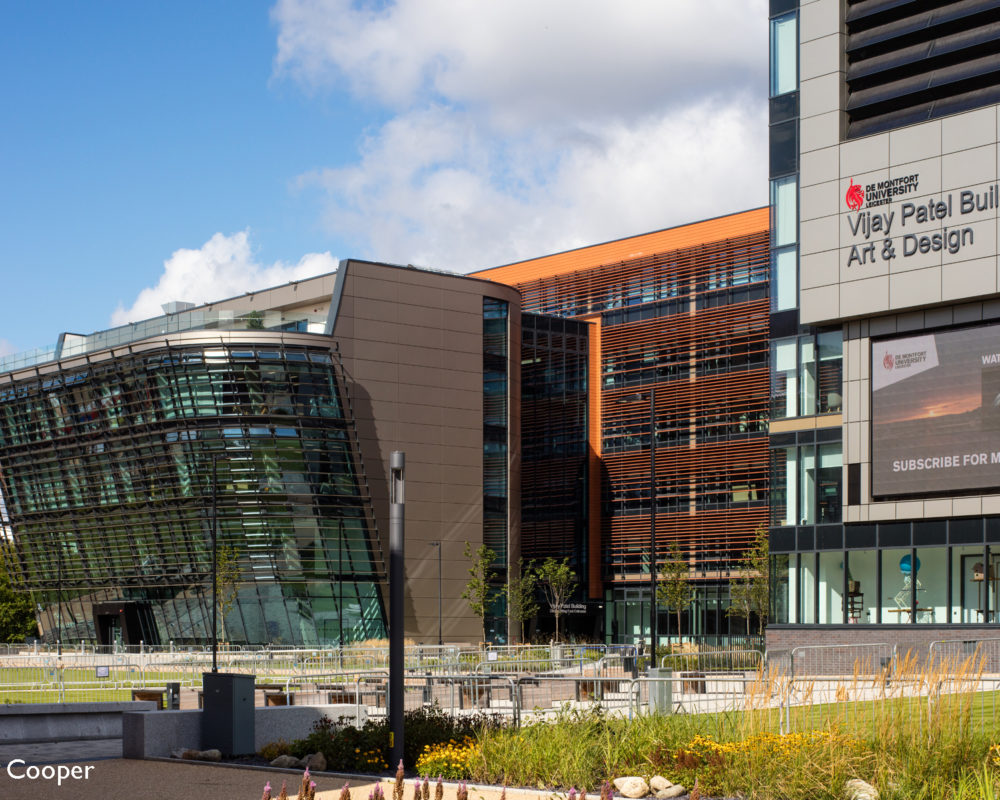
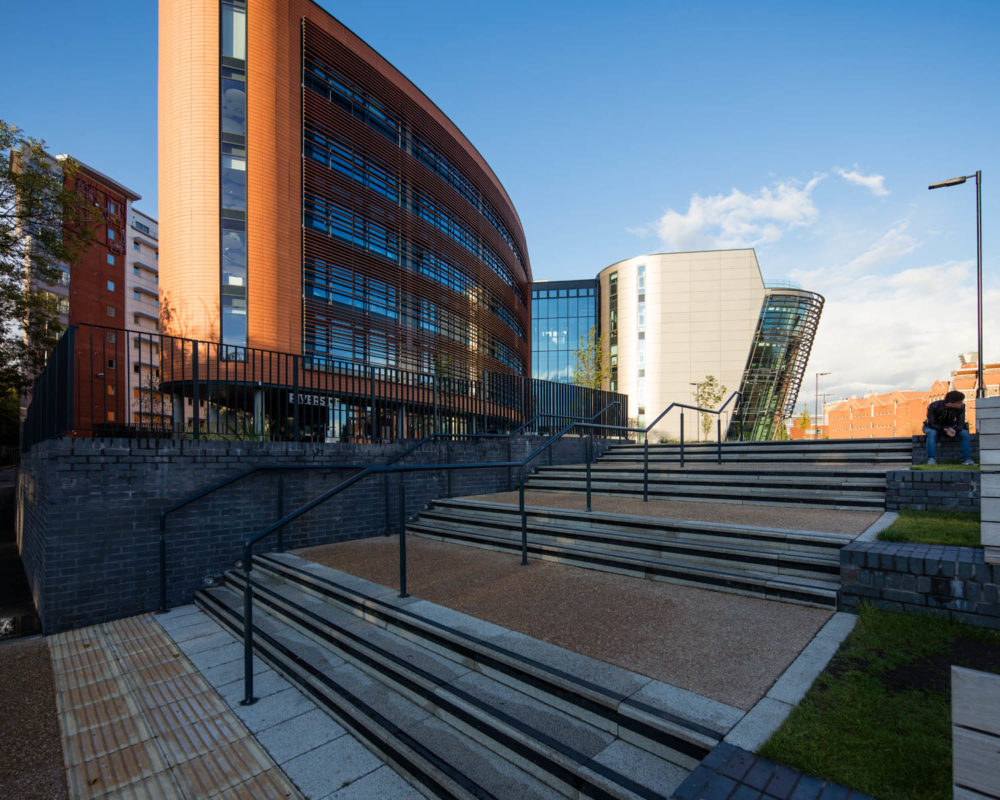
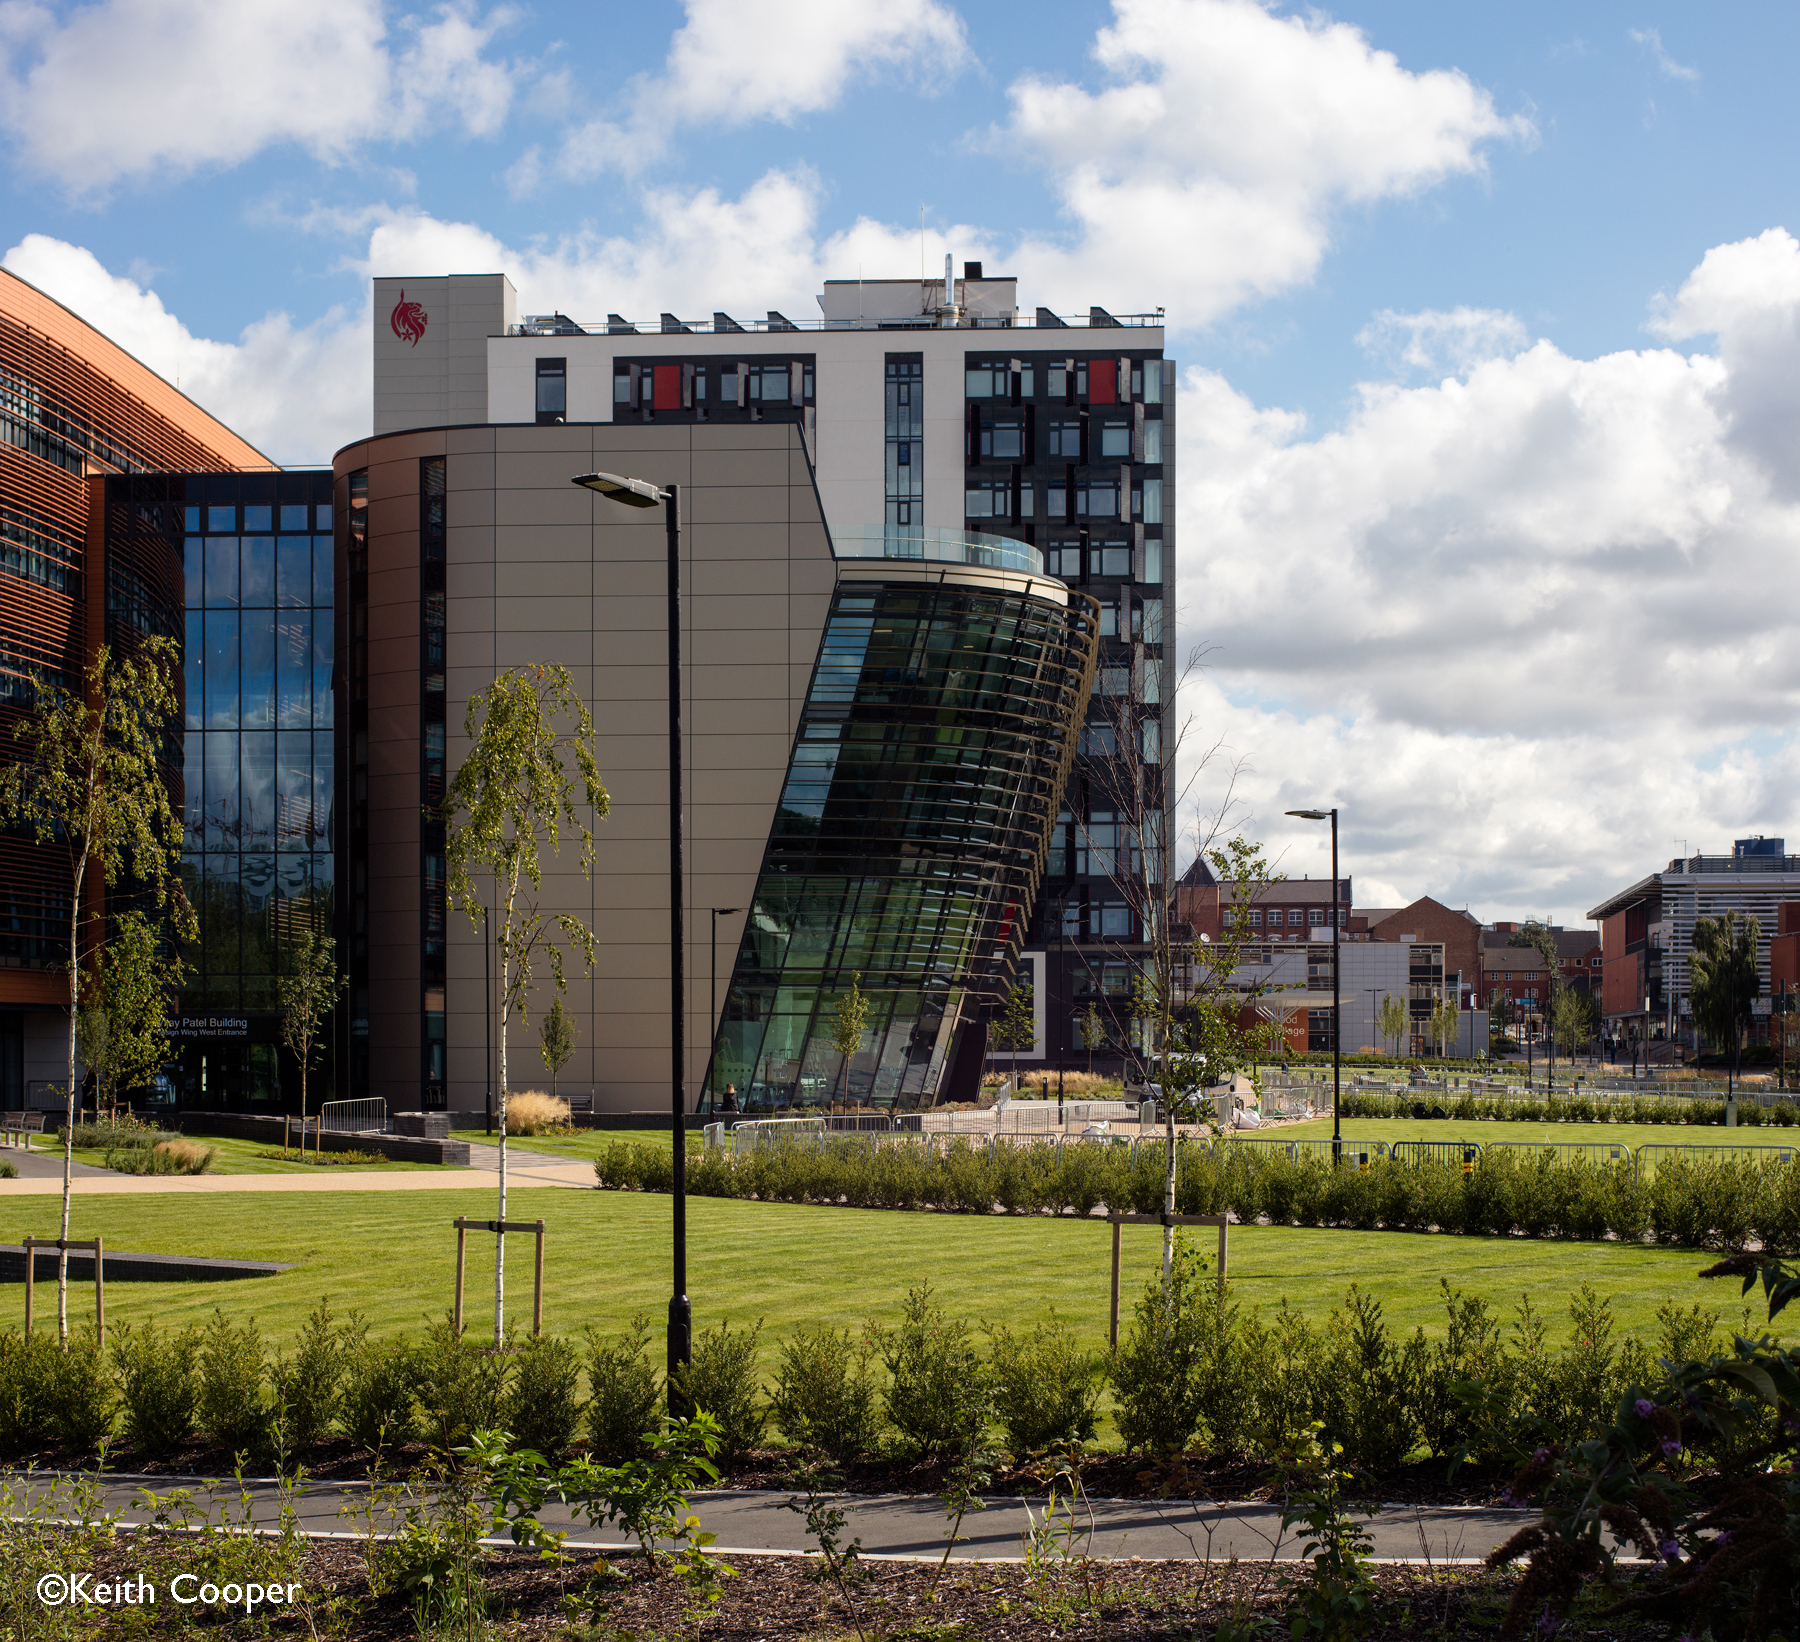
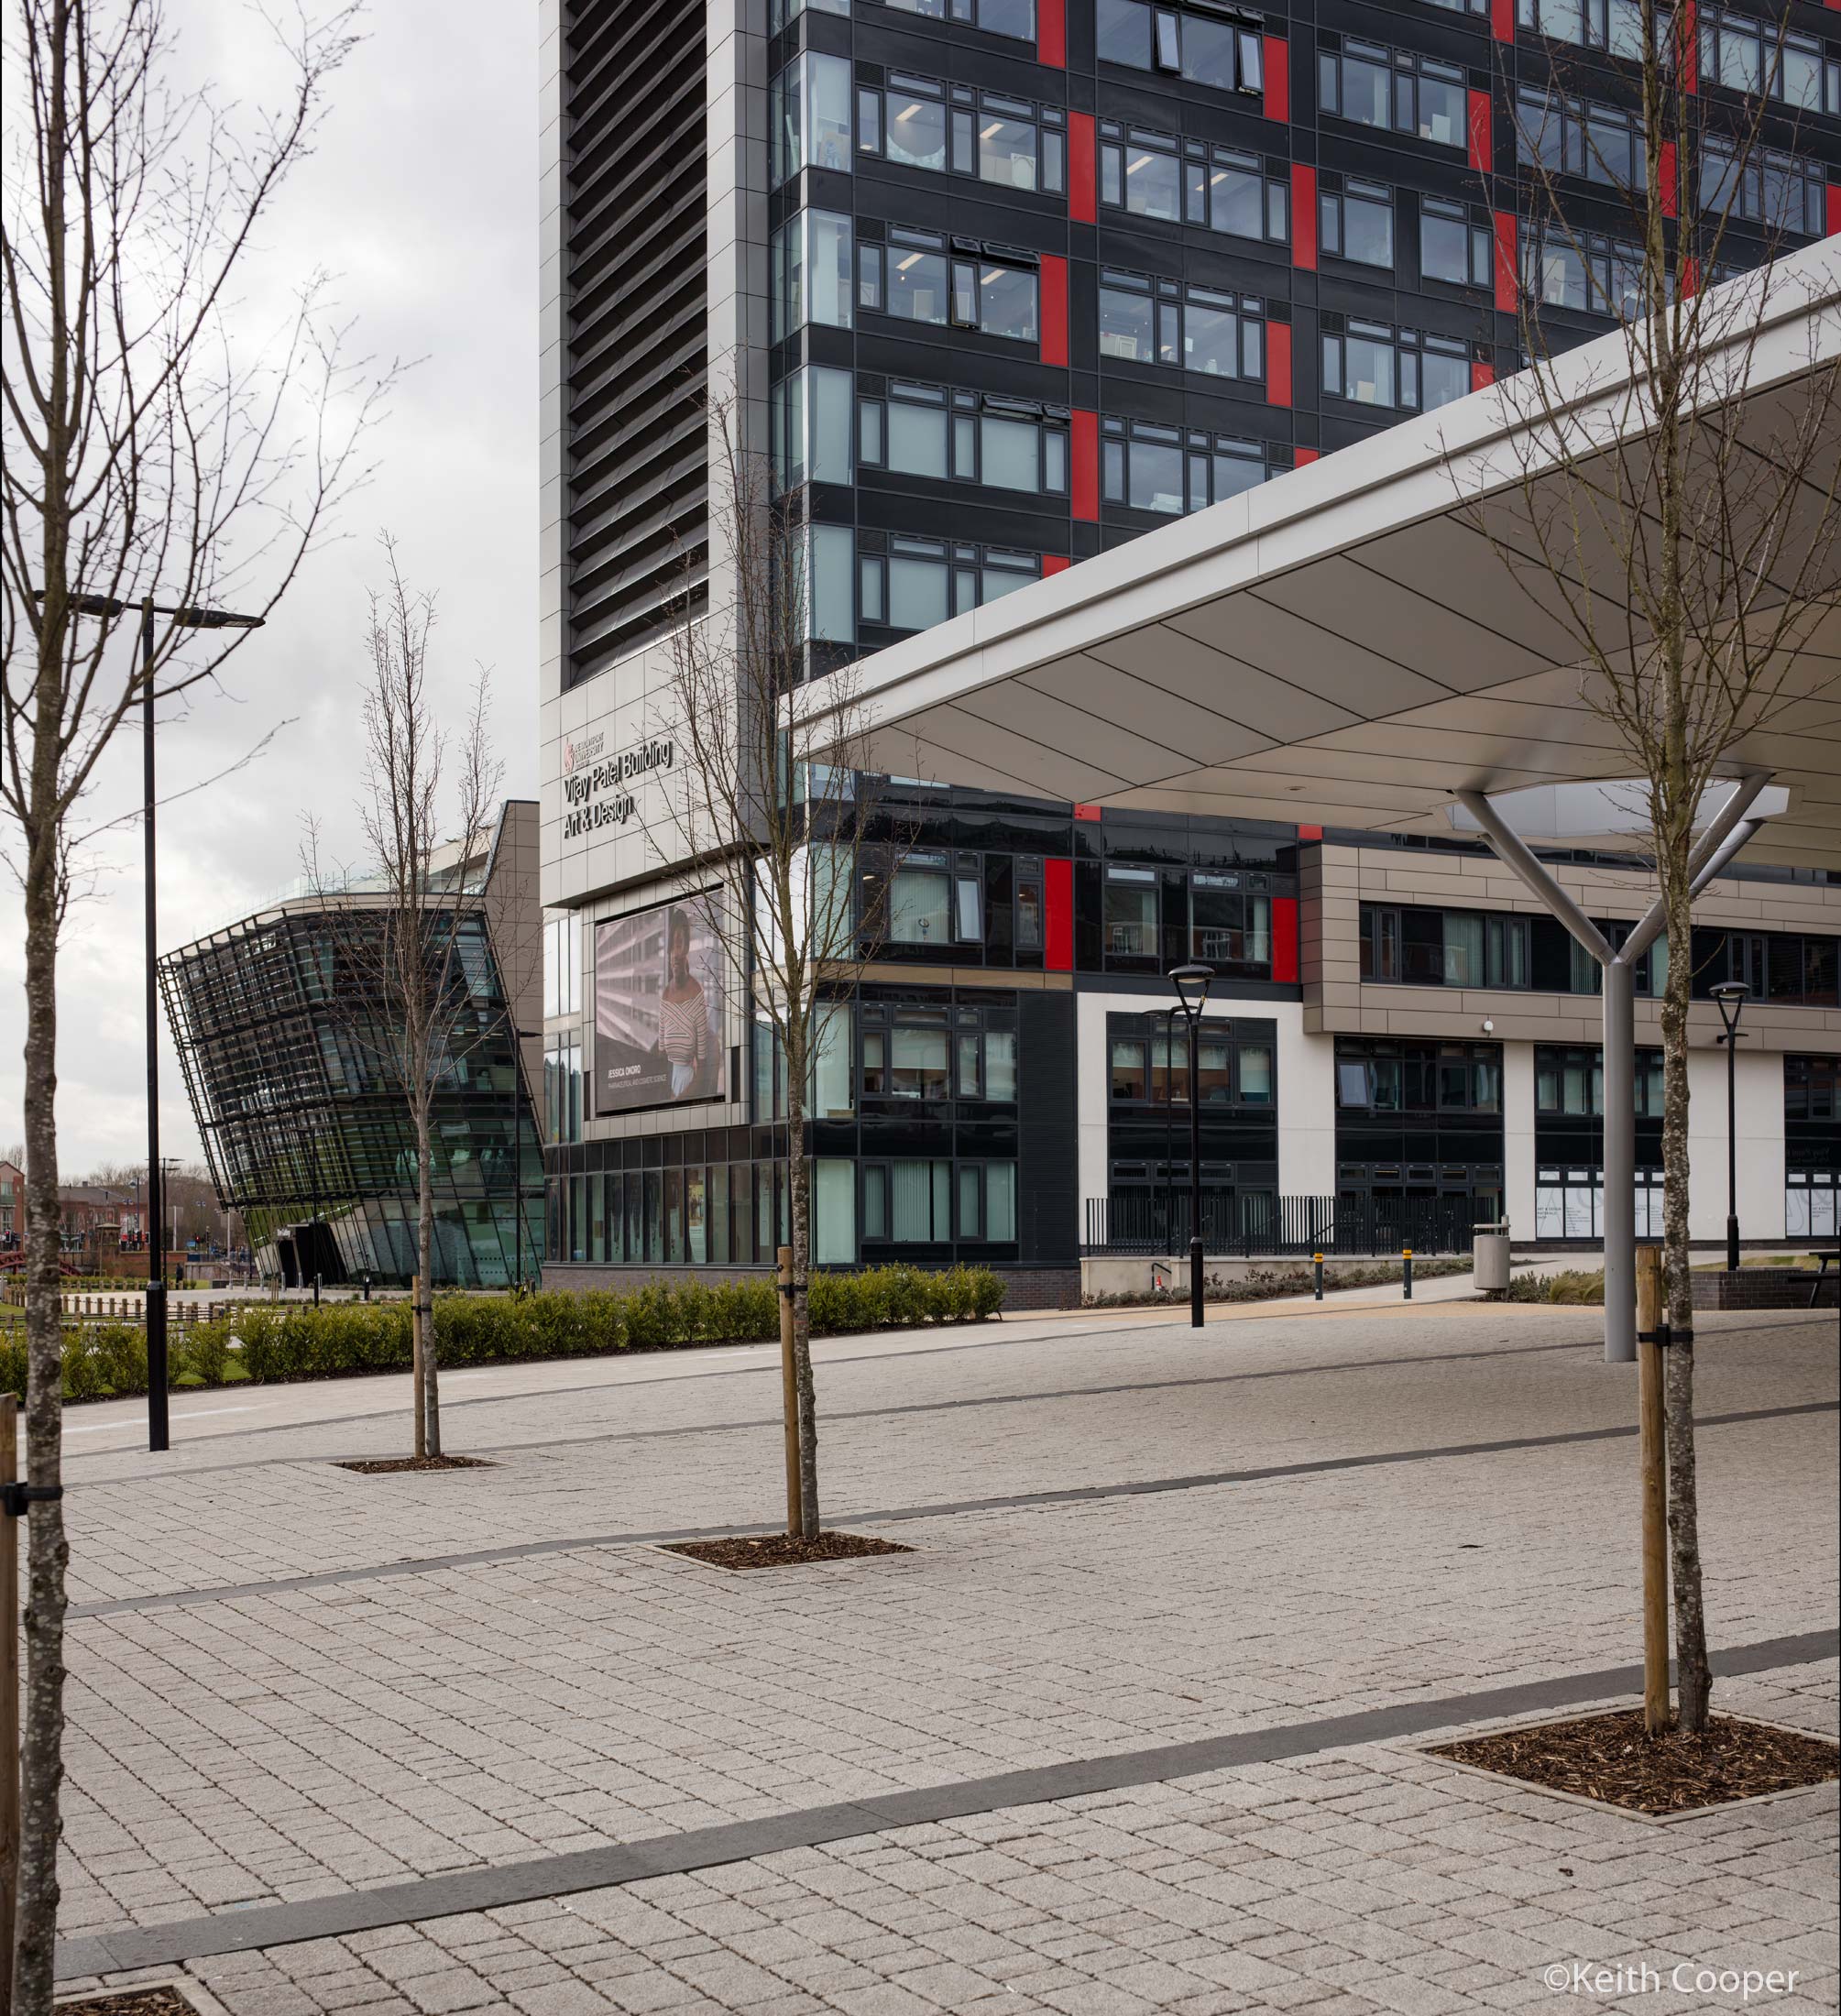
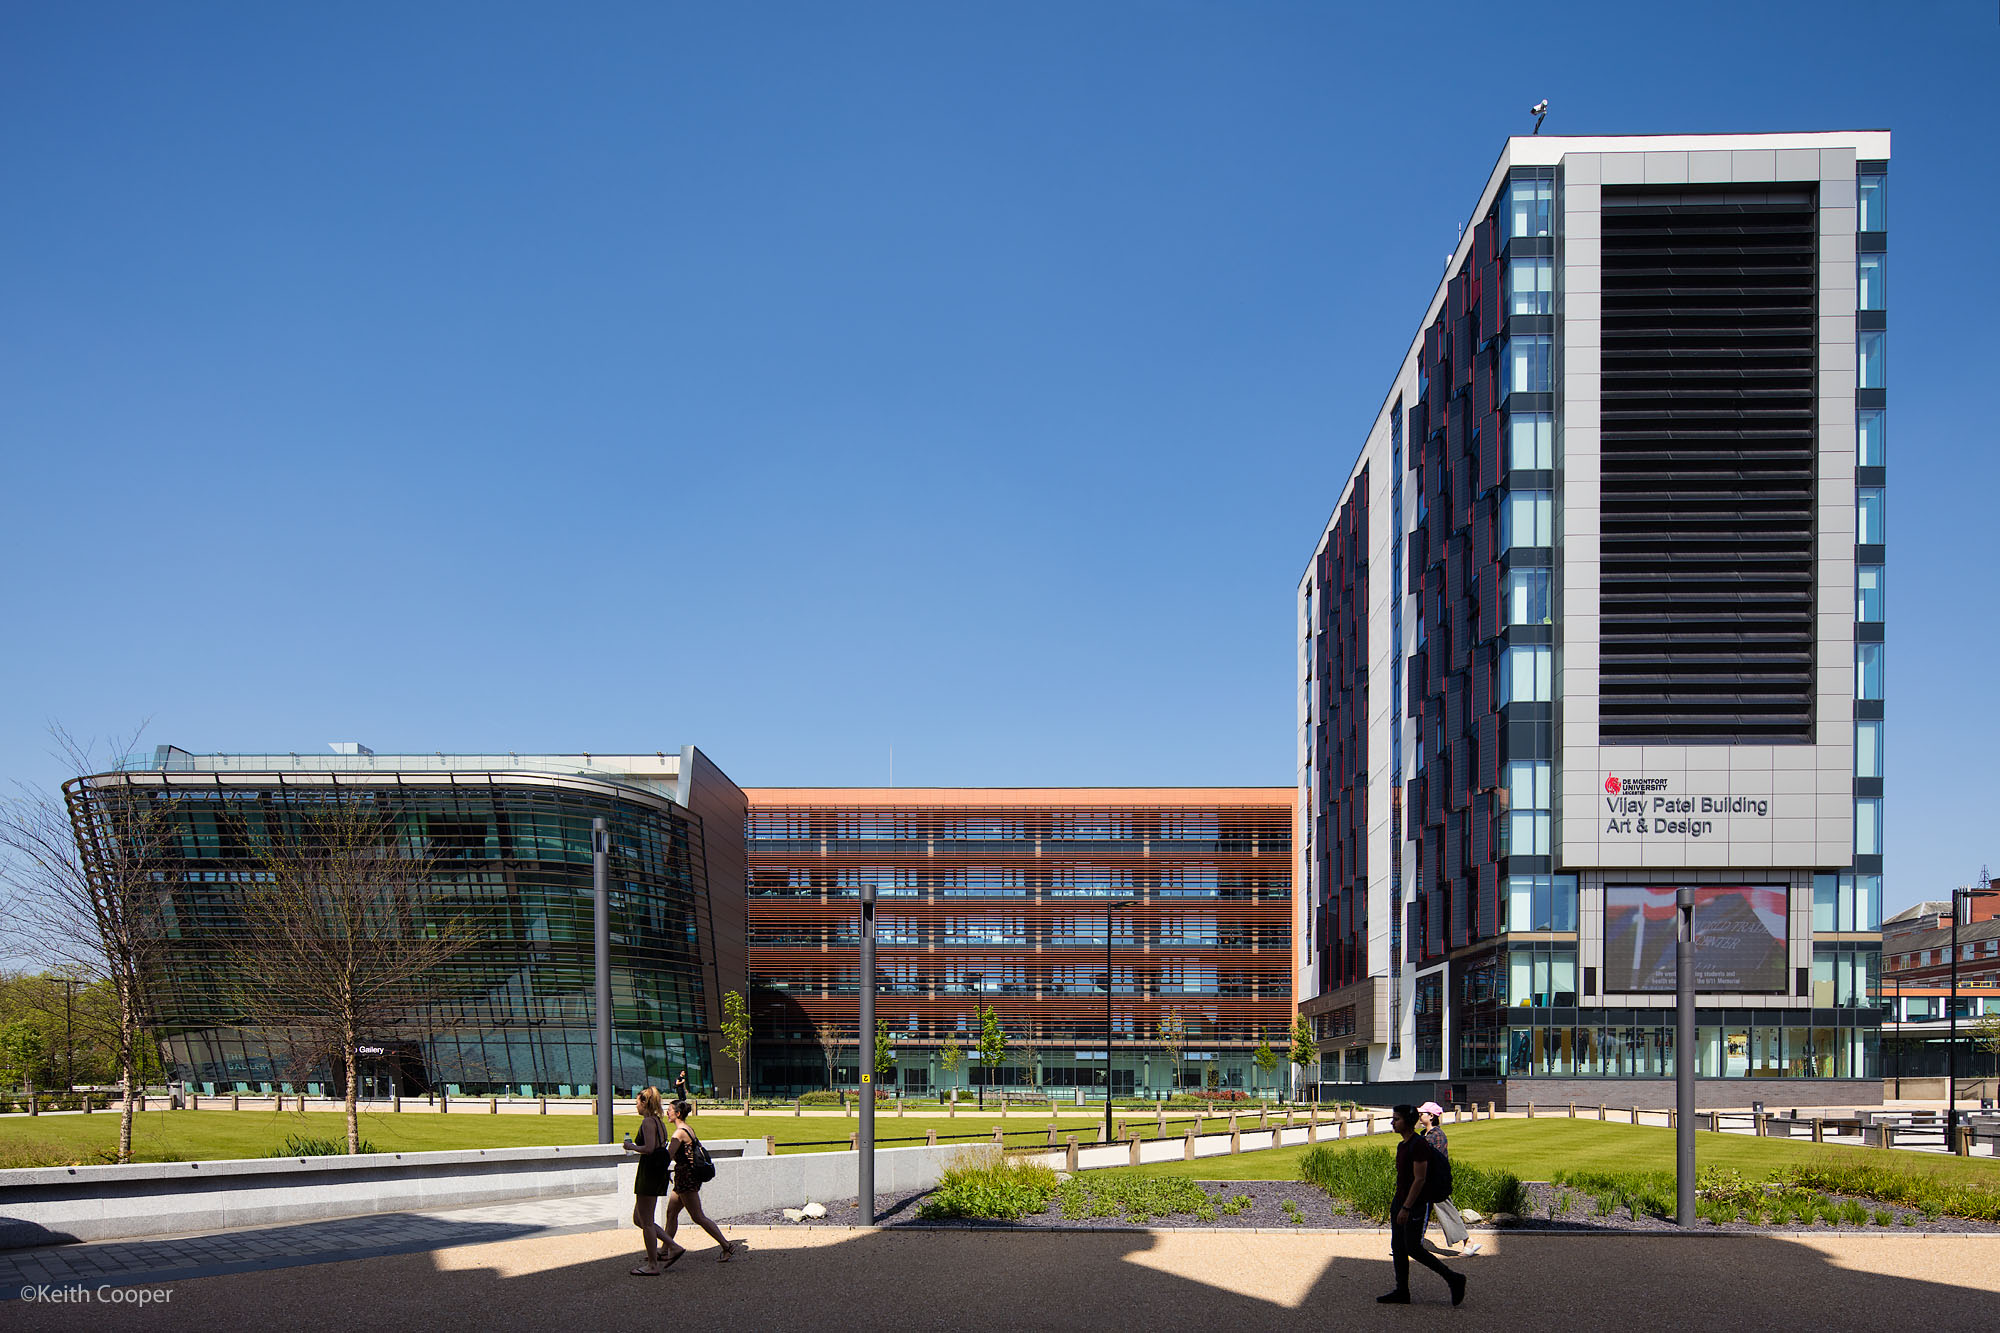
Using a 55mm lens with shift keeps parts of the buildings in a more natural perspective, but only if you can get far enough away.
[55mm lens with shift]
[55mm lens with shift]
[55mm lens with shift]
[55mm lens with shift – two images stitched]
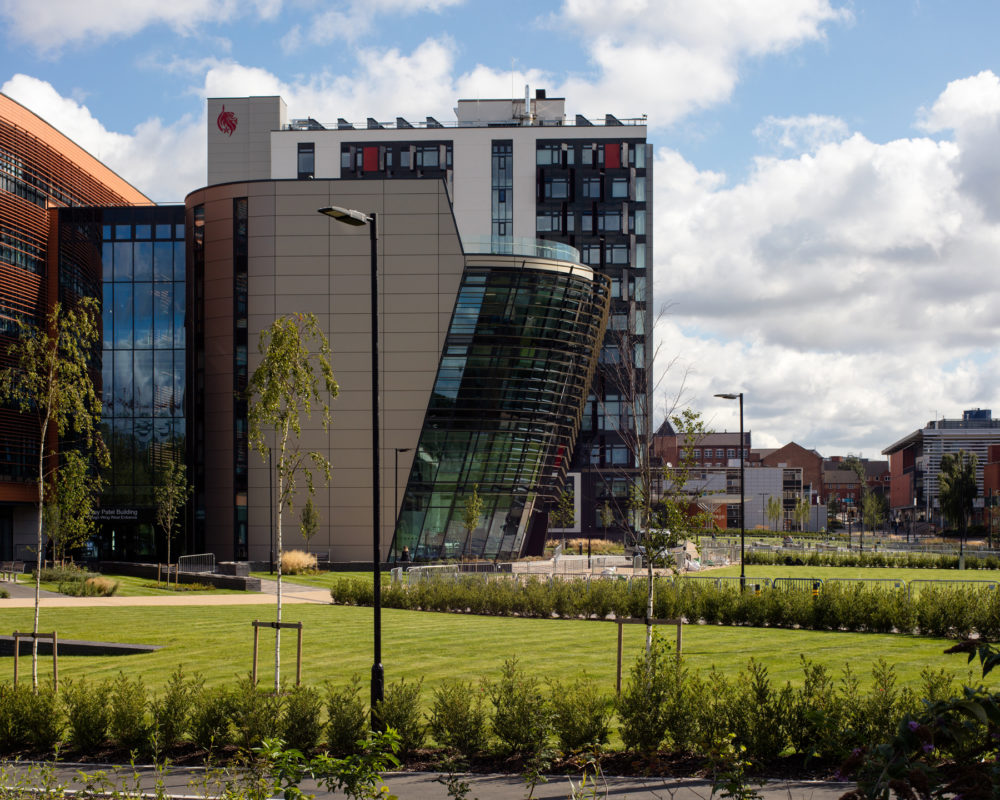
A slightly longer lens (TS-E90mm) gives a closer feel and not the tight crop of the TS-E135mm
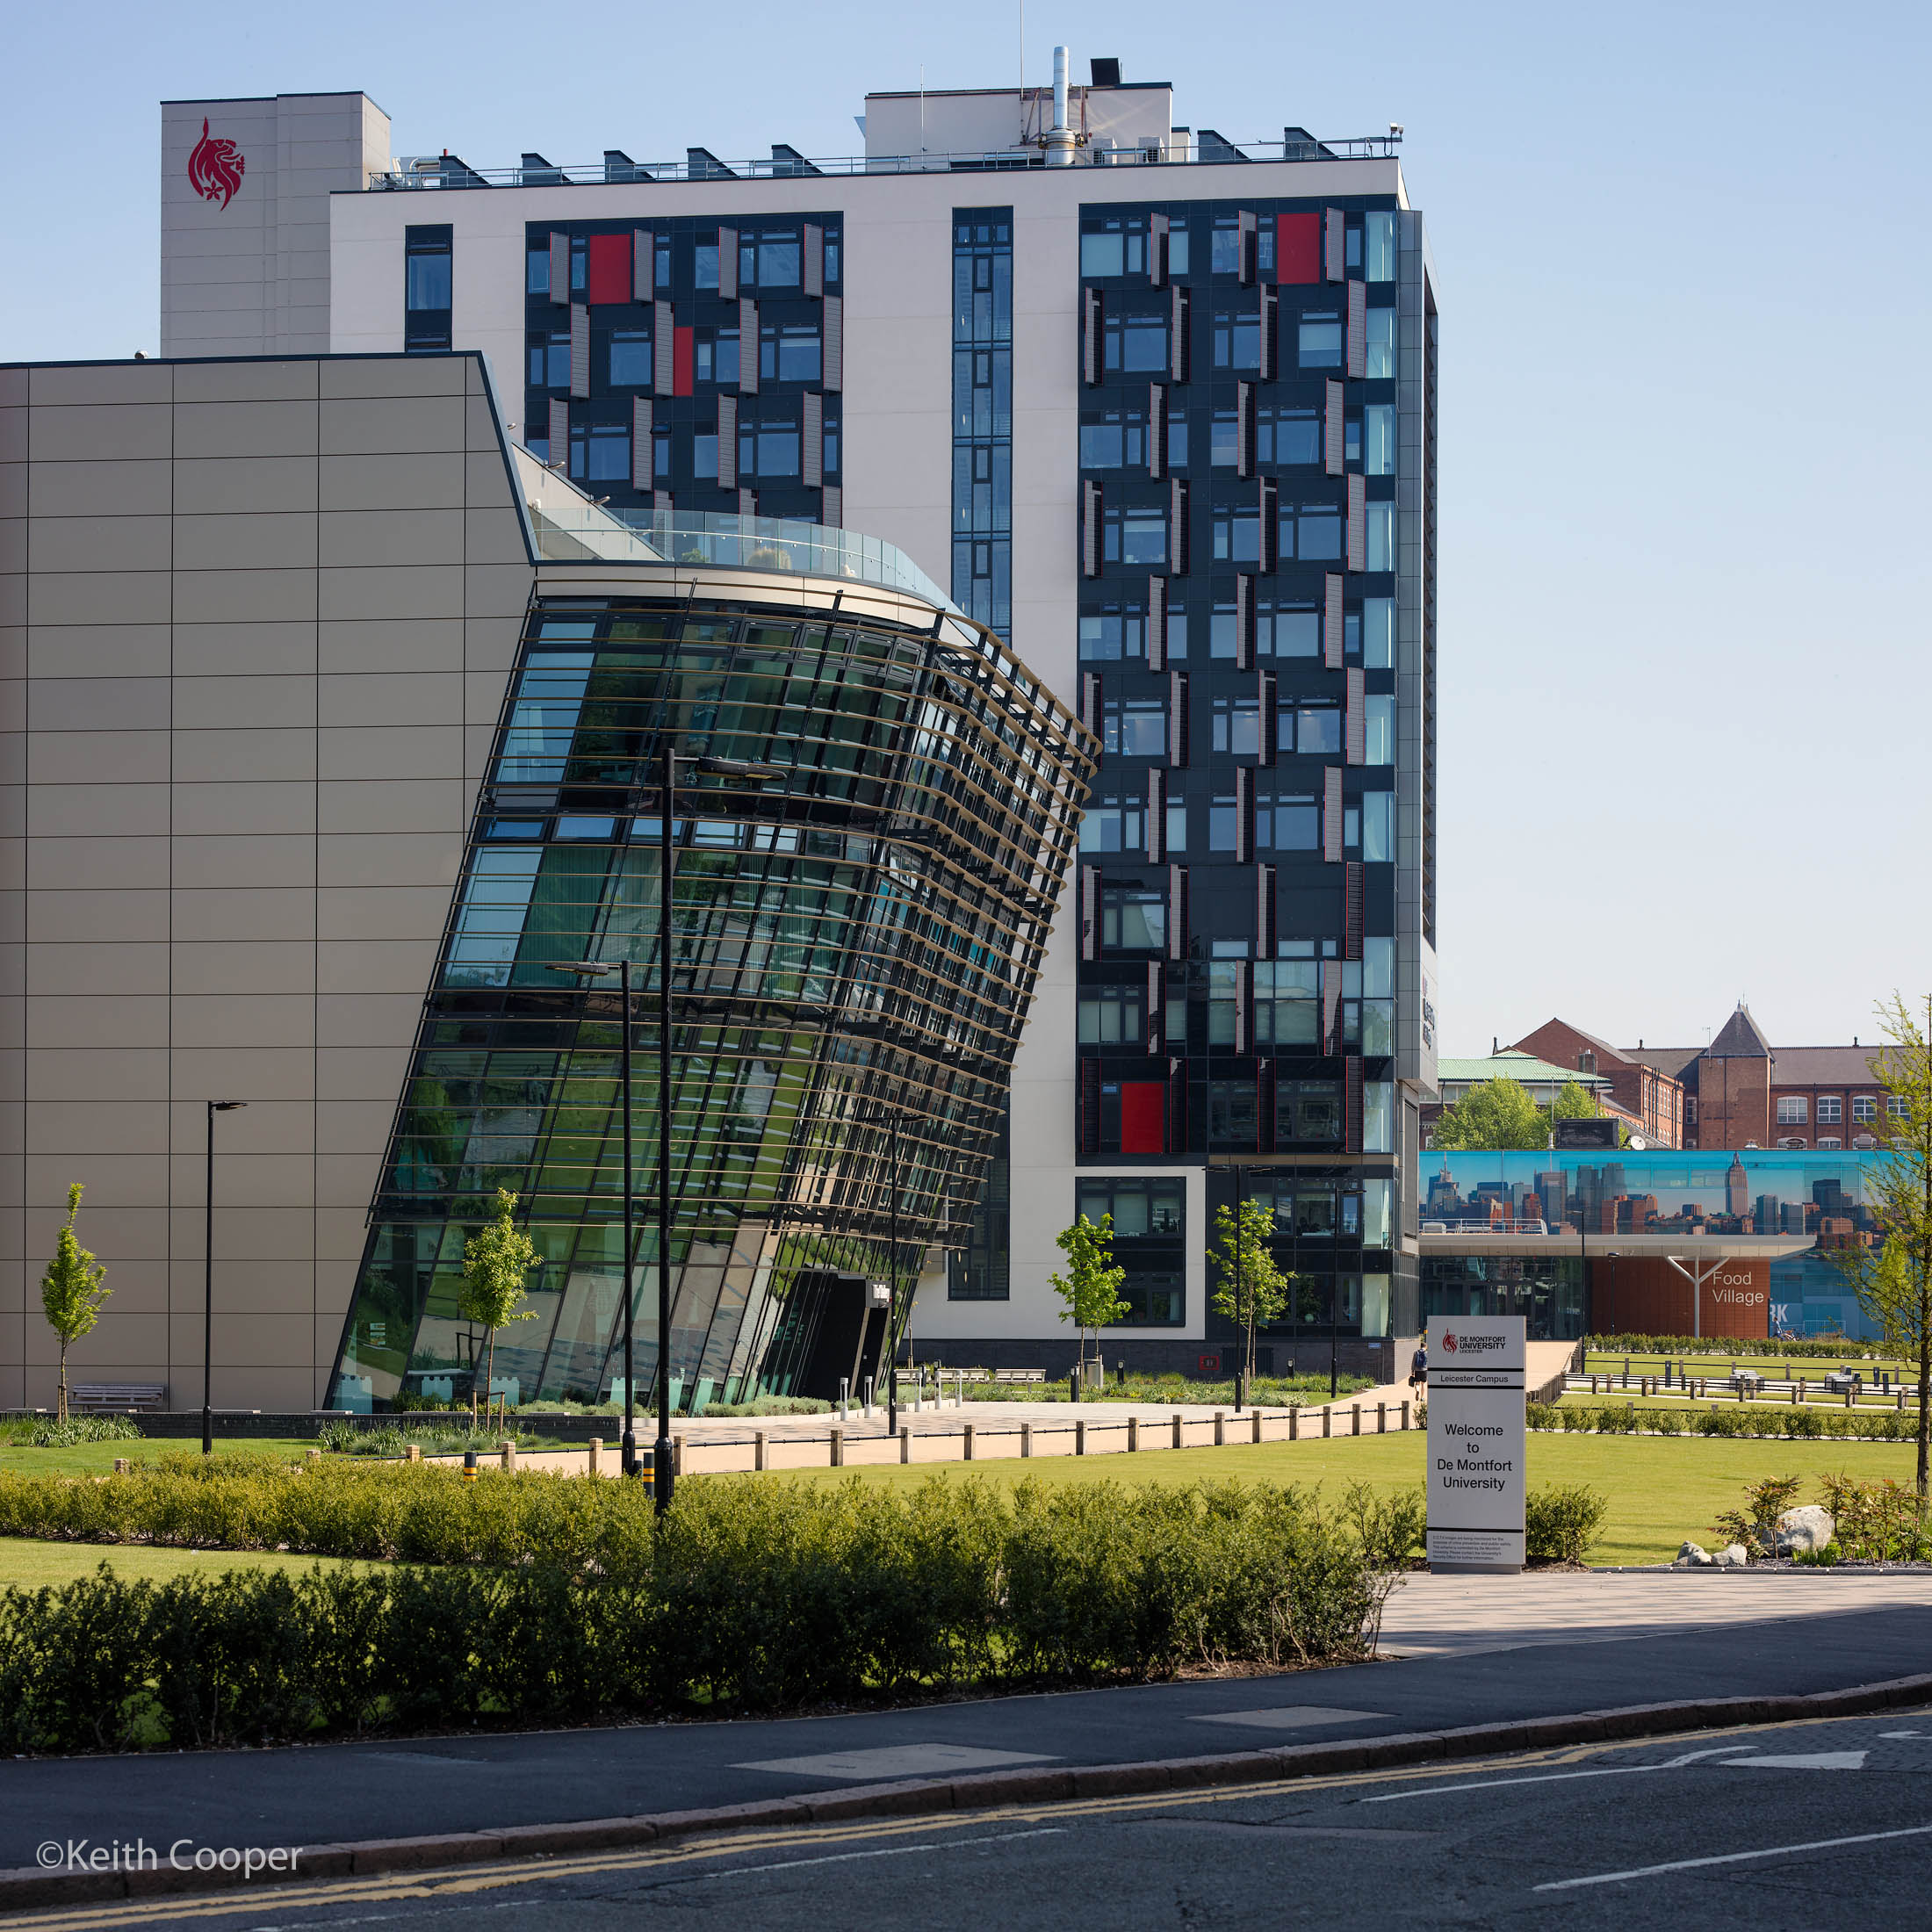
Note how the different focal length changes the height ratios of the various parts of the building – your picture depends on the lens used and just as importantly, where you are standing.
Why shift?
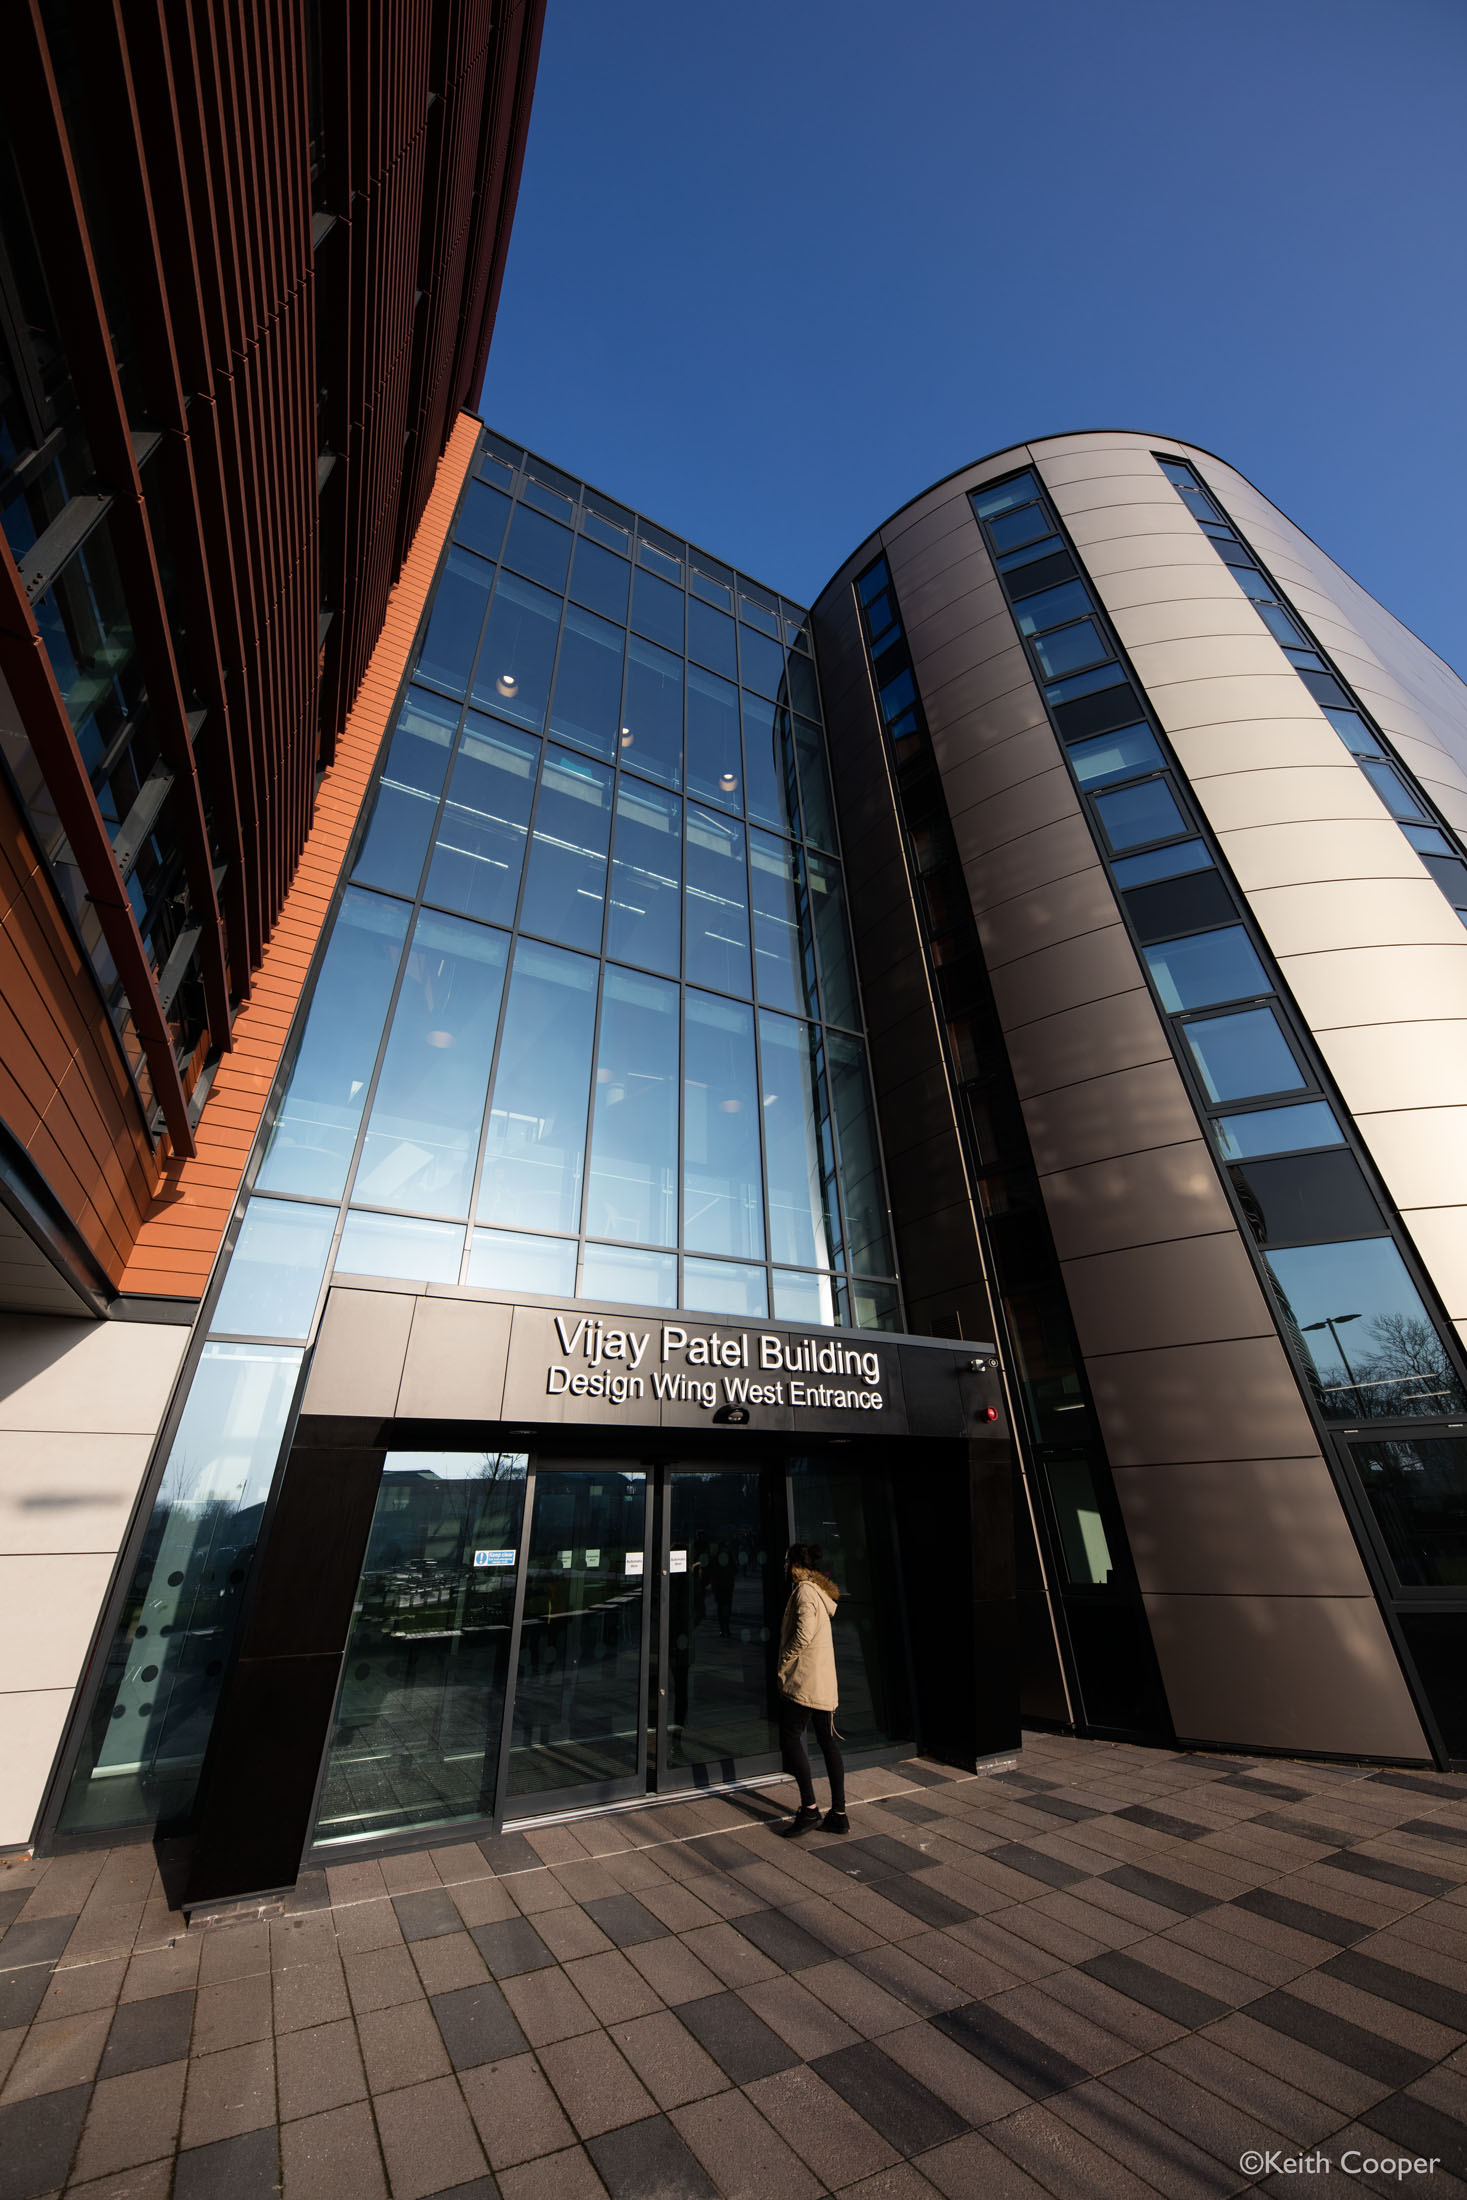
If you look at the images above you’ll notice that in all of them, vertical lines are truly vertical.
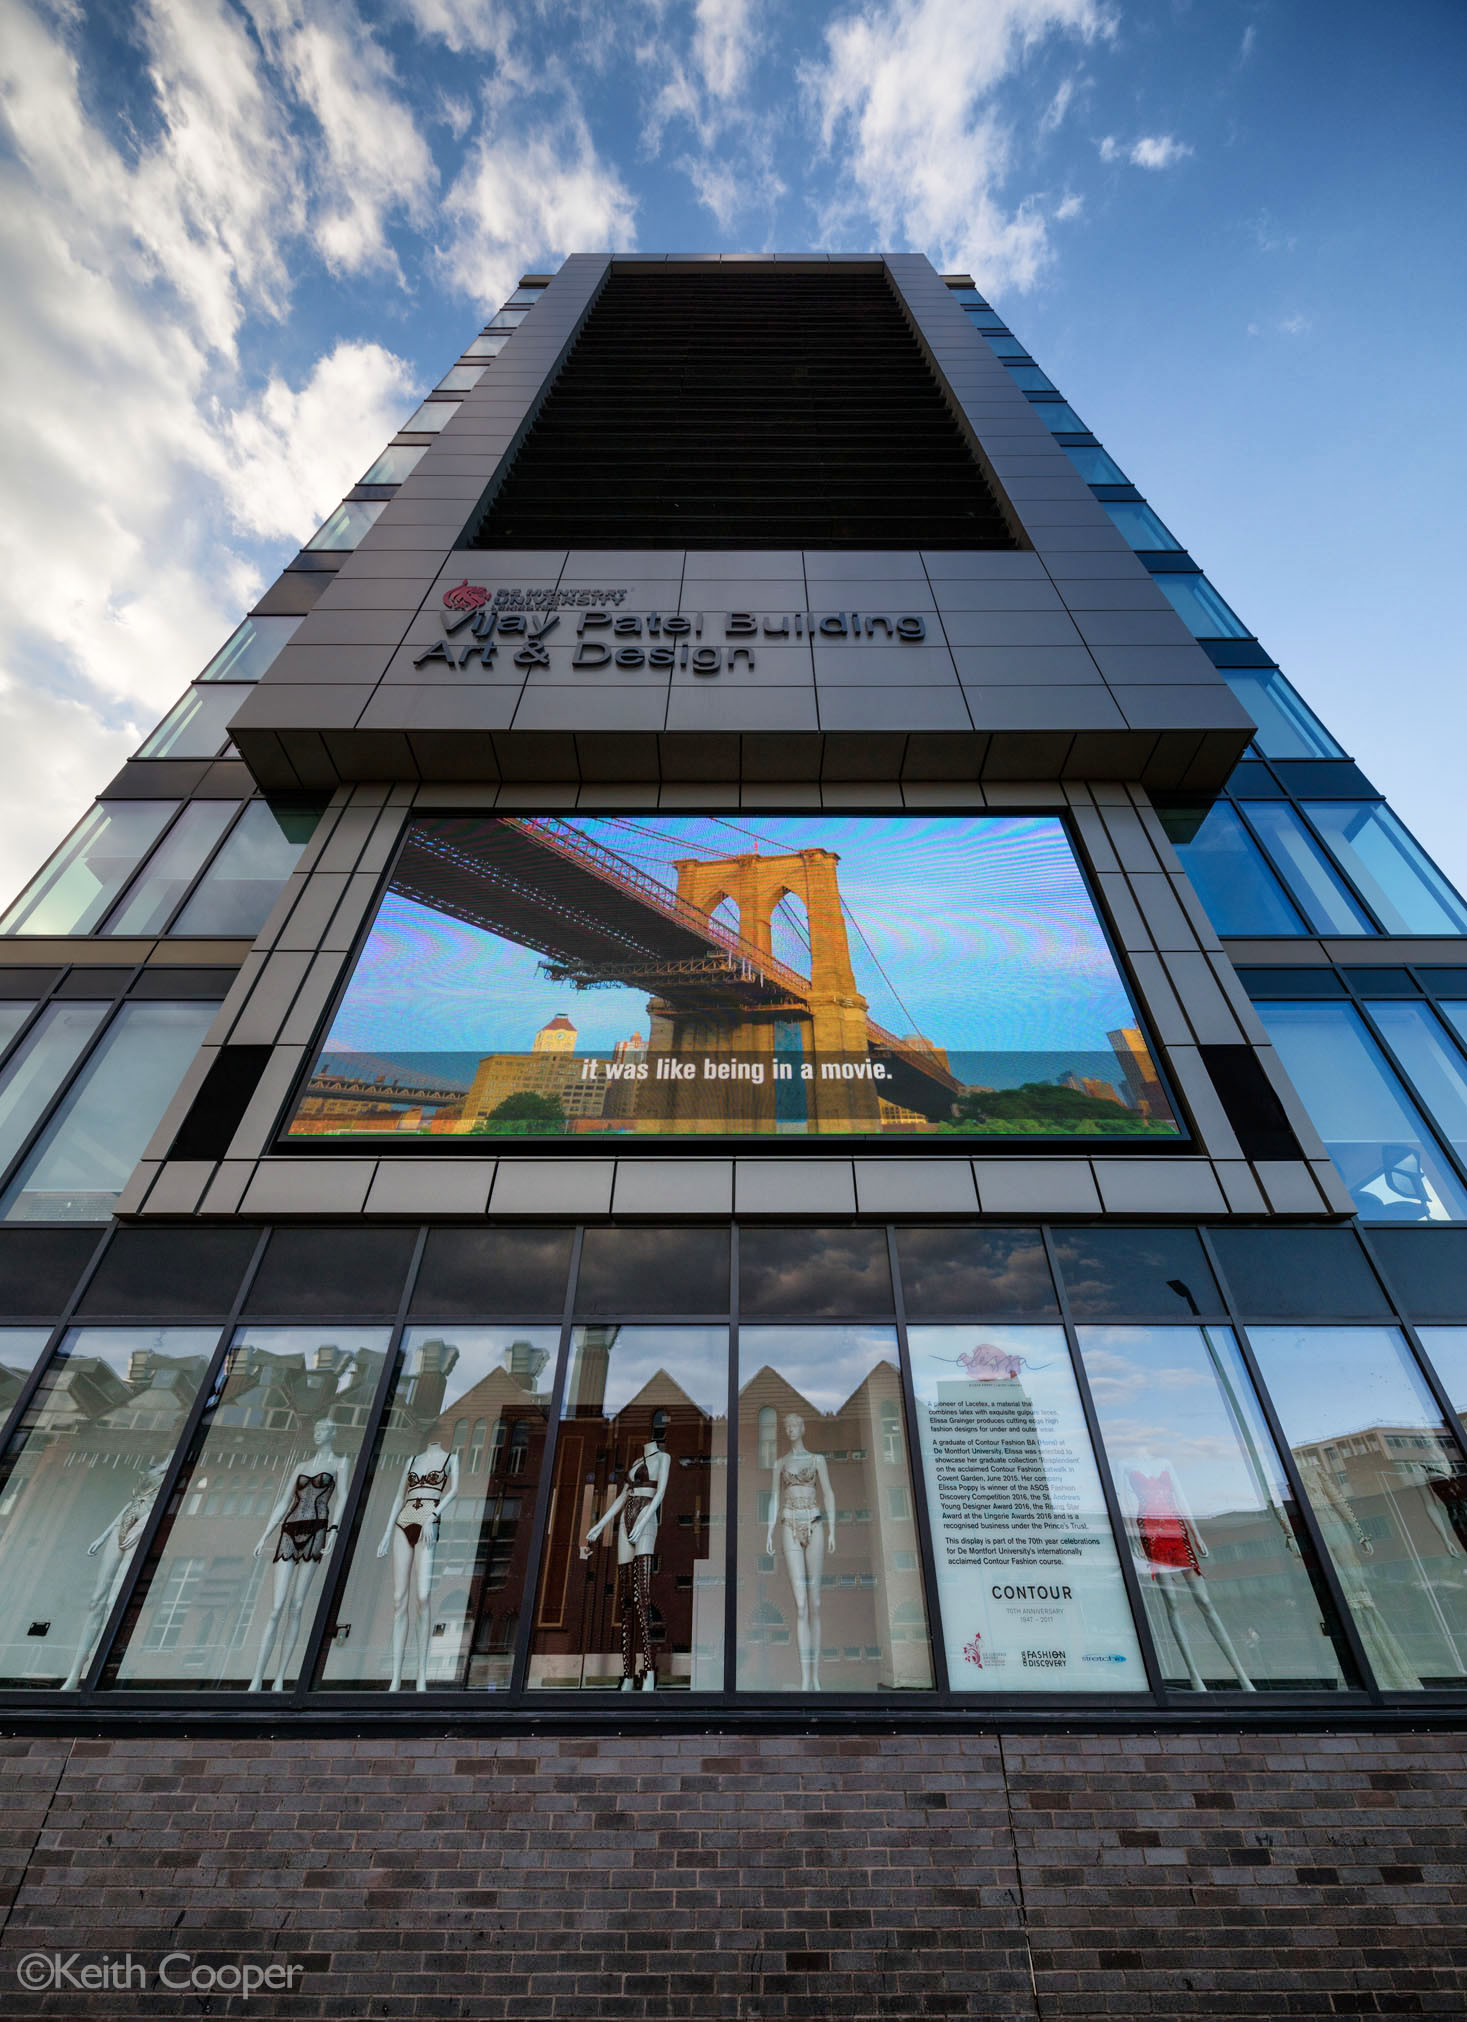
The moment you point a camera upwards, you get the leaning building problem. This is exacerbated with ultra wide lenses.
[12-24mm at 12mm]
You can ‘fix’ such leaning with software, but it’s difficult to predict what will be left in the cropped result.
One other approach is to use a very wide lens, keep the camera level and then crop what you want.
You could crop off the bottom off this view.
[Sigma 12-24mm at 12mm]
[Samyang 14mm]
I’m not saying that you should never have converging verticals, just that it’s something to be used with care.
One personal observation – I produce images for designers and architects, and whilst some designers seem to favour unusual and dynamic angles, most architects want photos that look closer to their visualisations and drawings…
I look at a lot of other working photographers’ web sites and when they have an ‘architecture’ section, you can spot the ones who’s primary work is weddings and editorial work, in the dearth of buildings showing good verticals 😉
[Sigma 12-24mm at 12mm]
Keeping the camera level requires a good eye for how the foreground is going to work in your composition, or visualising just what you’ll crop out later.
[Sigma12-24mm @12mm]
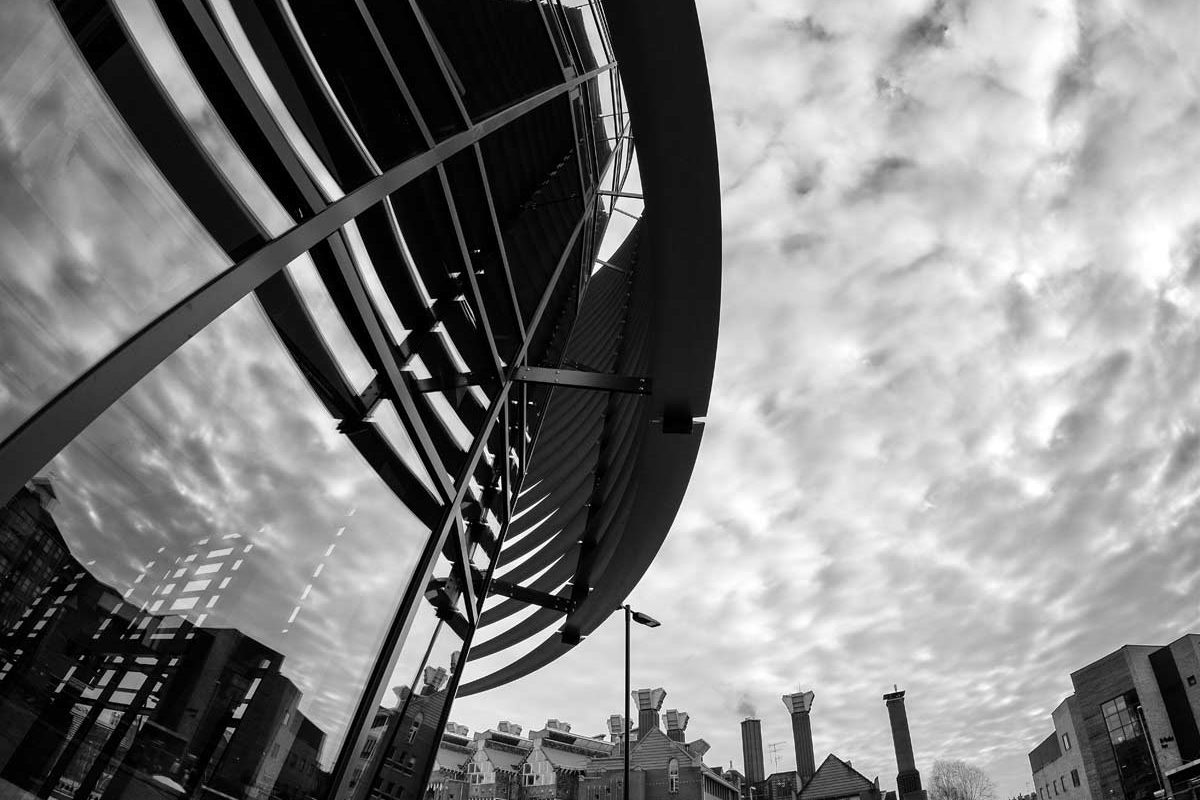
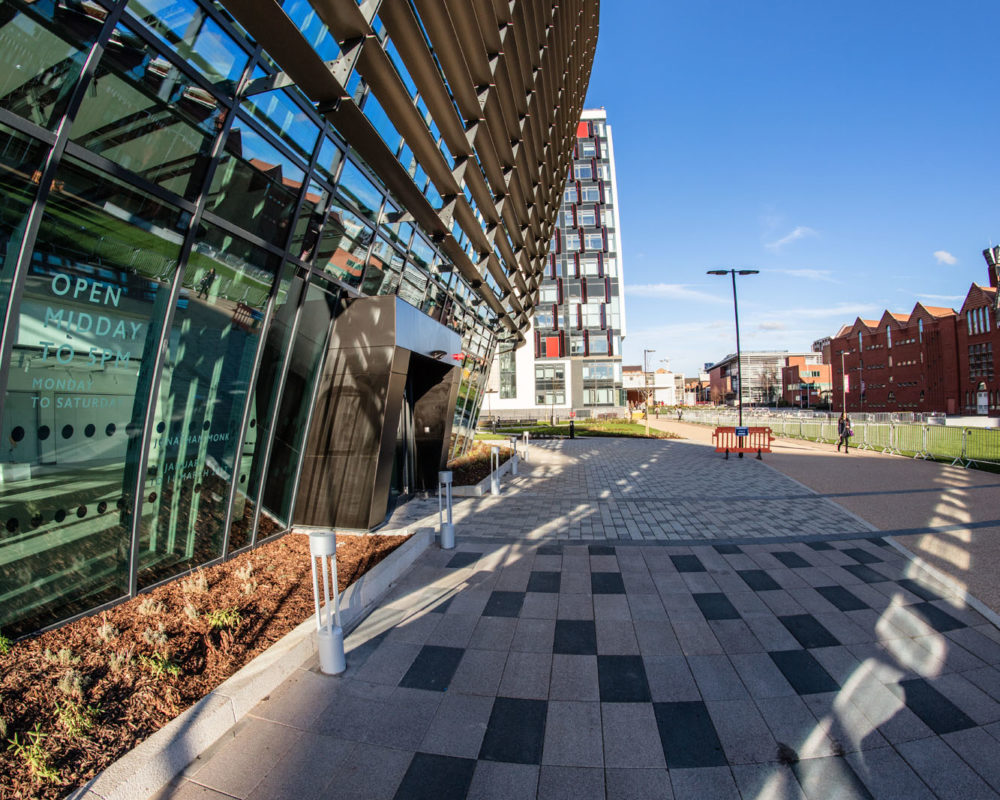
Of course, you could go really wide, with a fish-eye lens. These come in different designs with different projection geometries and lend themselves to striking views.
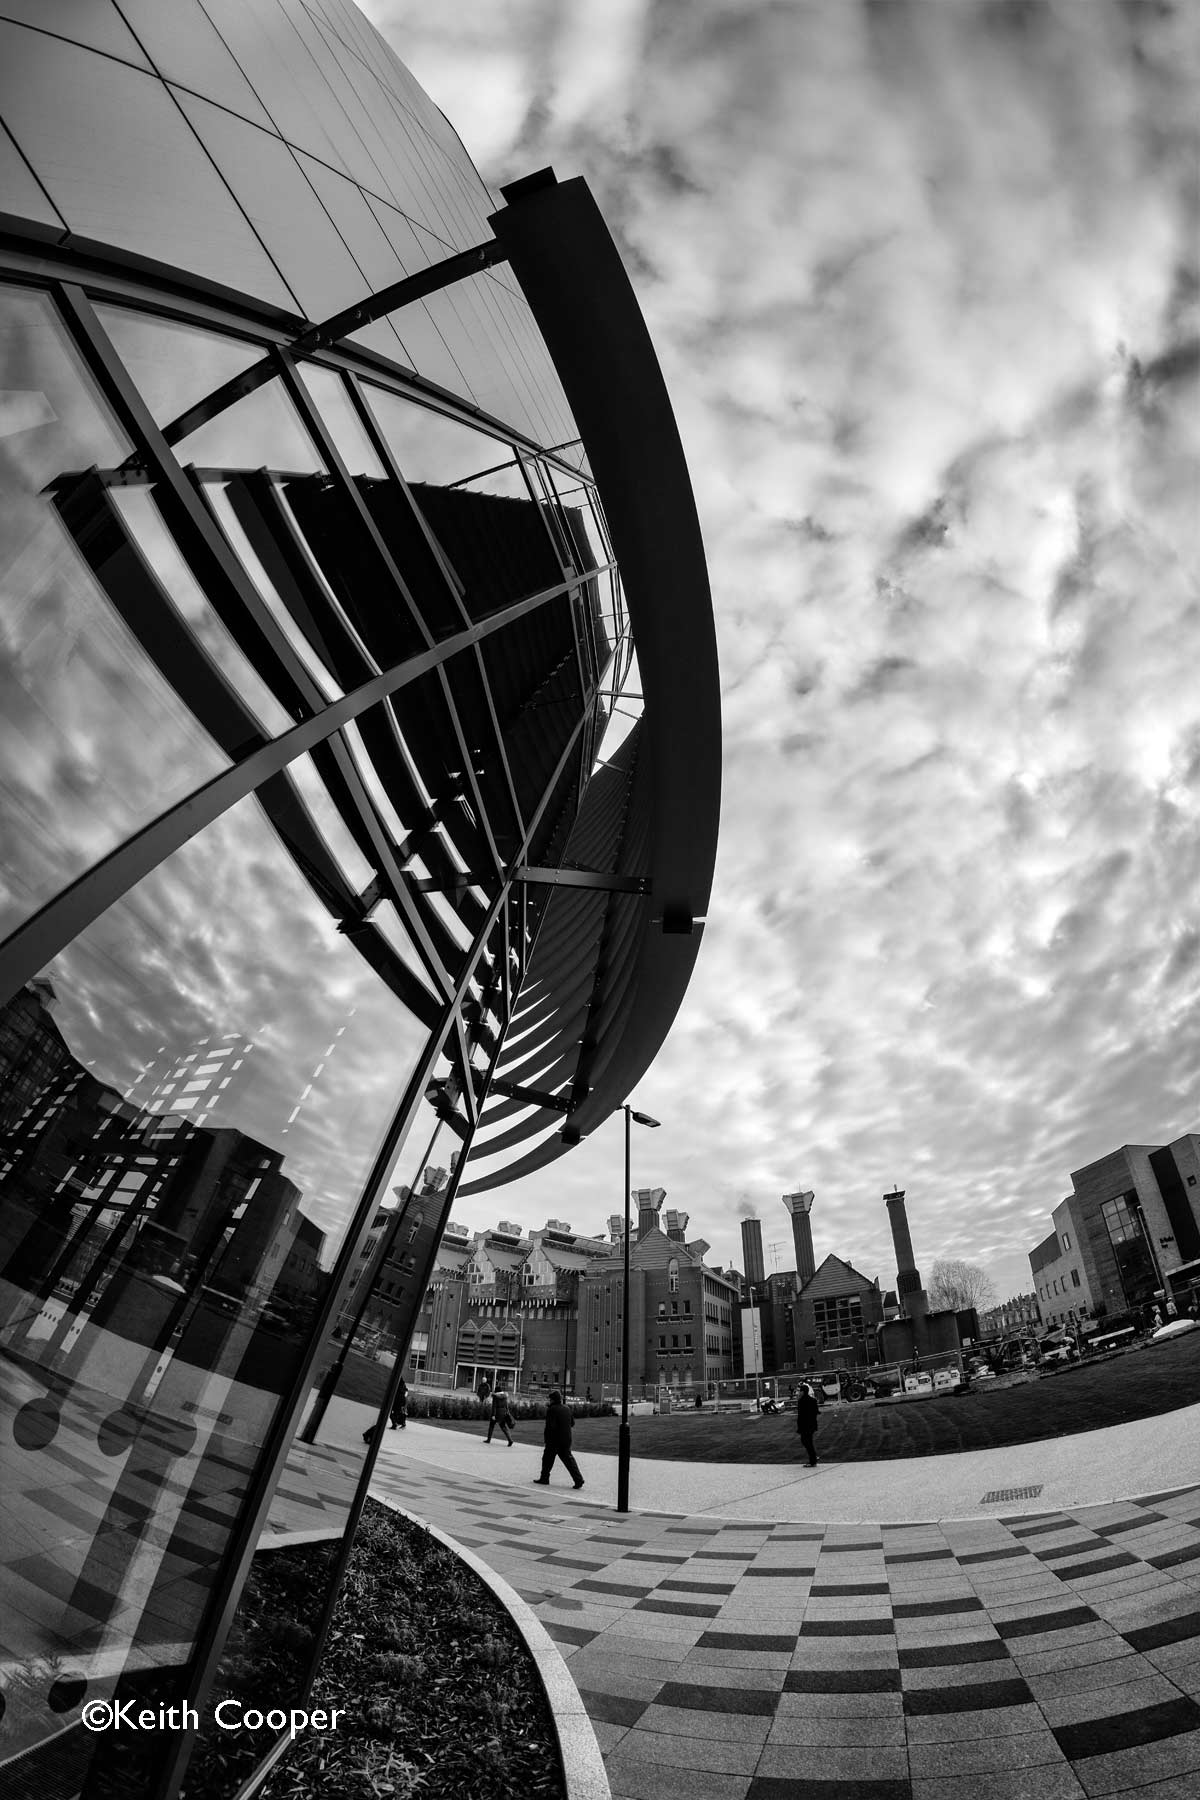
[Samyang 12mm fisheye]
One important thing to remember about fish-eye lenses is that straight lines that run through the centre of the image remain straight (such as the horizon)
[Samyang 12mm fisheye]
OK, enough of the fish-eye shots?
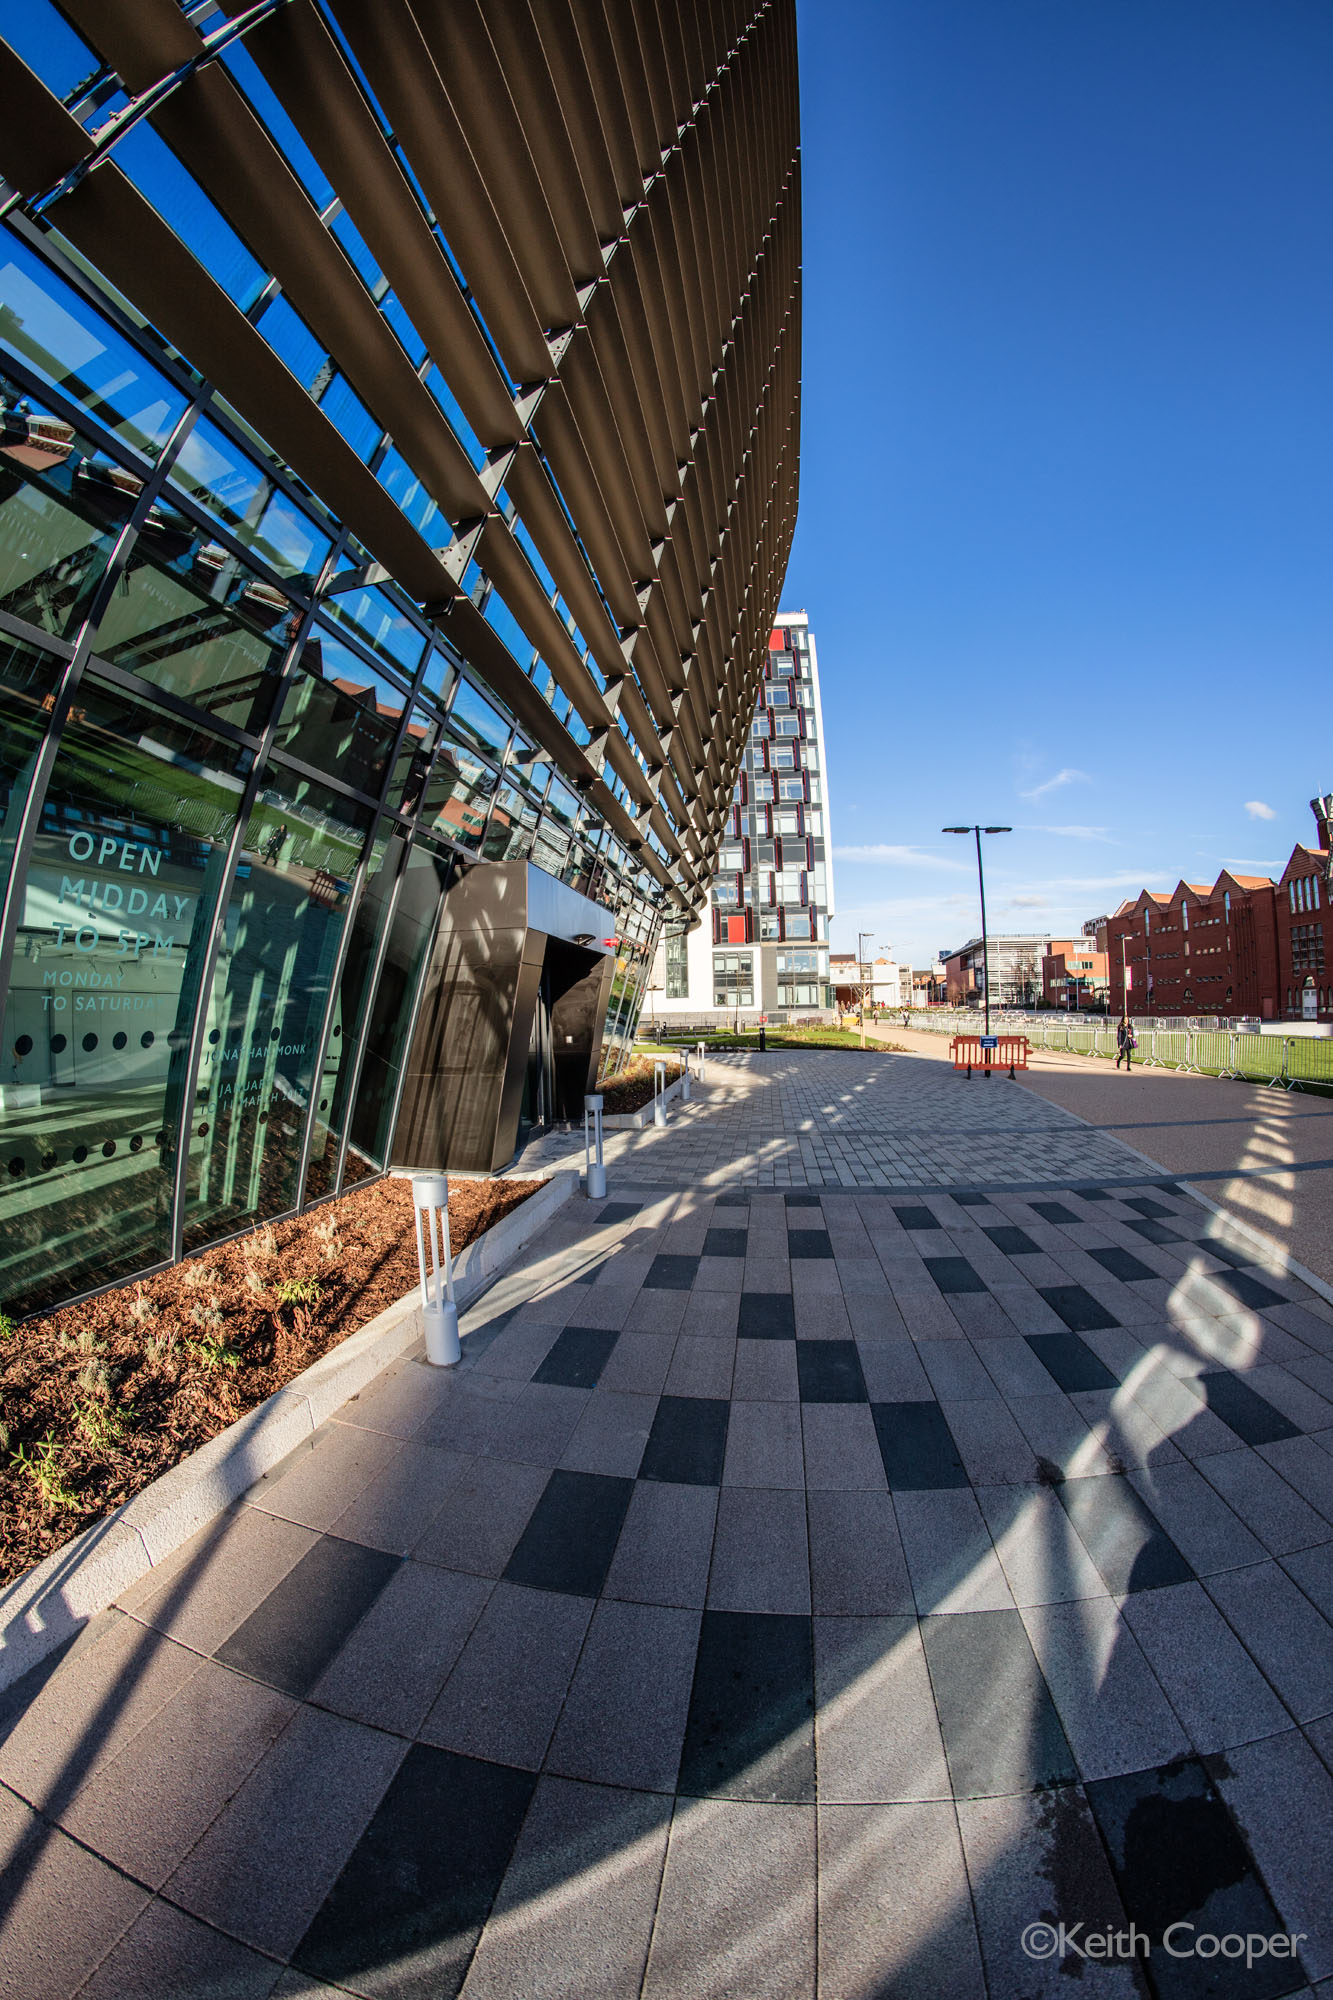
Used with care the fish-eye lens is not the one-trick-pony some assume.
The Samyang 12mm fisheye provides a stereographic projection – knowing this allows you to convert images to other projections, such as cylindrical.
This is a fish-eye photo after correction – note the verticals, whilst you still have a really wide angle of view.
[Samyang 12mm fish-eye – converted to cylindrical projection]
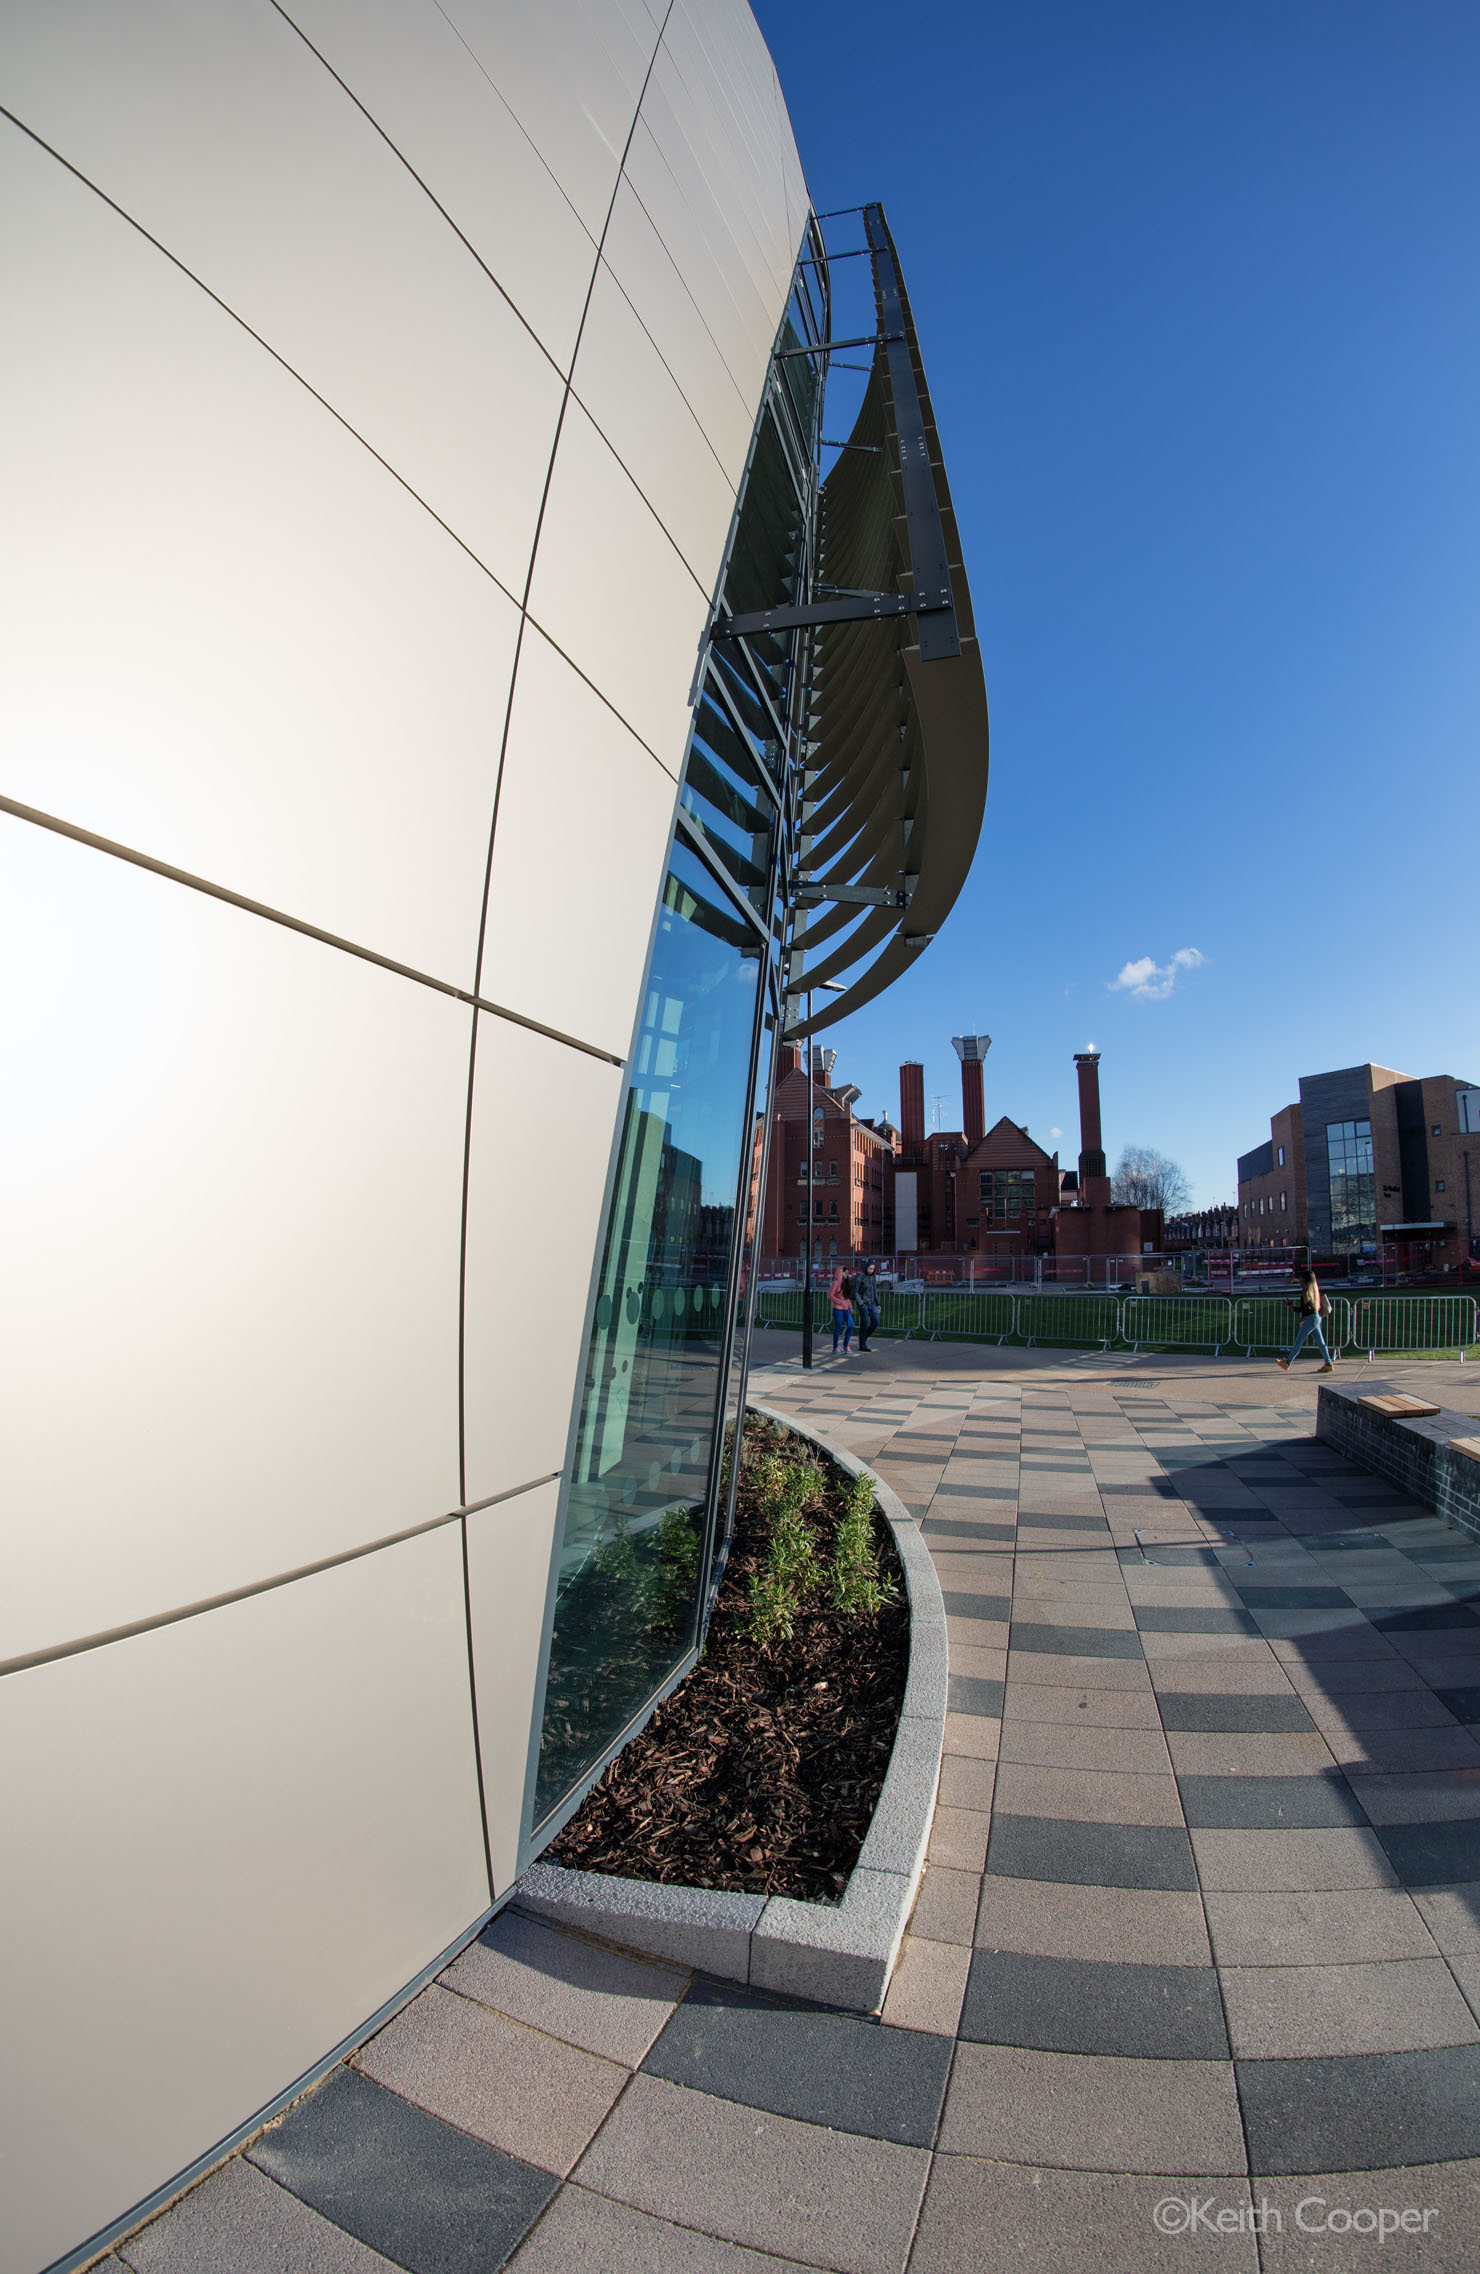
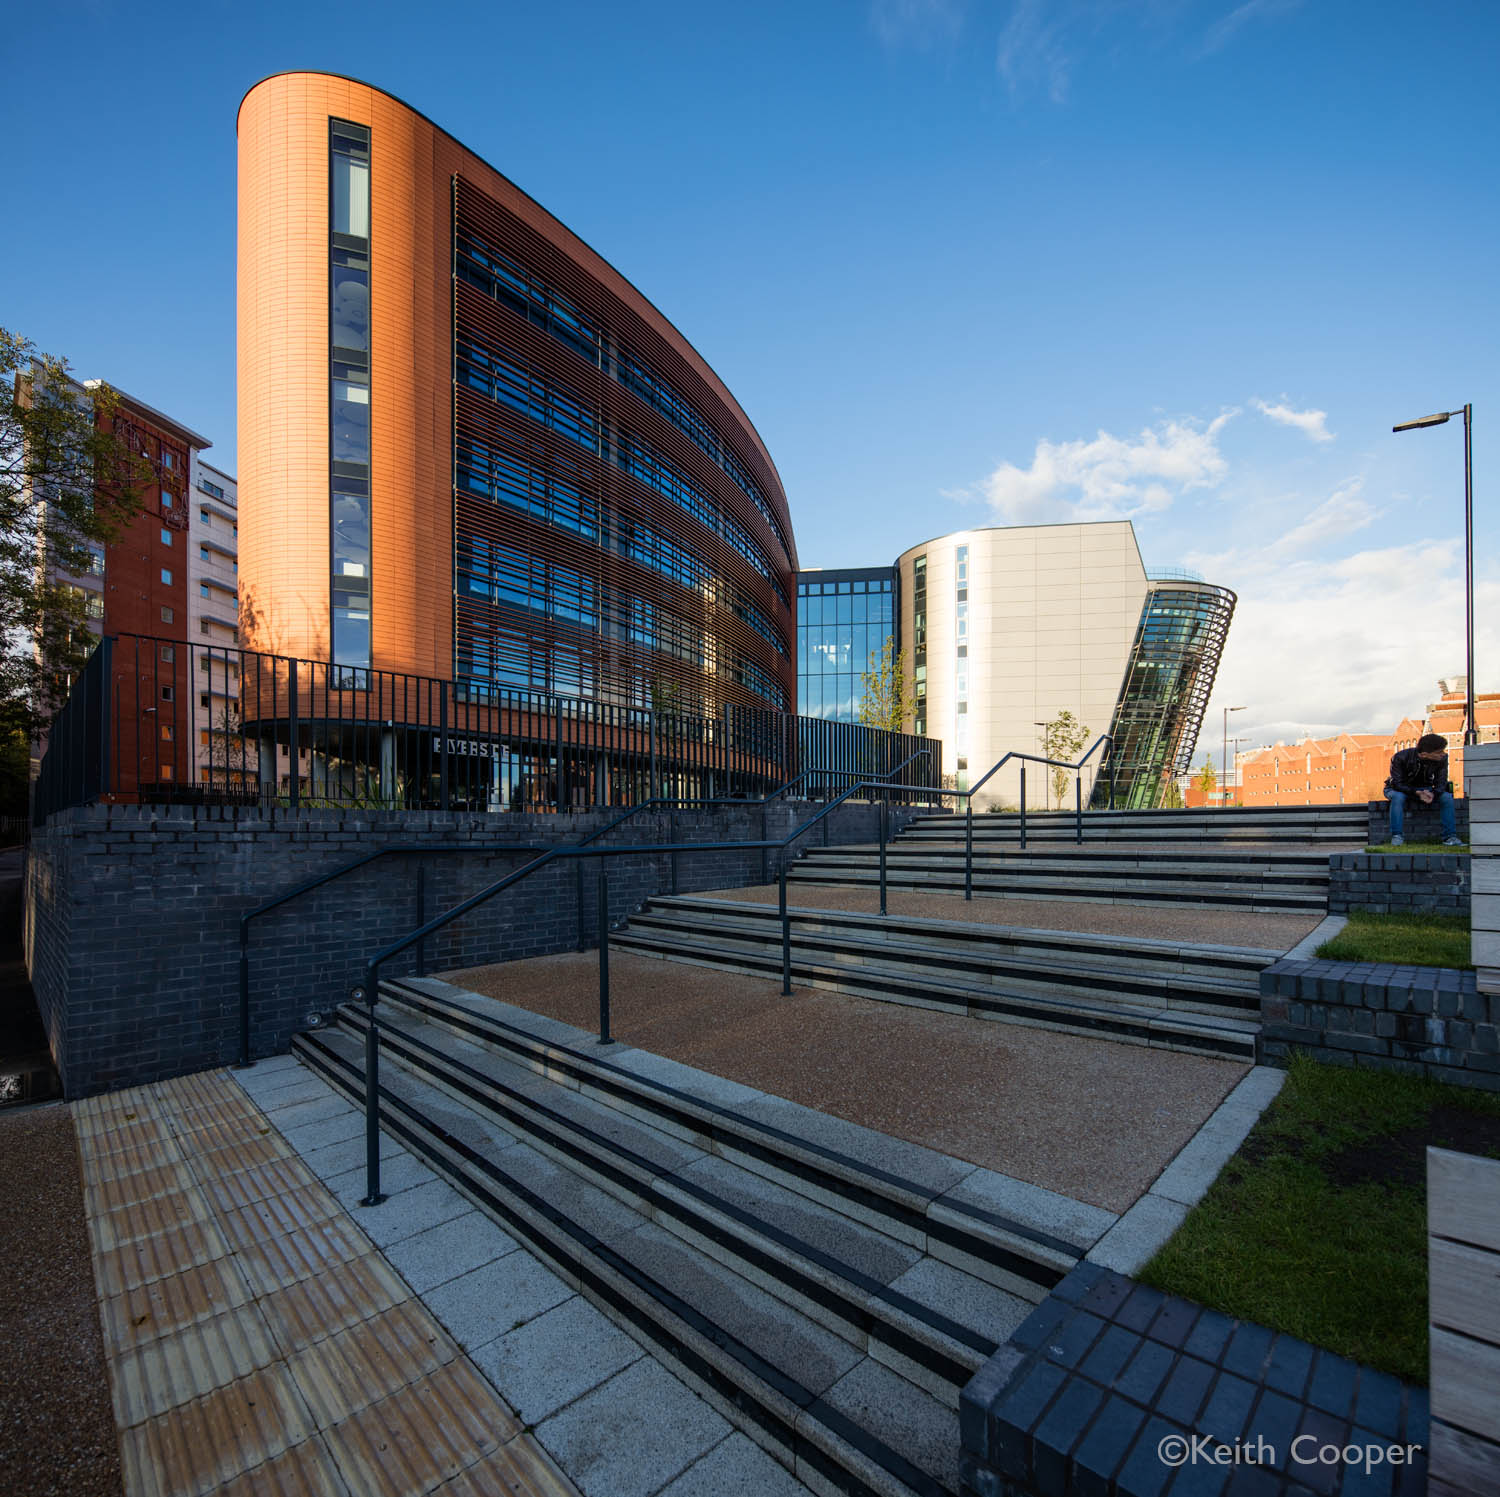
Of course, just because you have the specialised kit, doesn’t mean you have to use it.
This view is from the rooftop terrace.
[Sigma 12-24mm @24mm]
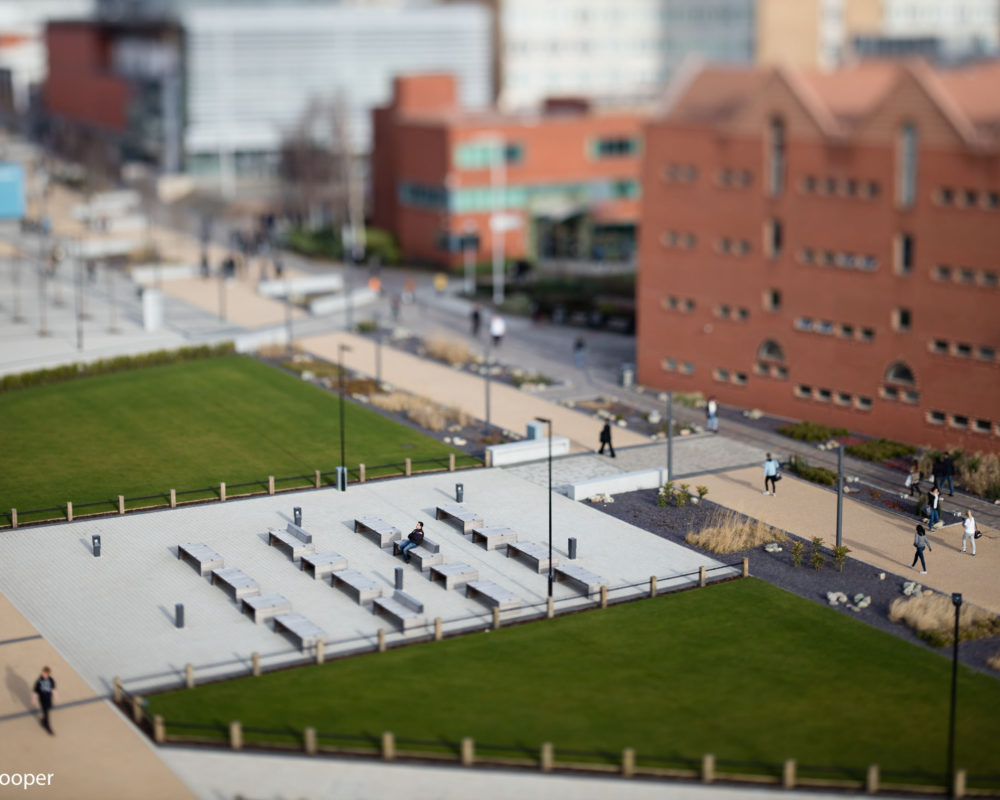
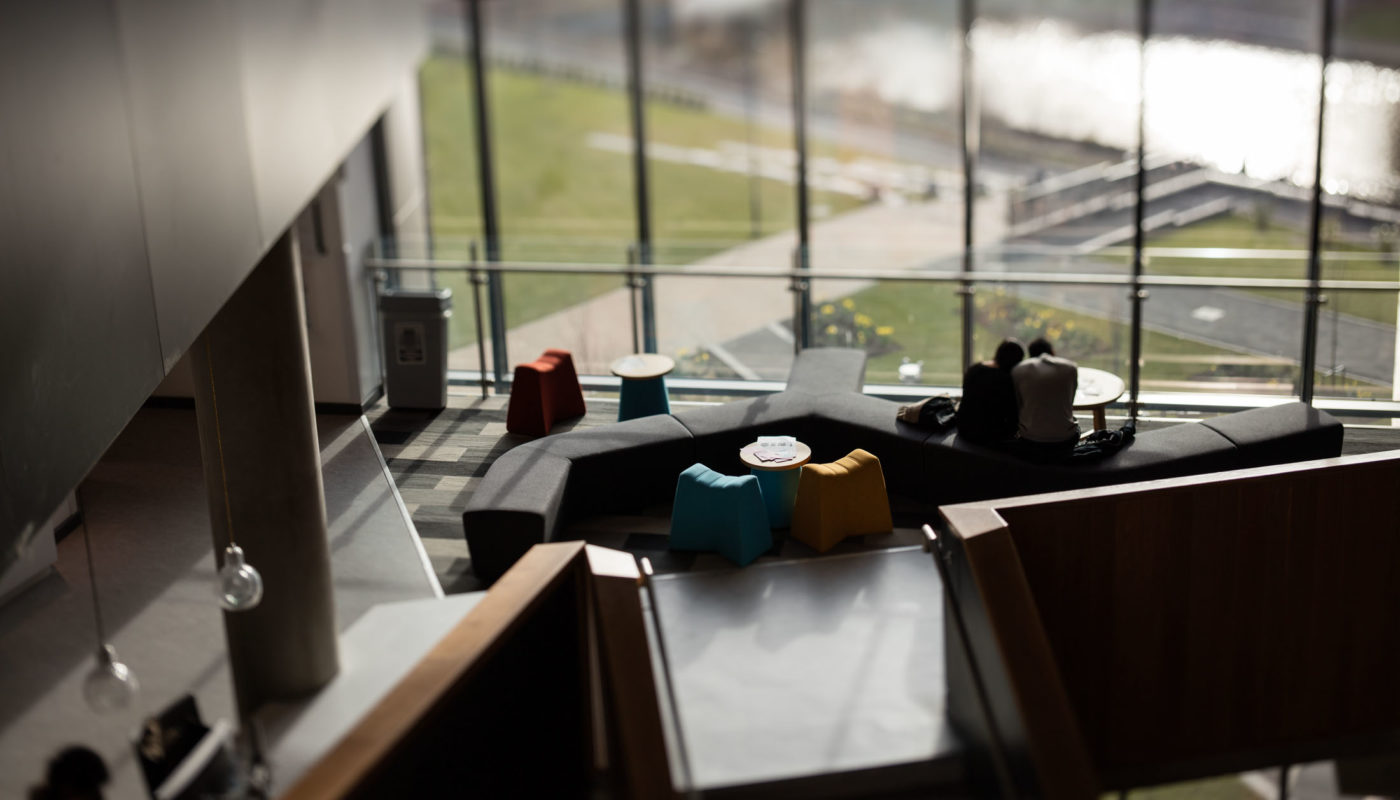
Using a 50mm tilt/shift lens I can tilt the lens to produce what’s known as the ‘Model world’ look. You may need to view at full size to get the true feel for the effect.
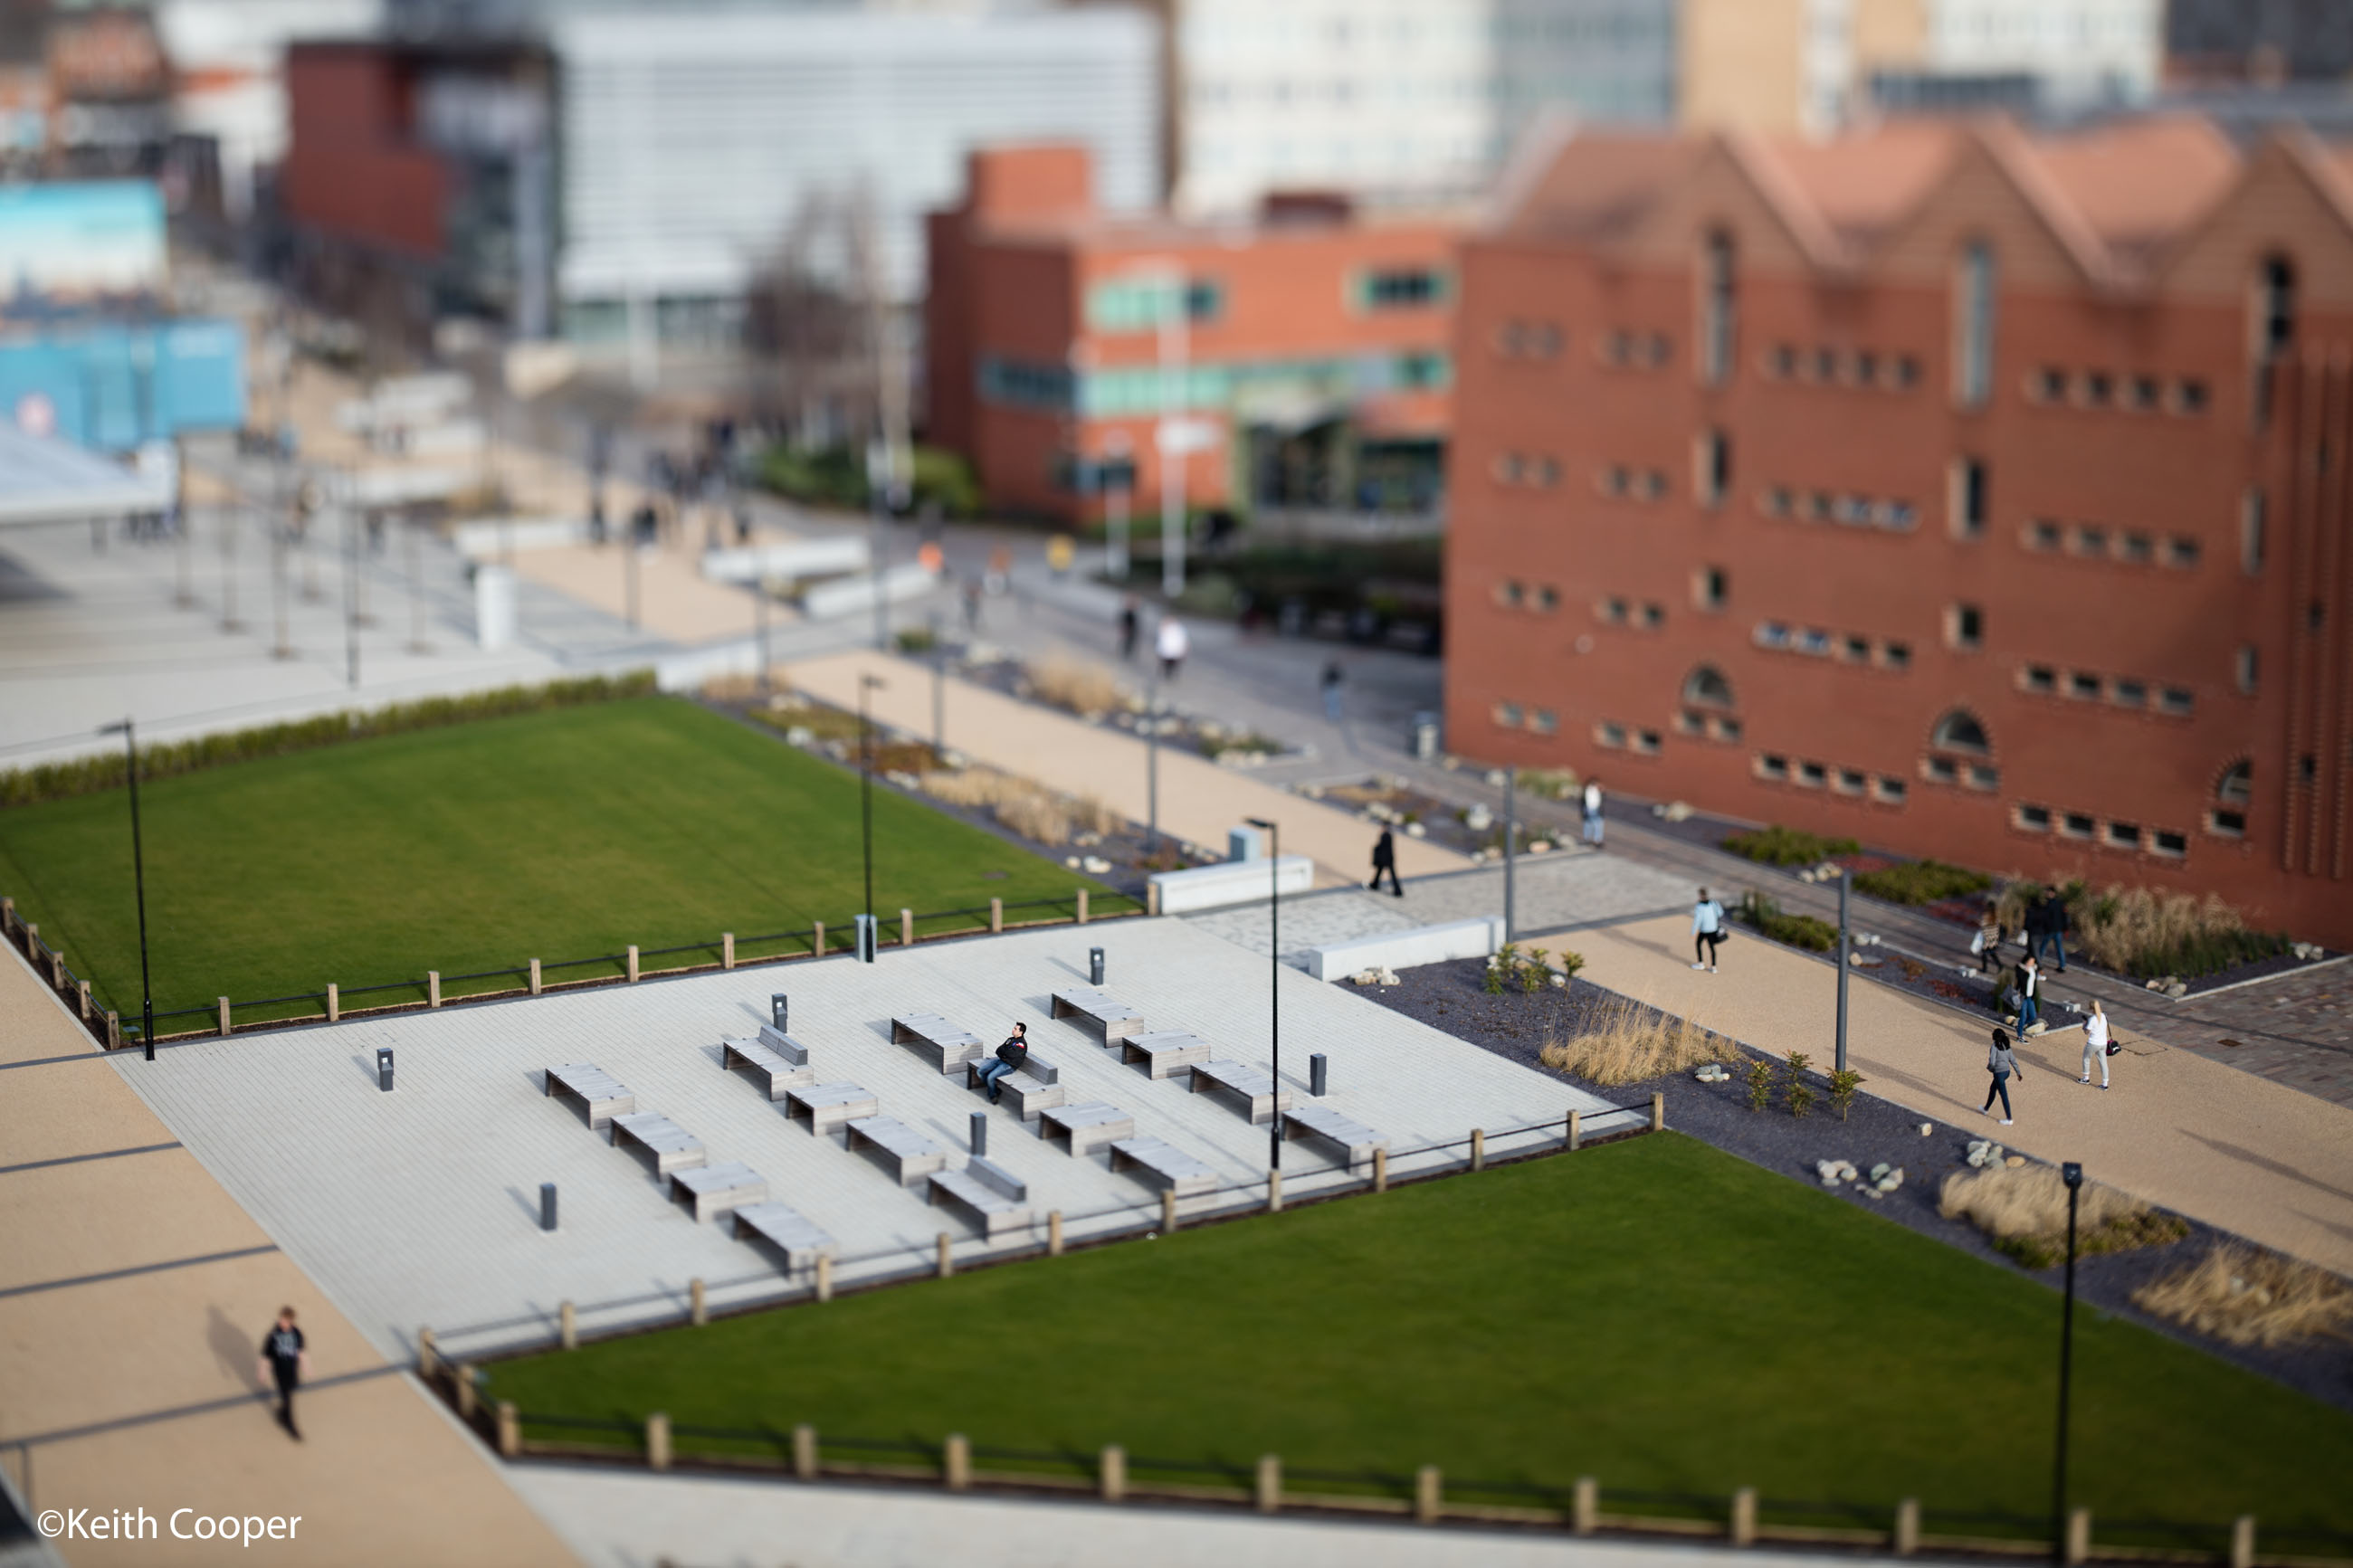
[Canon TS-E50mm – tilted lens]
Or looking out over the river.
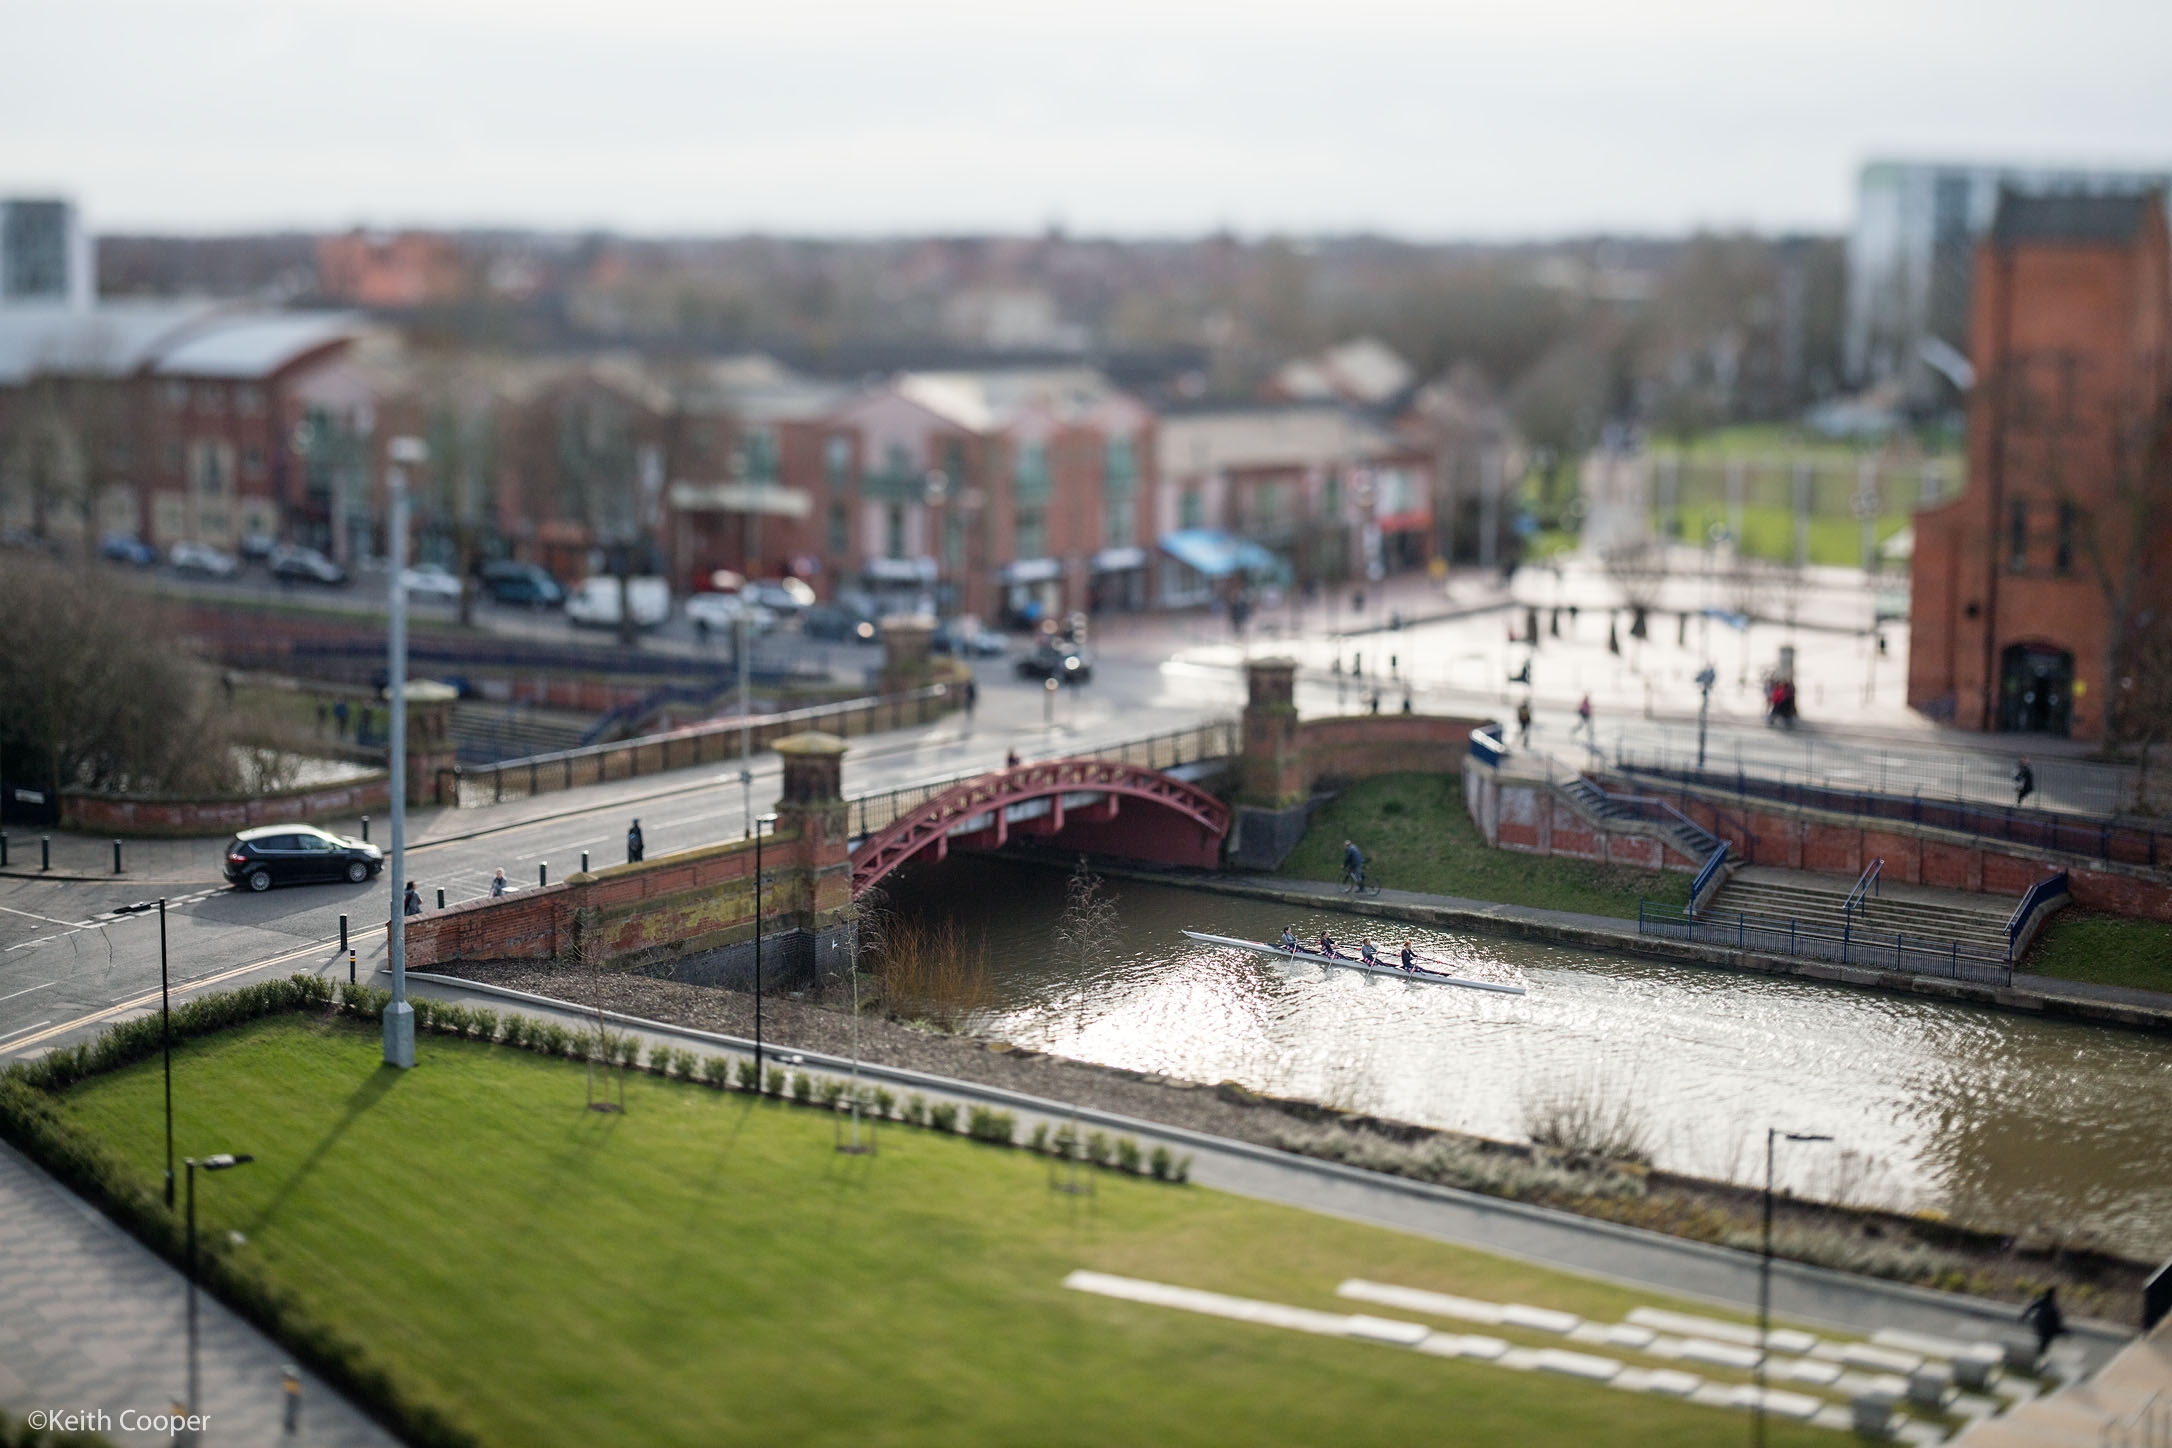
Such shots are interesting, but not something you ever directly get asked for by clients.
Perhaps something I’d take whilst on a job just because I could, and you never quite know what they are going to come out like.
There are some examples of when I do find lens tilt useful for interior shots in another short blog post here.
Choosing the lighting
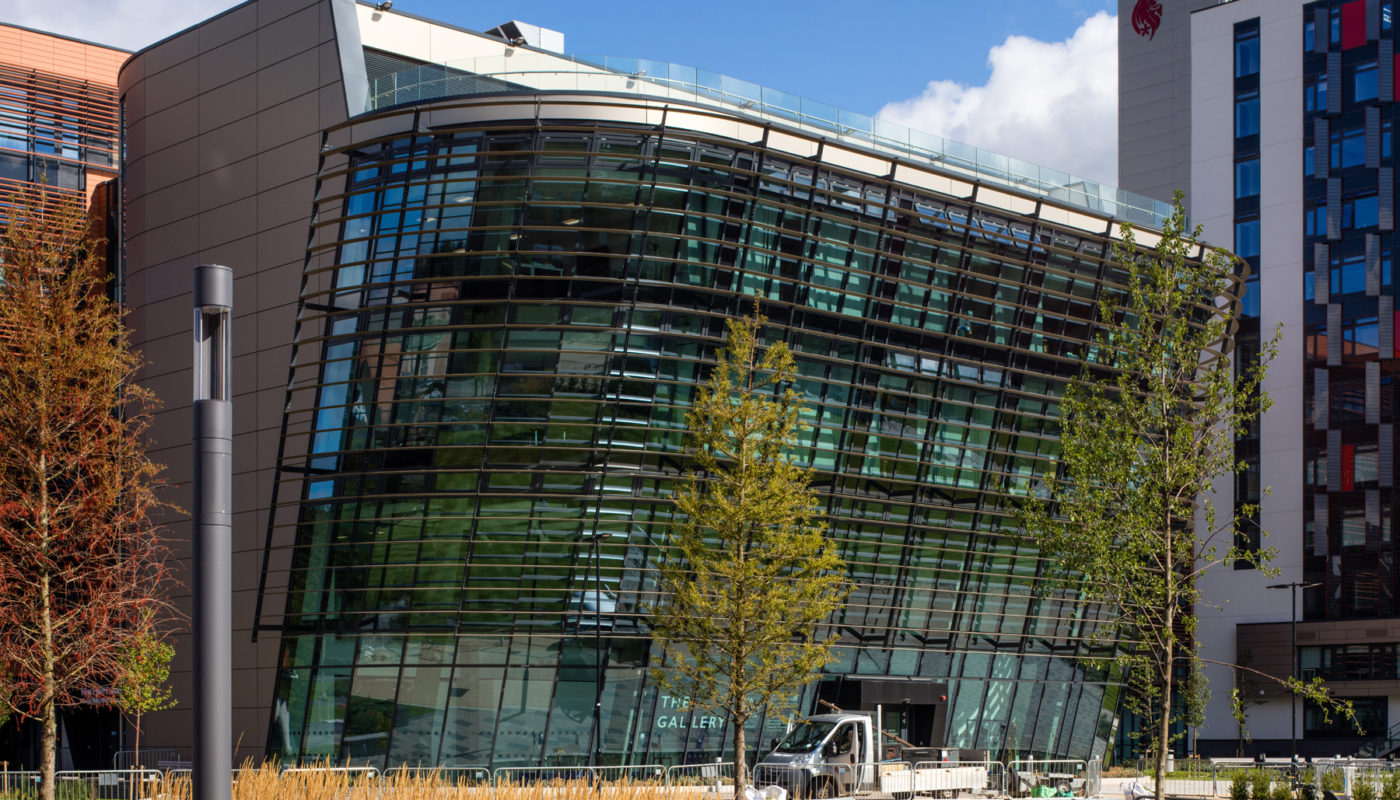
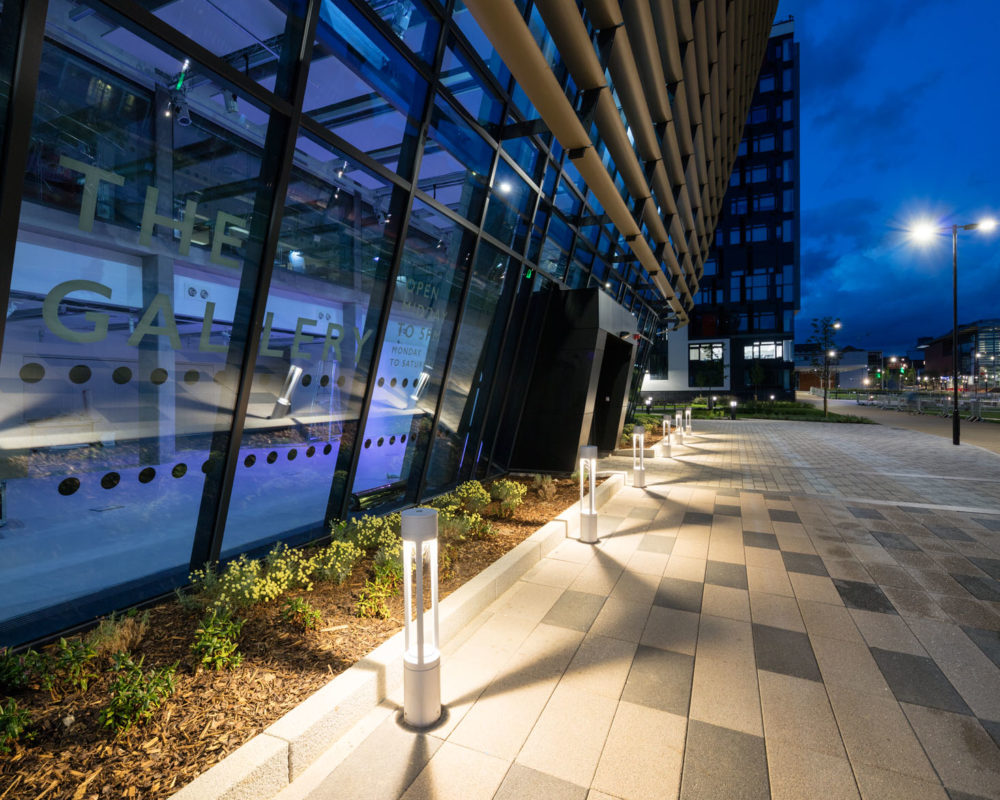
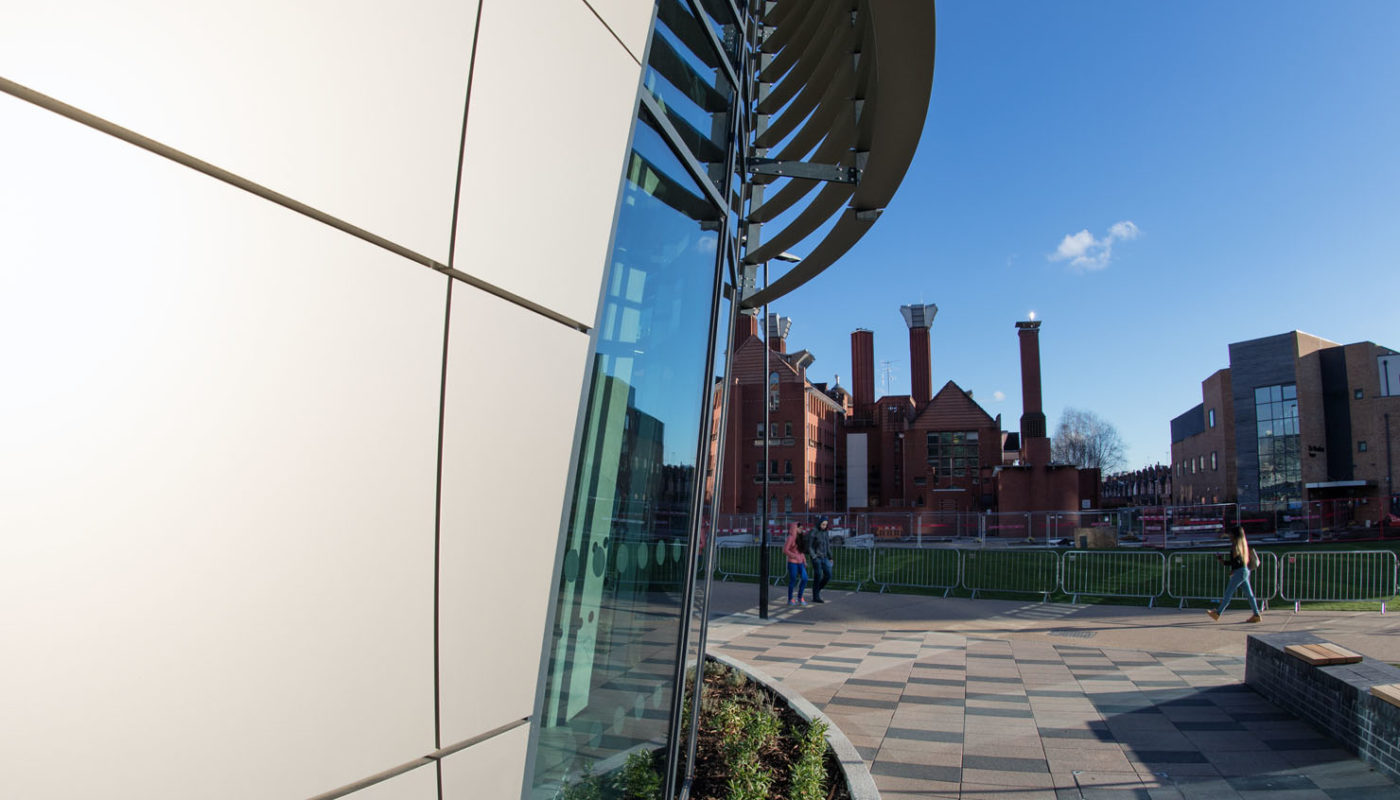
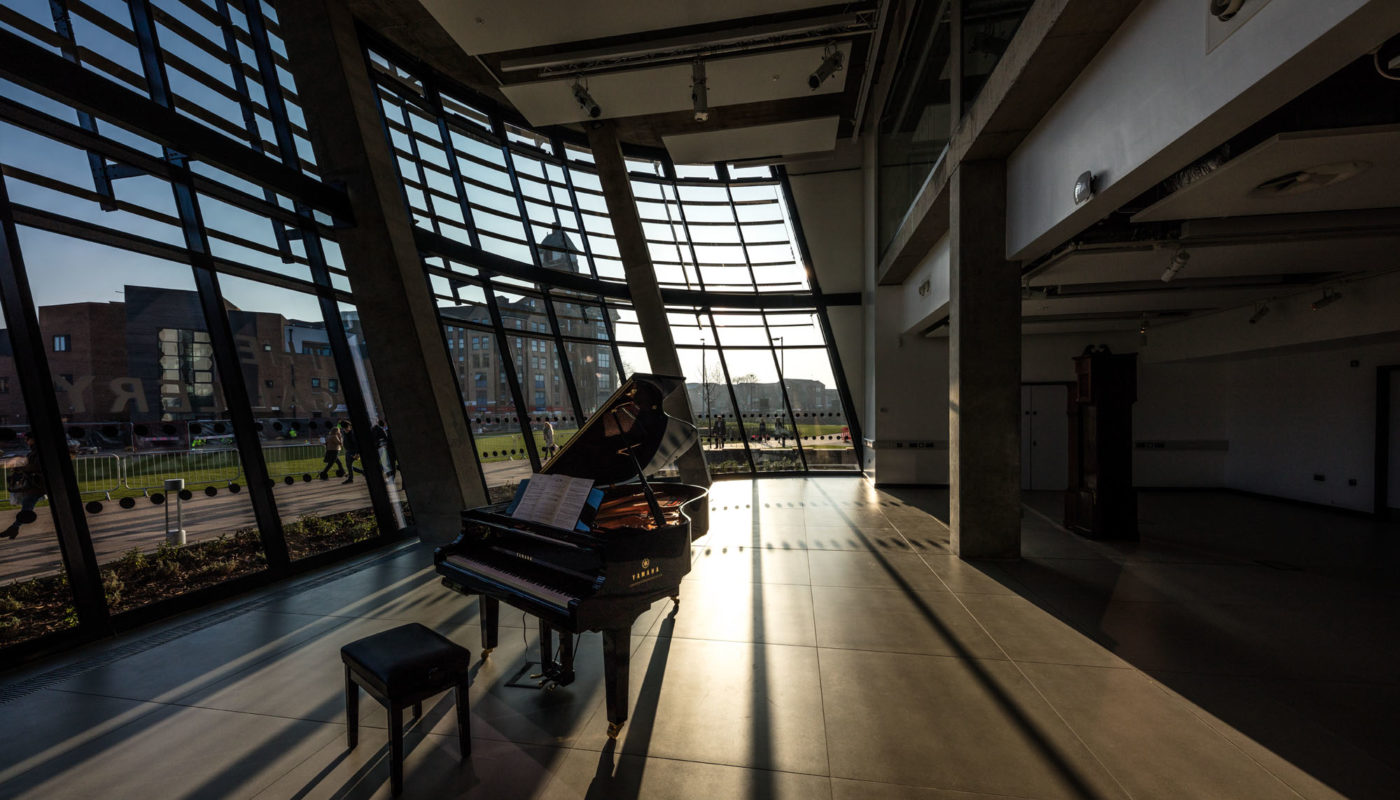
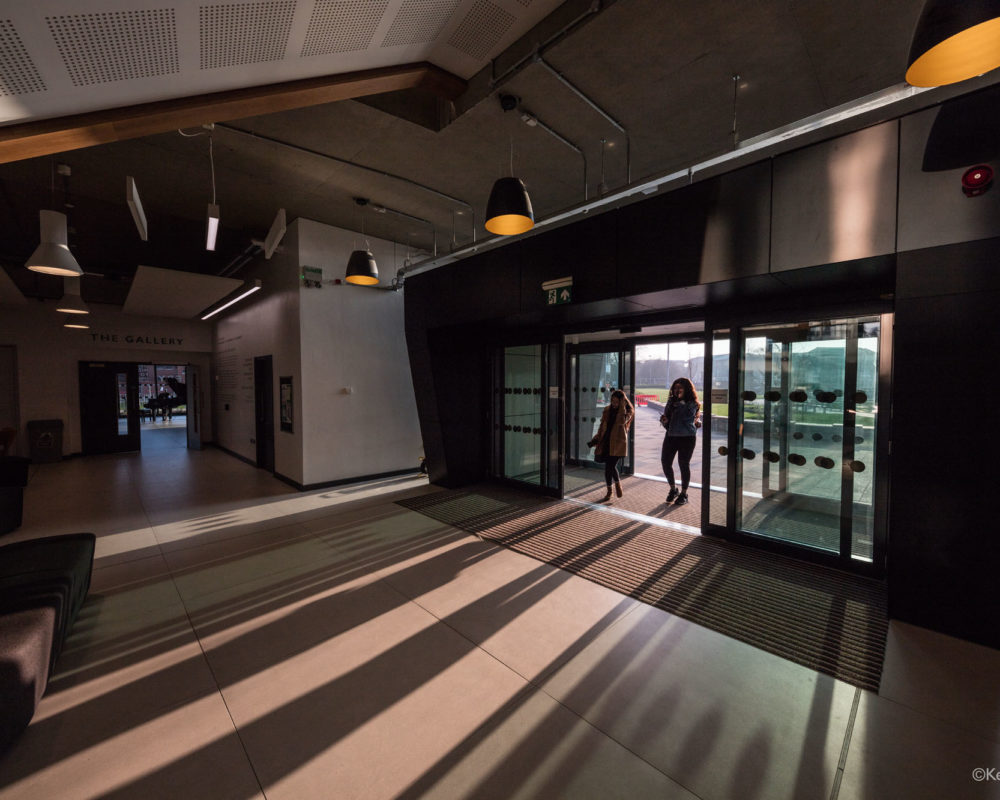
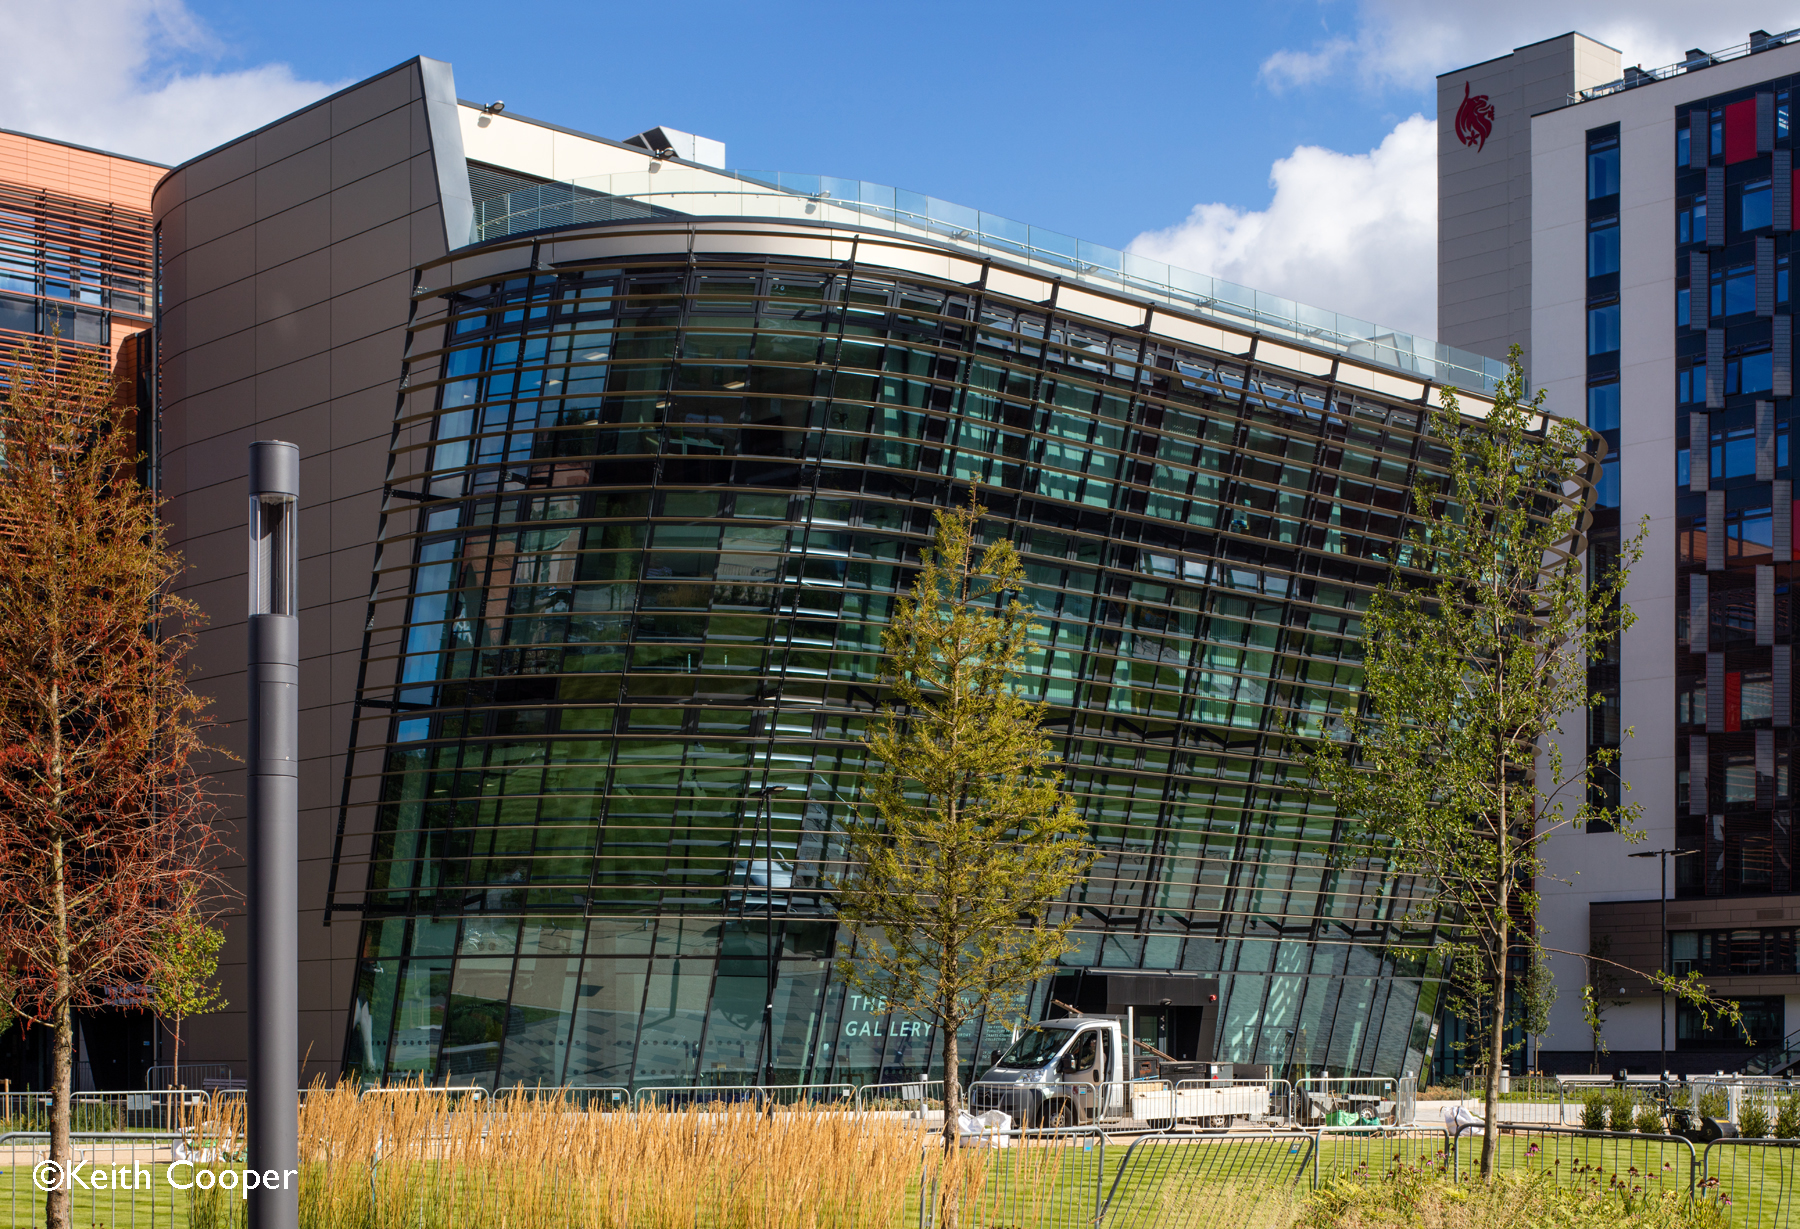
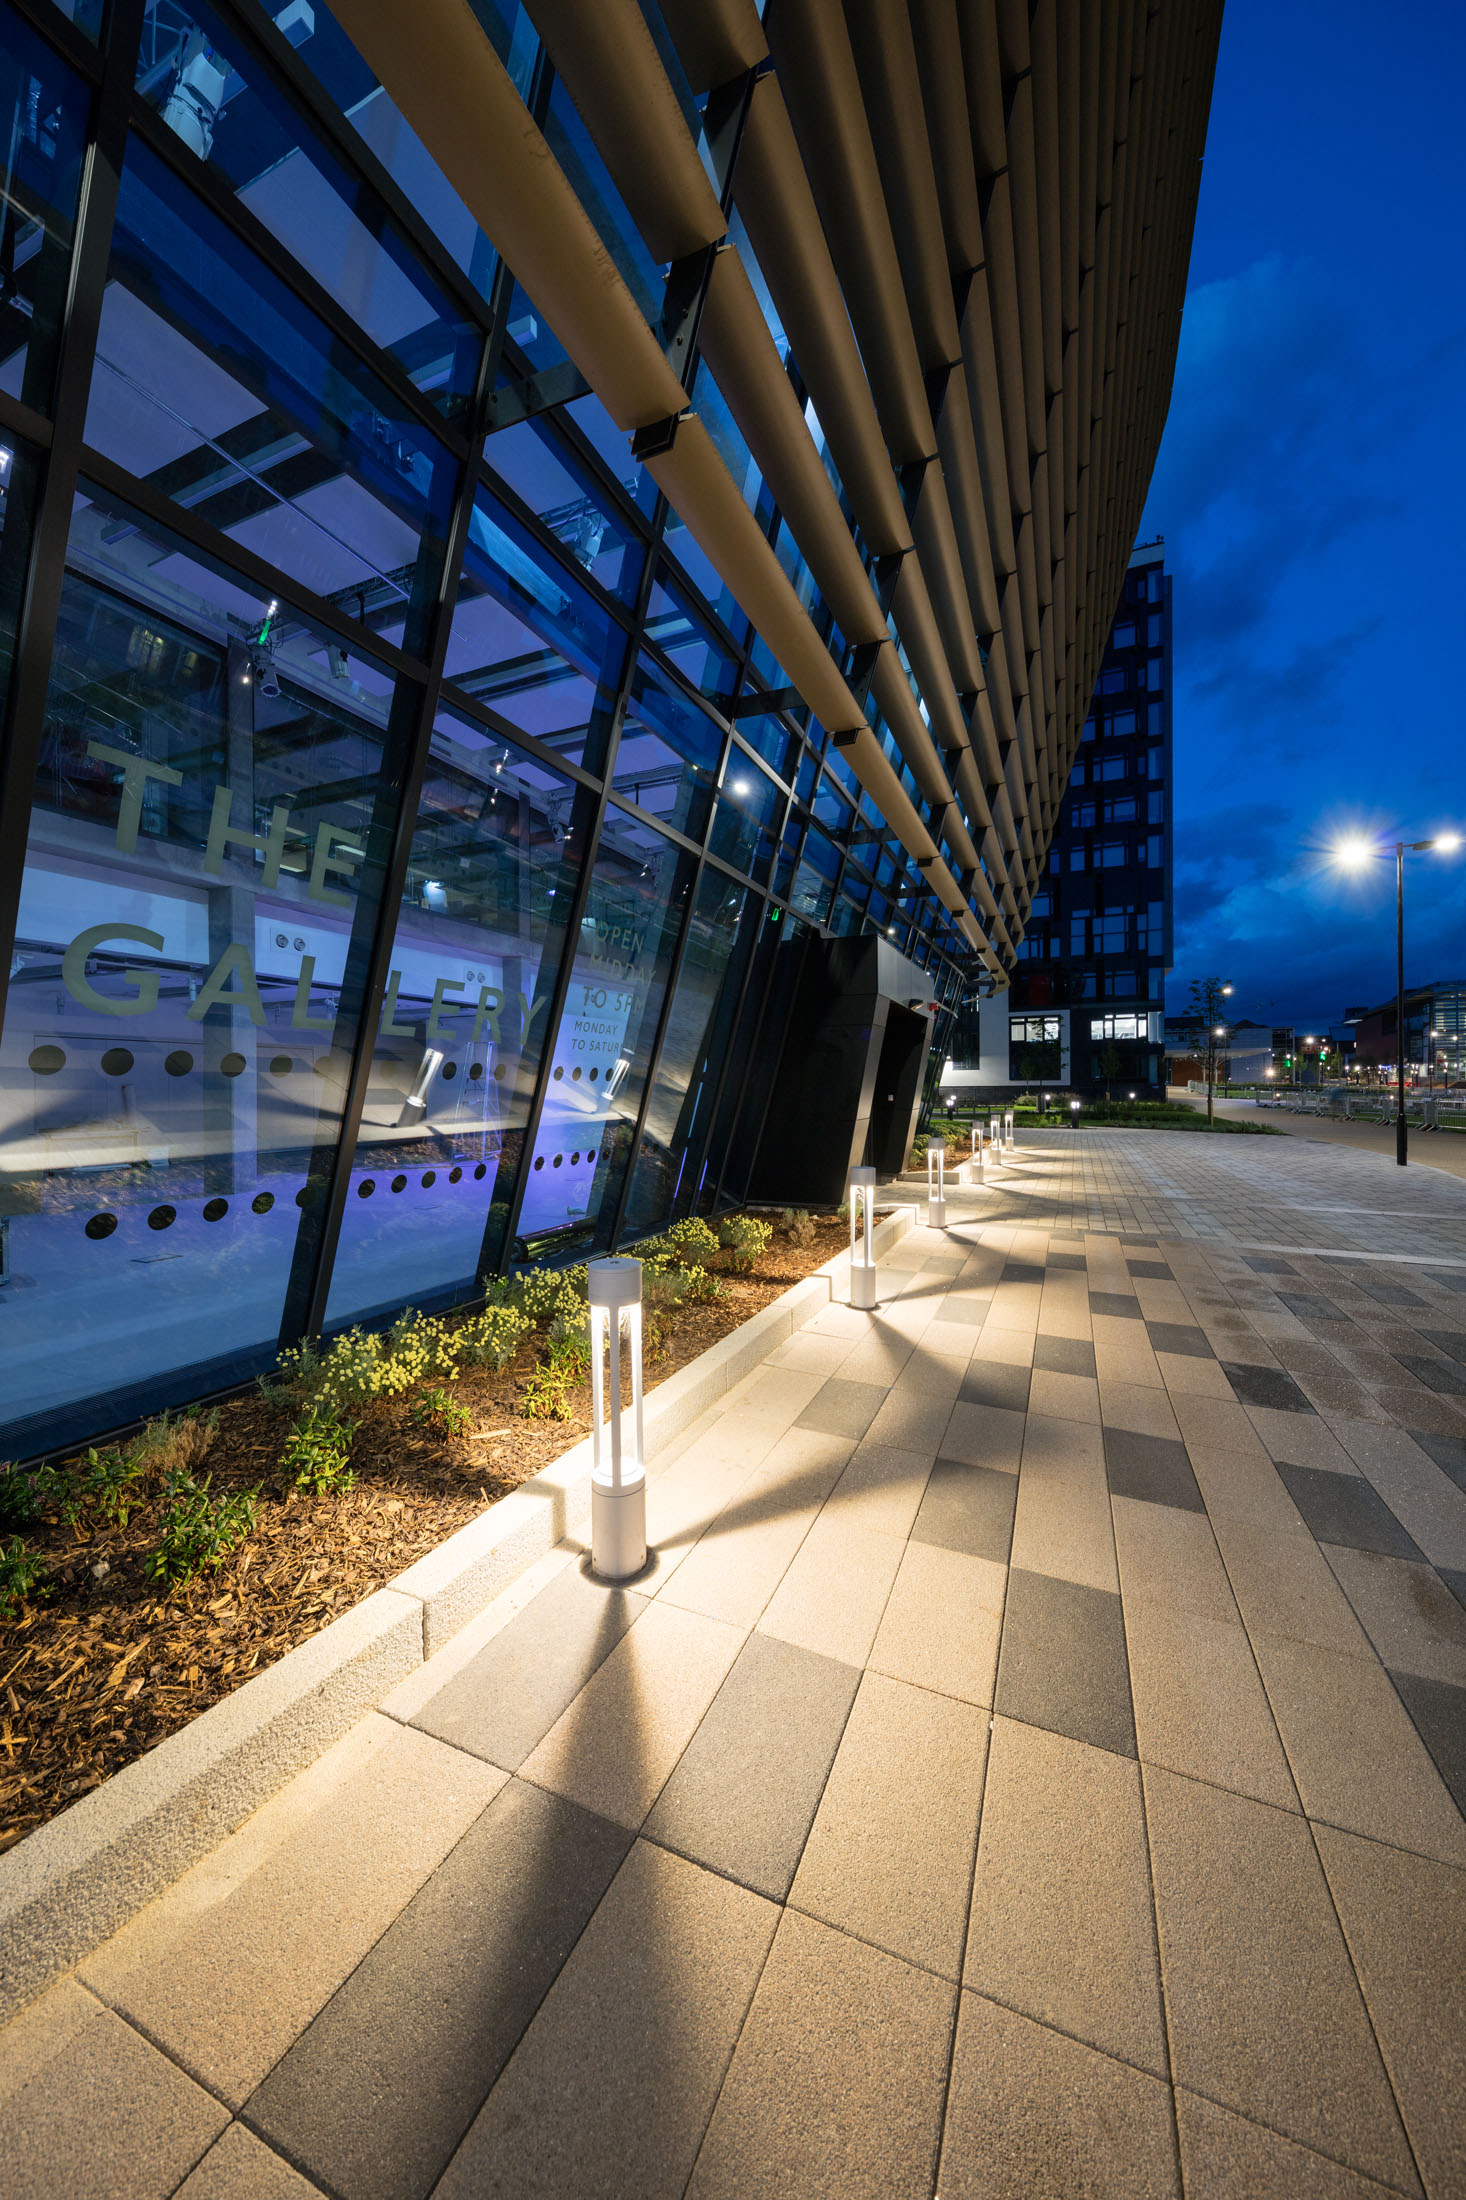
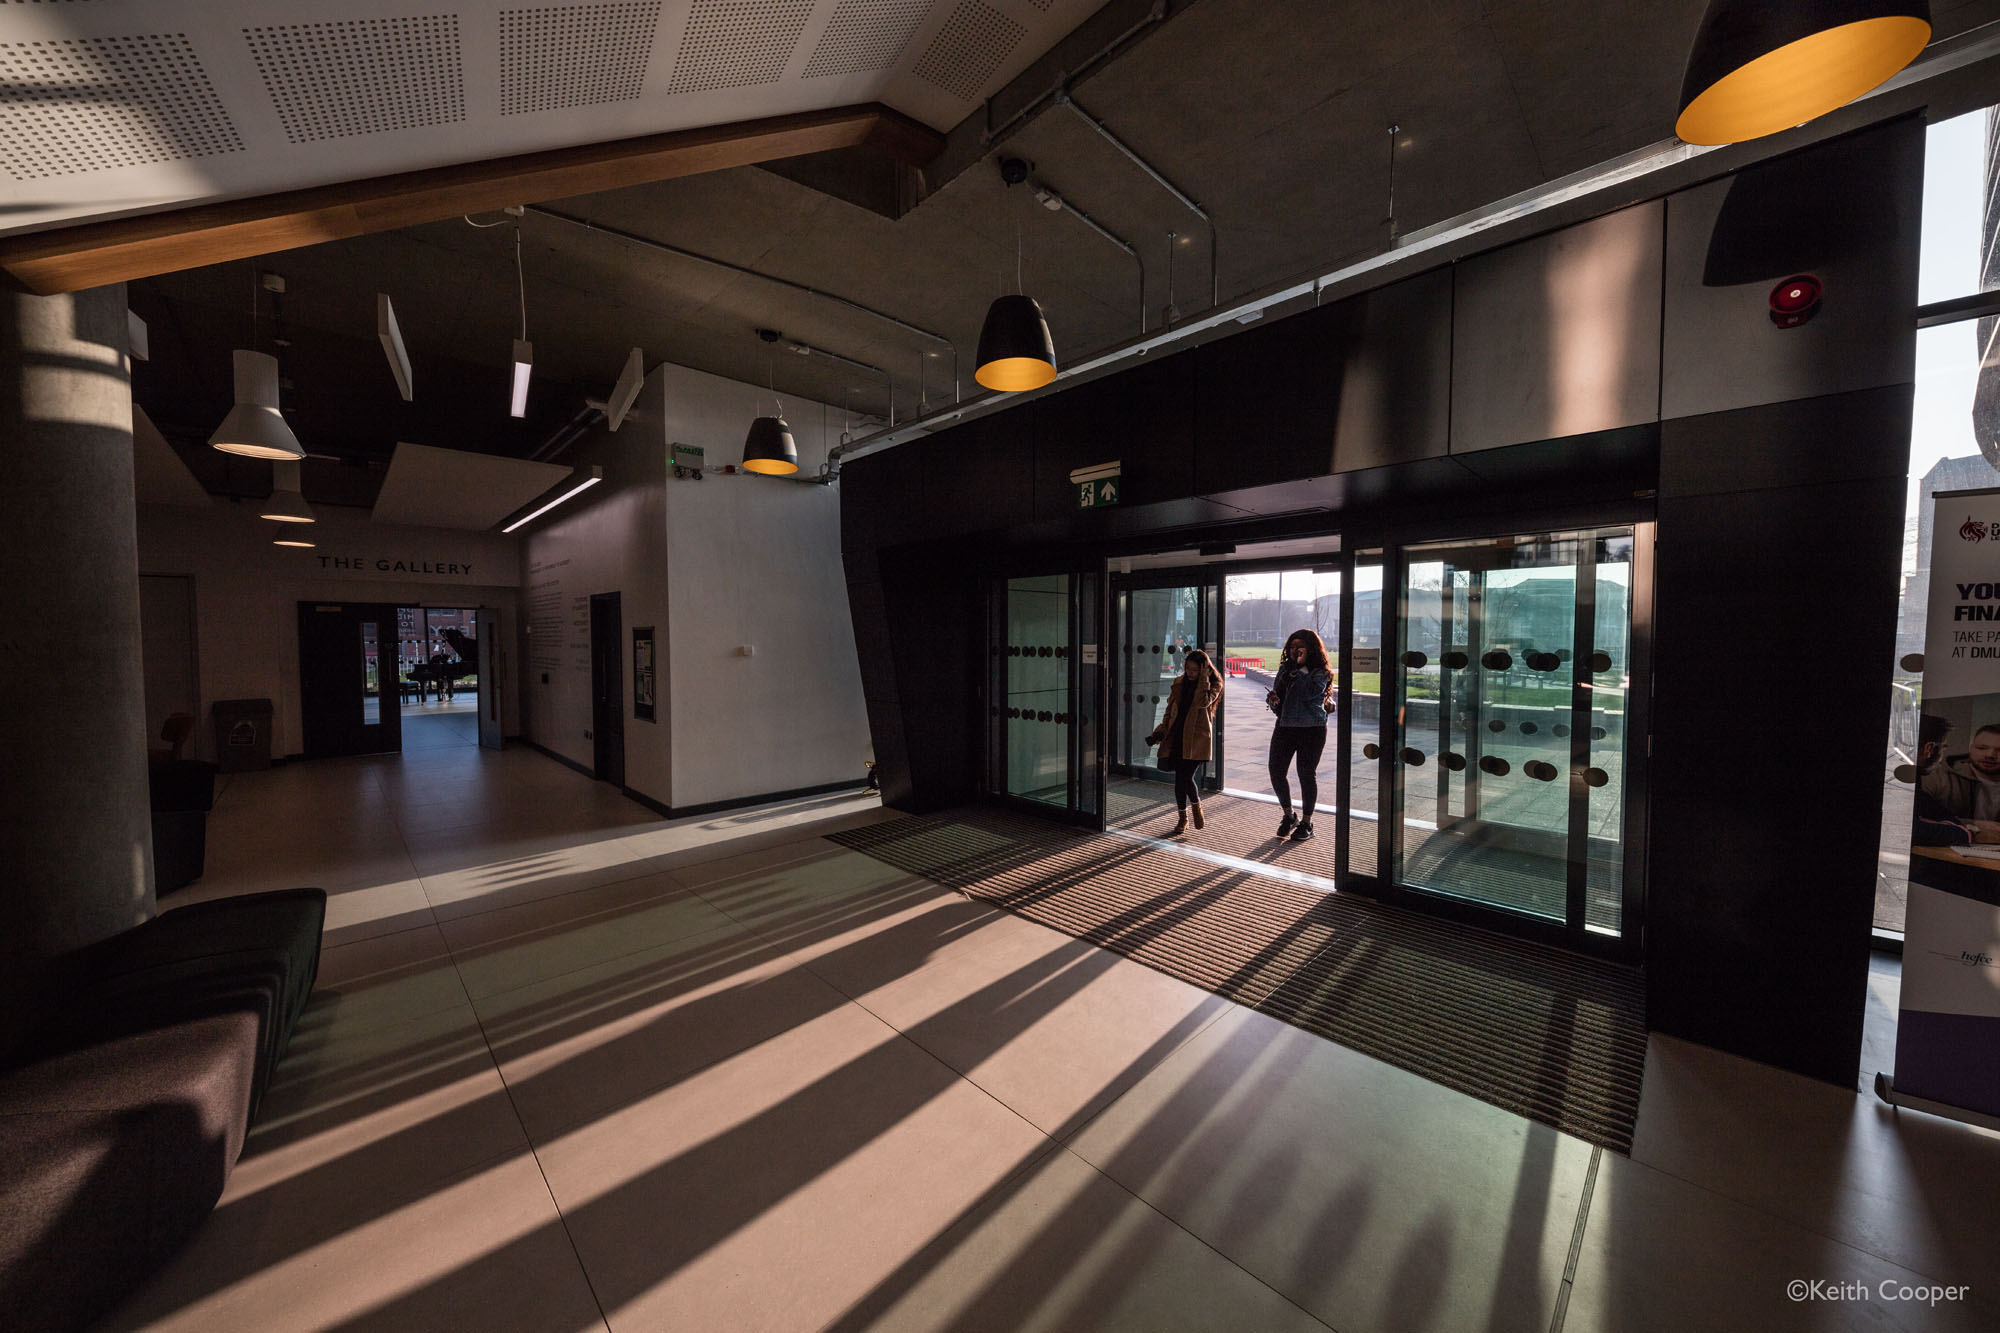
Many of the shots I’ve shown so far are in nice bright conditions with the sun behind me. With some care in exposure and processing you can shoot into the sun, such as these two photos of the Gallery.
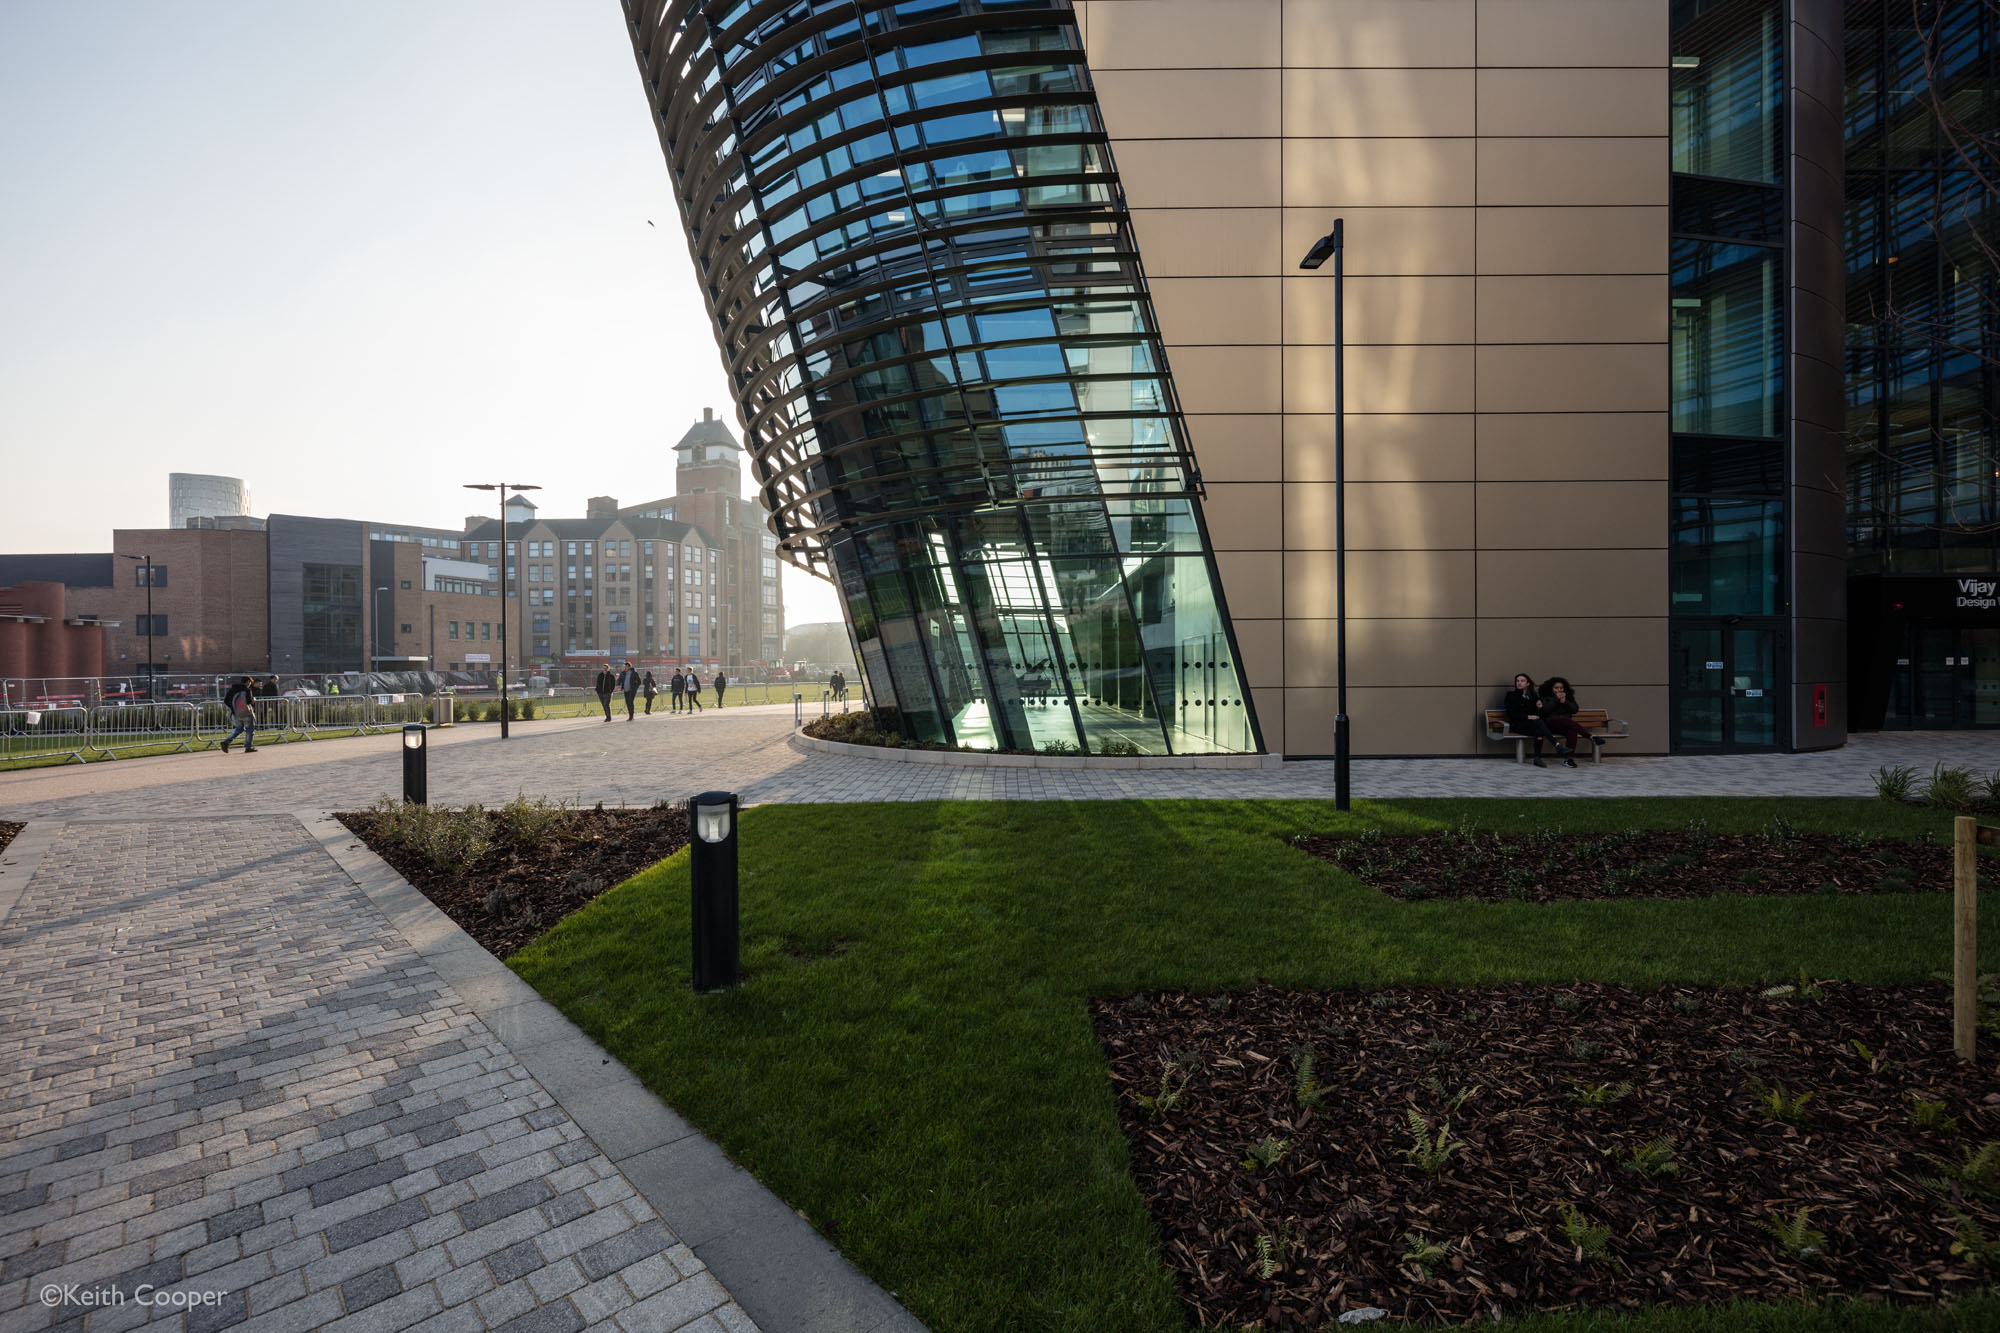
[Samyang 14mm]
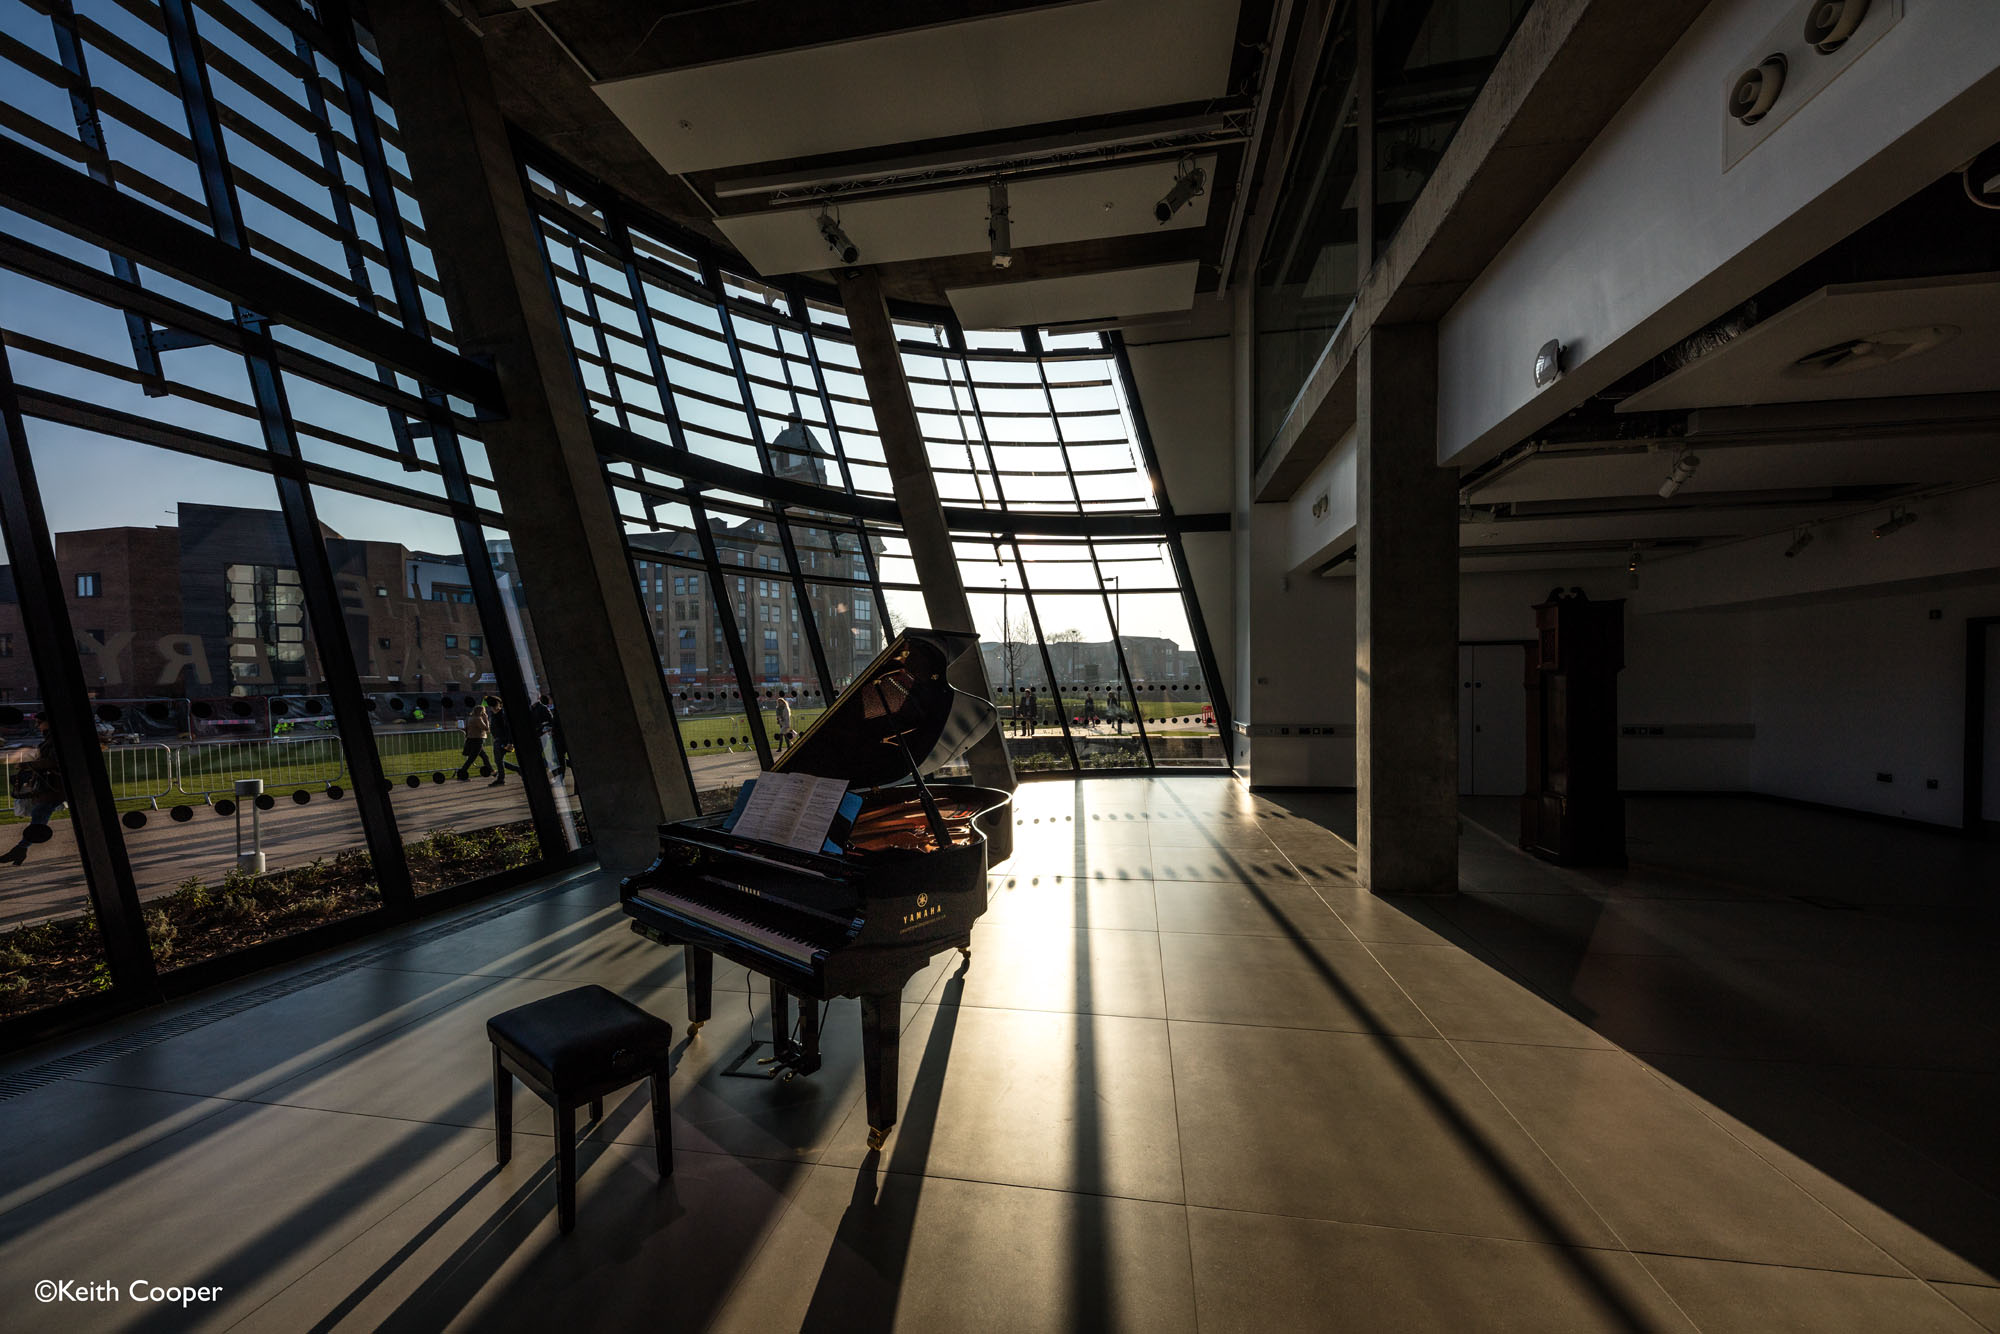
[Samyang 14mm]
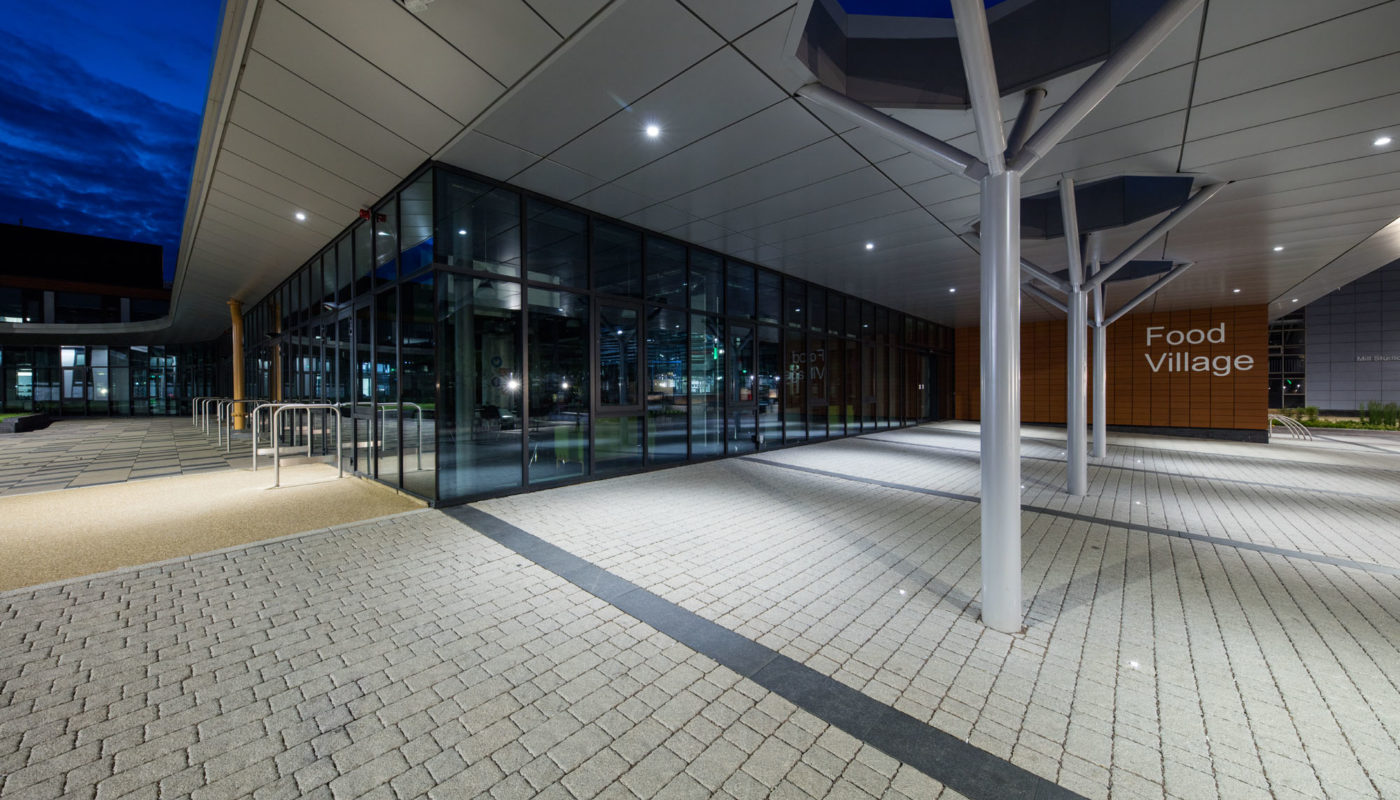
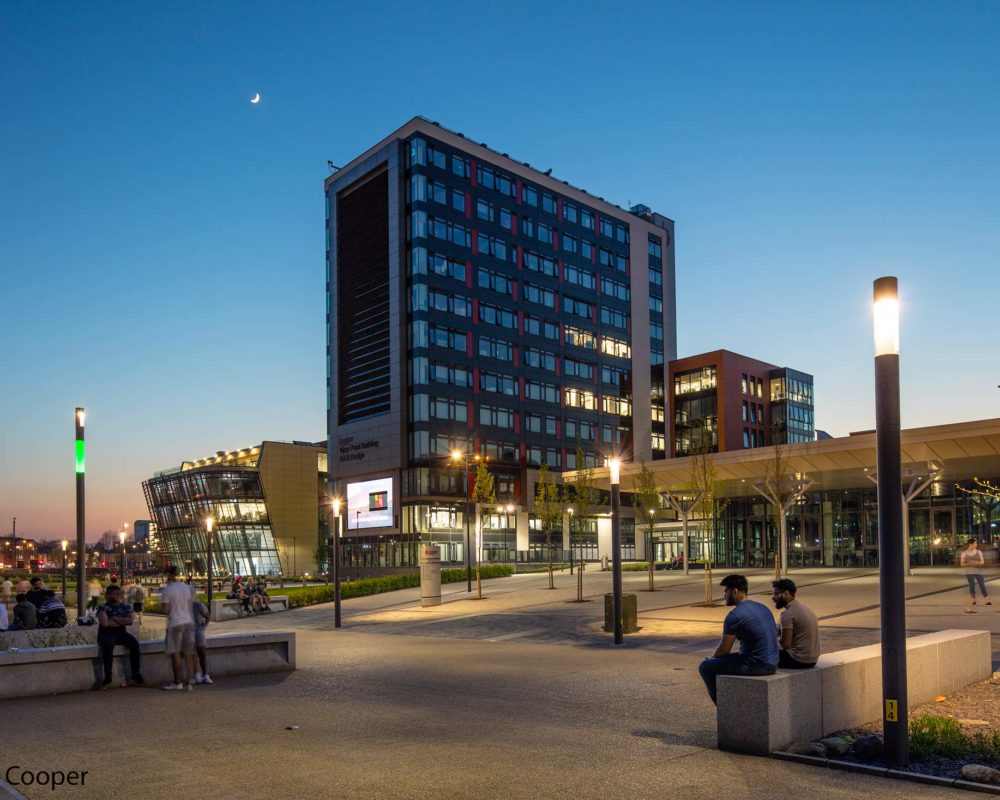
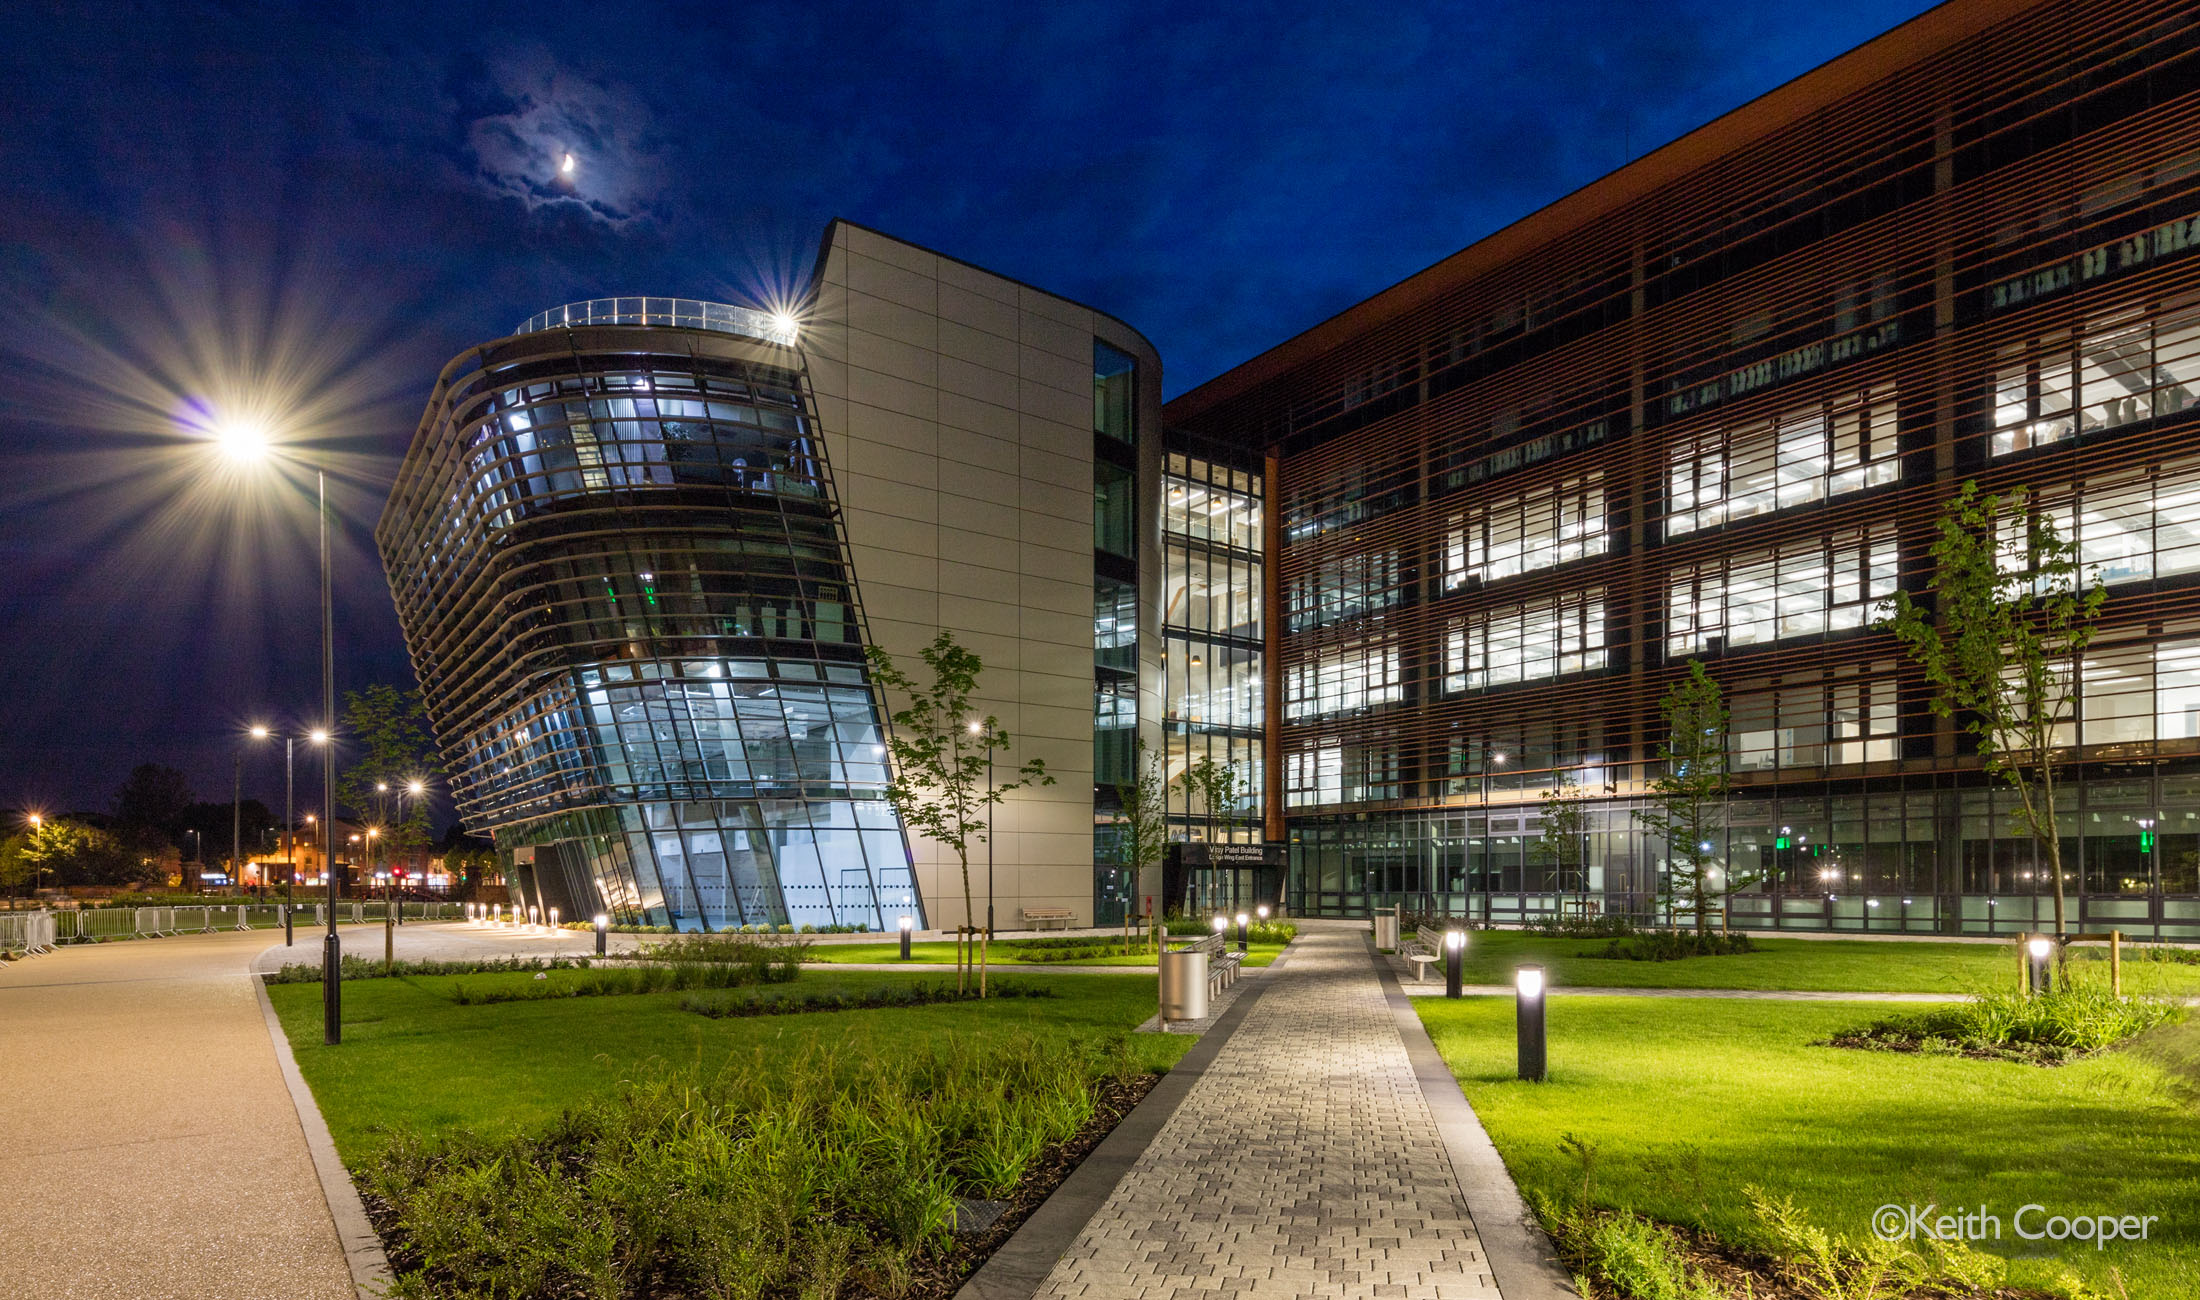
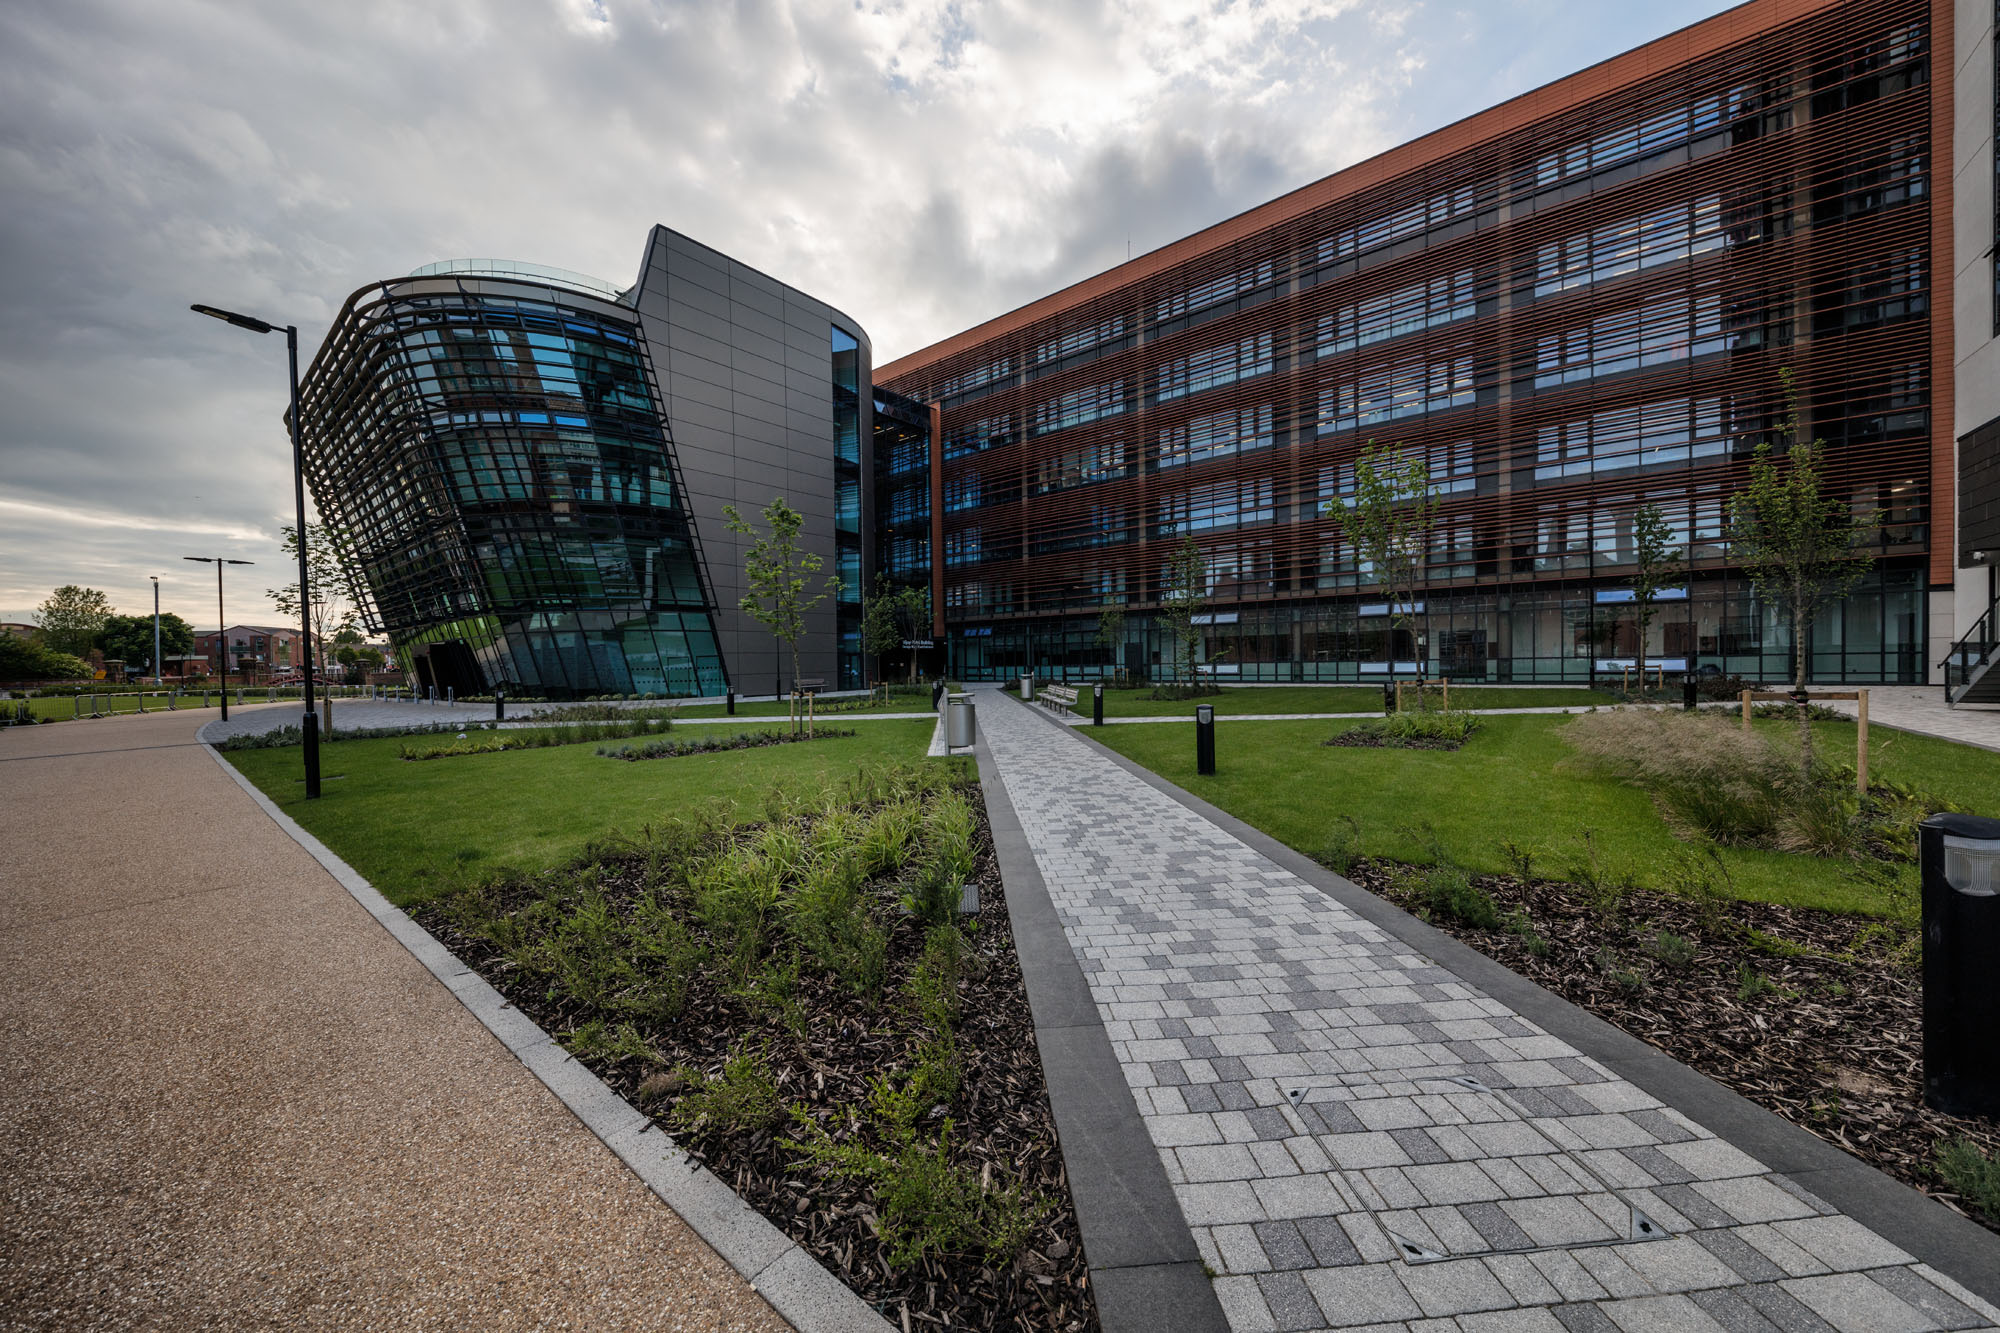
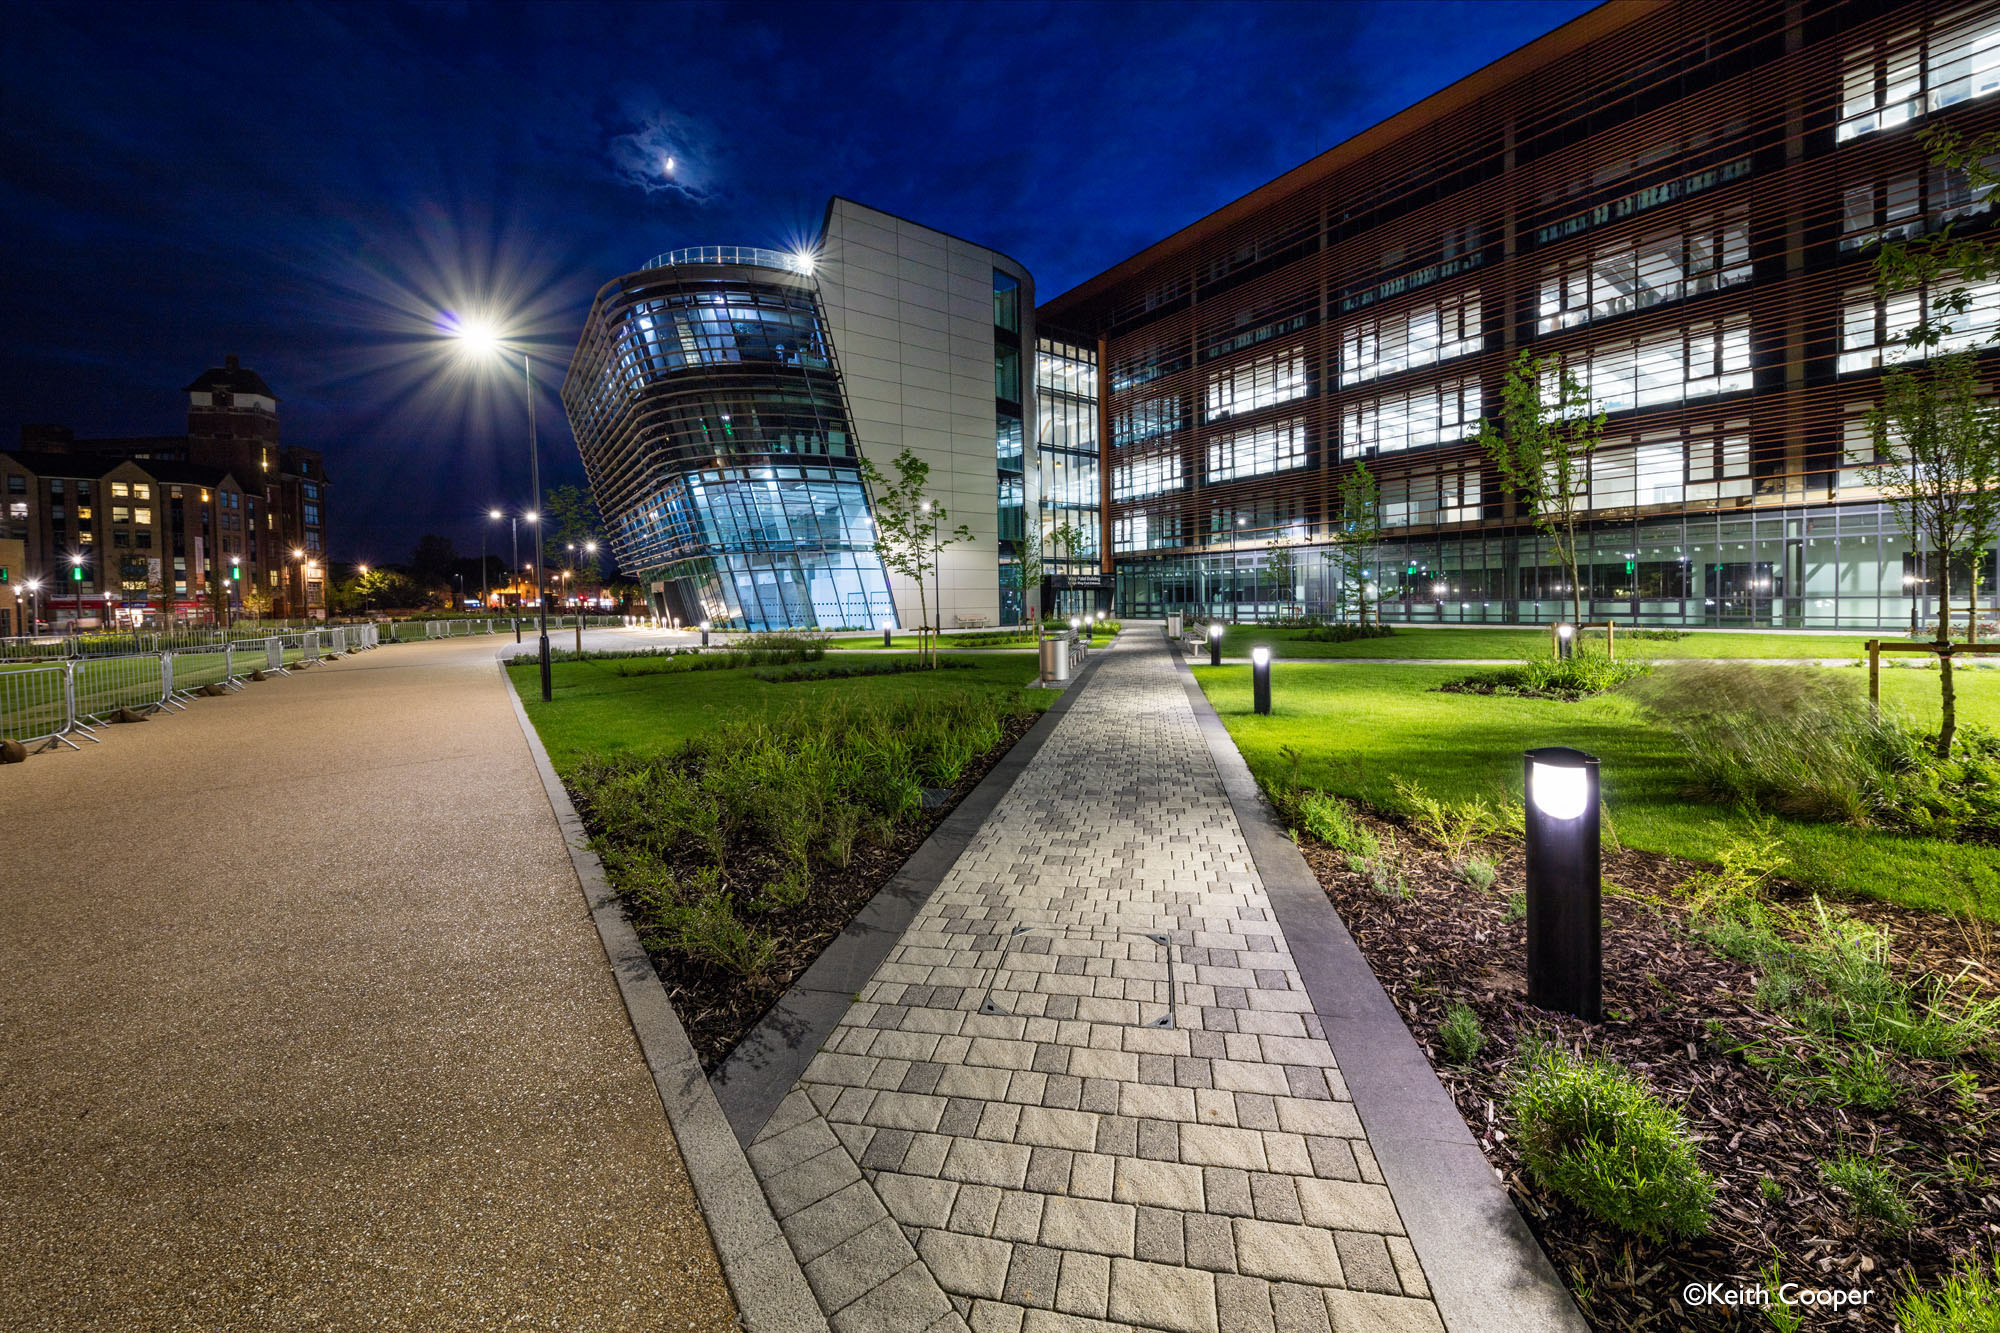
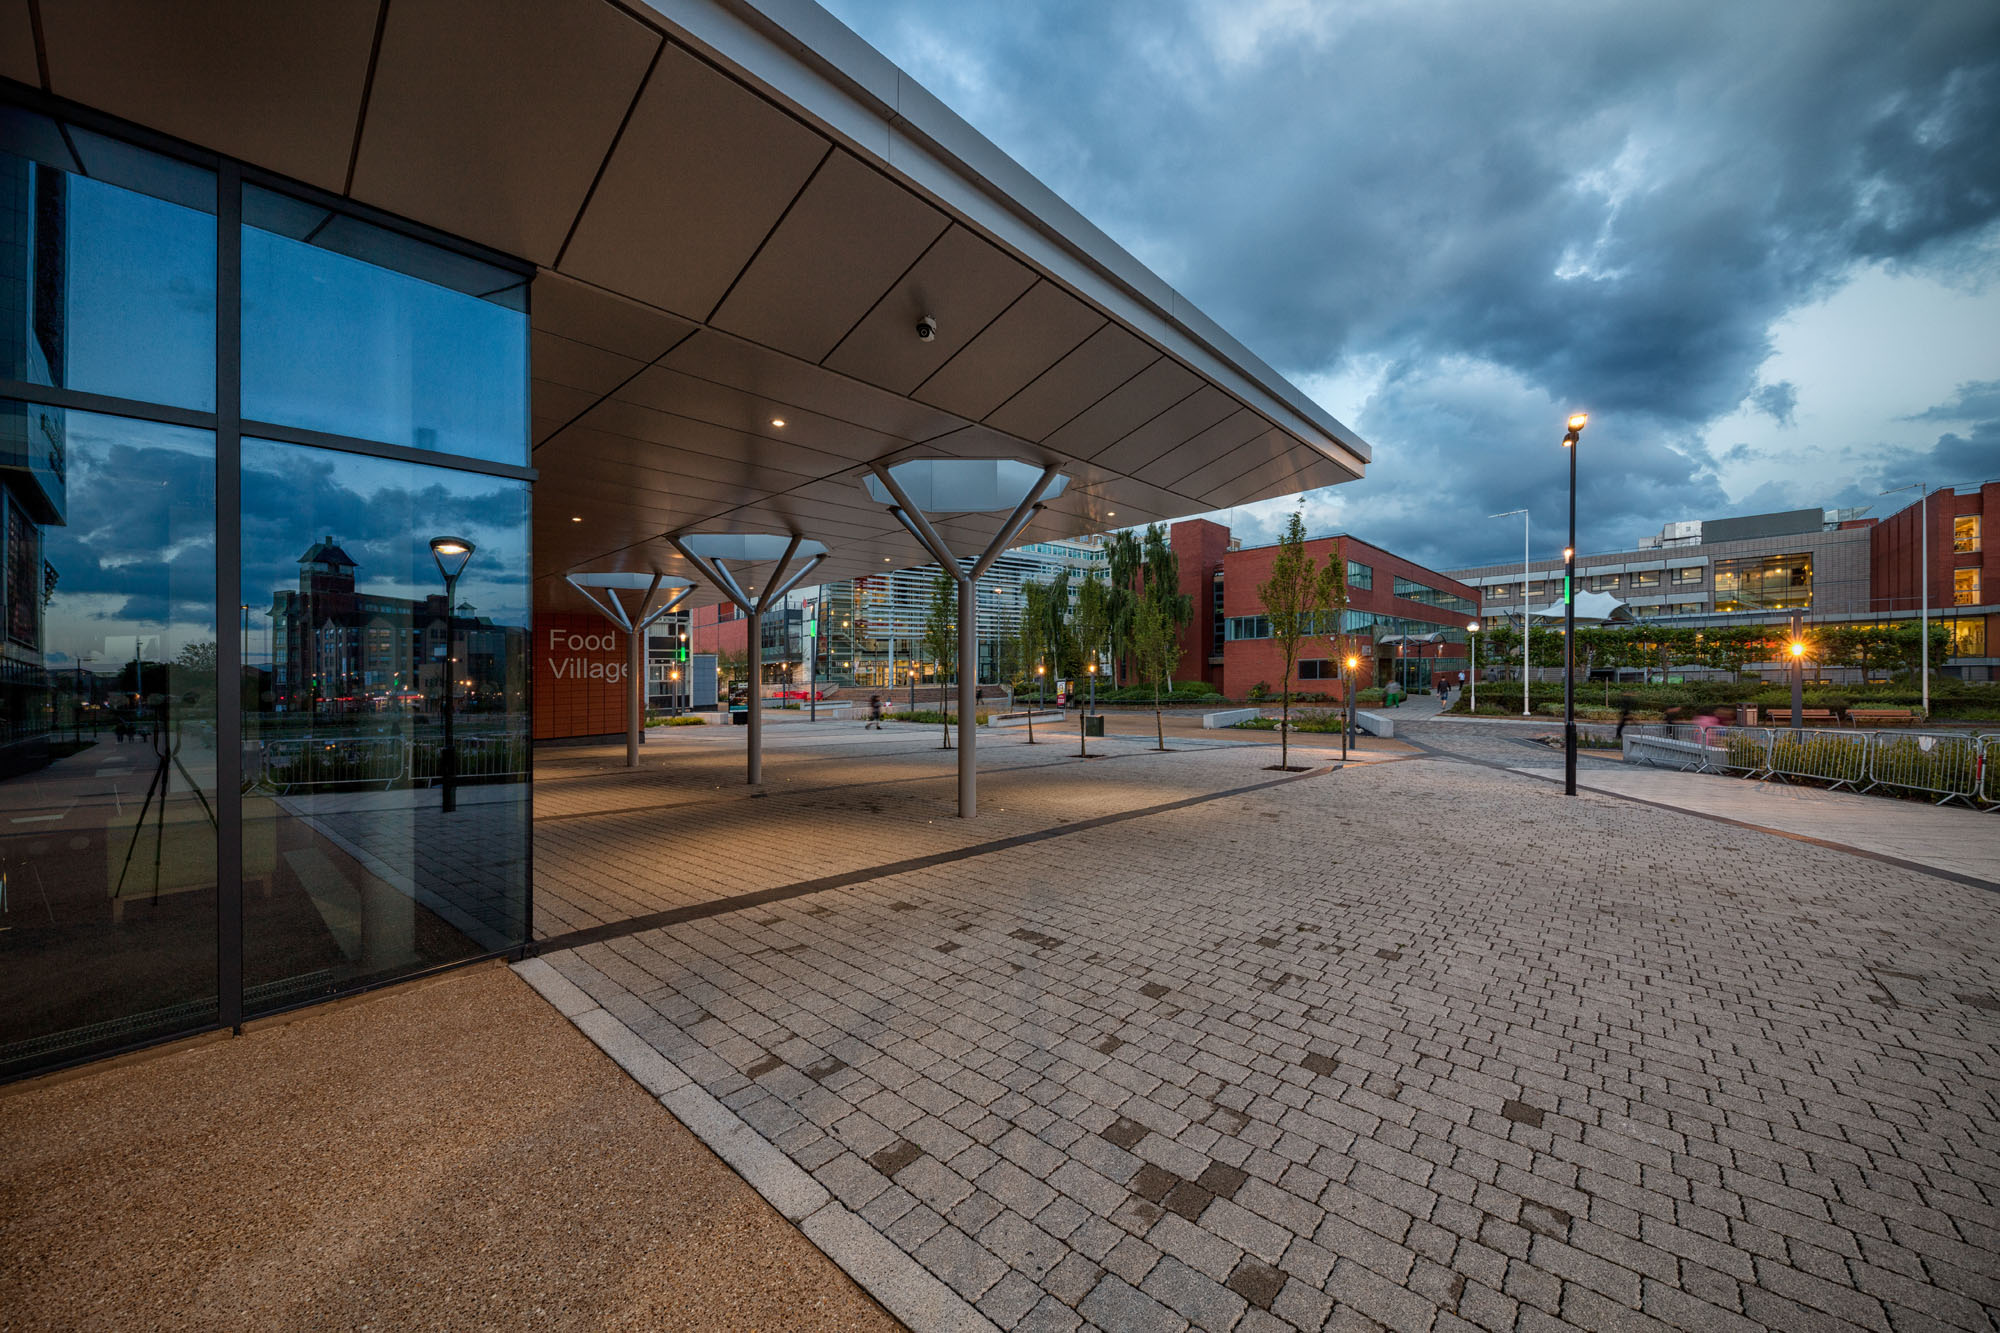
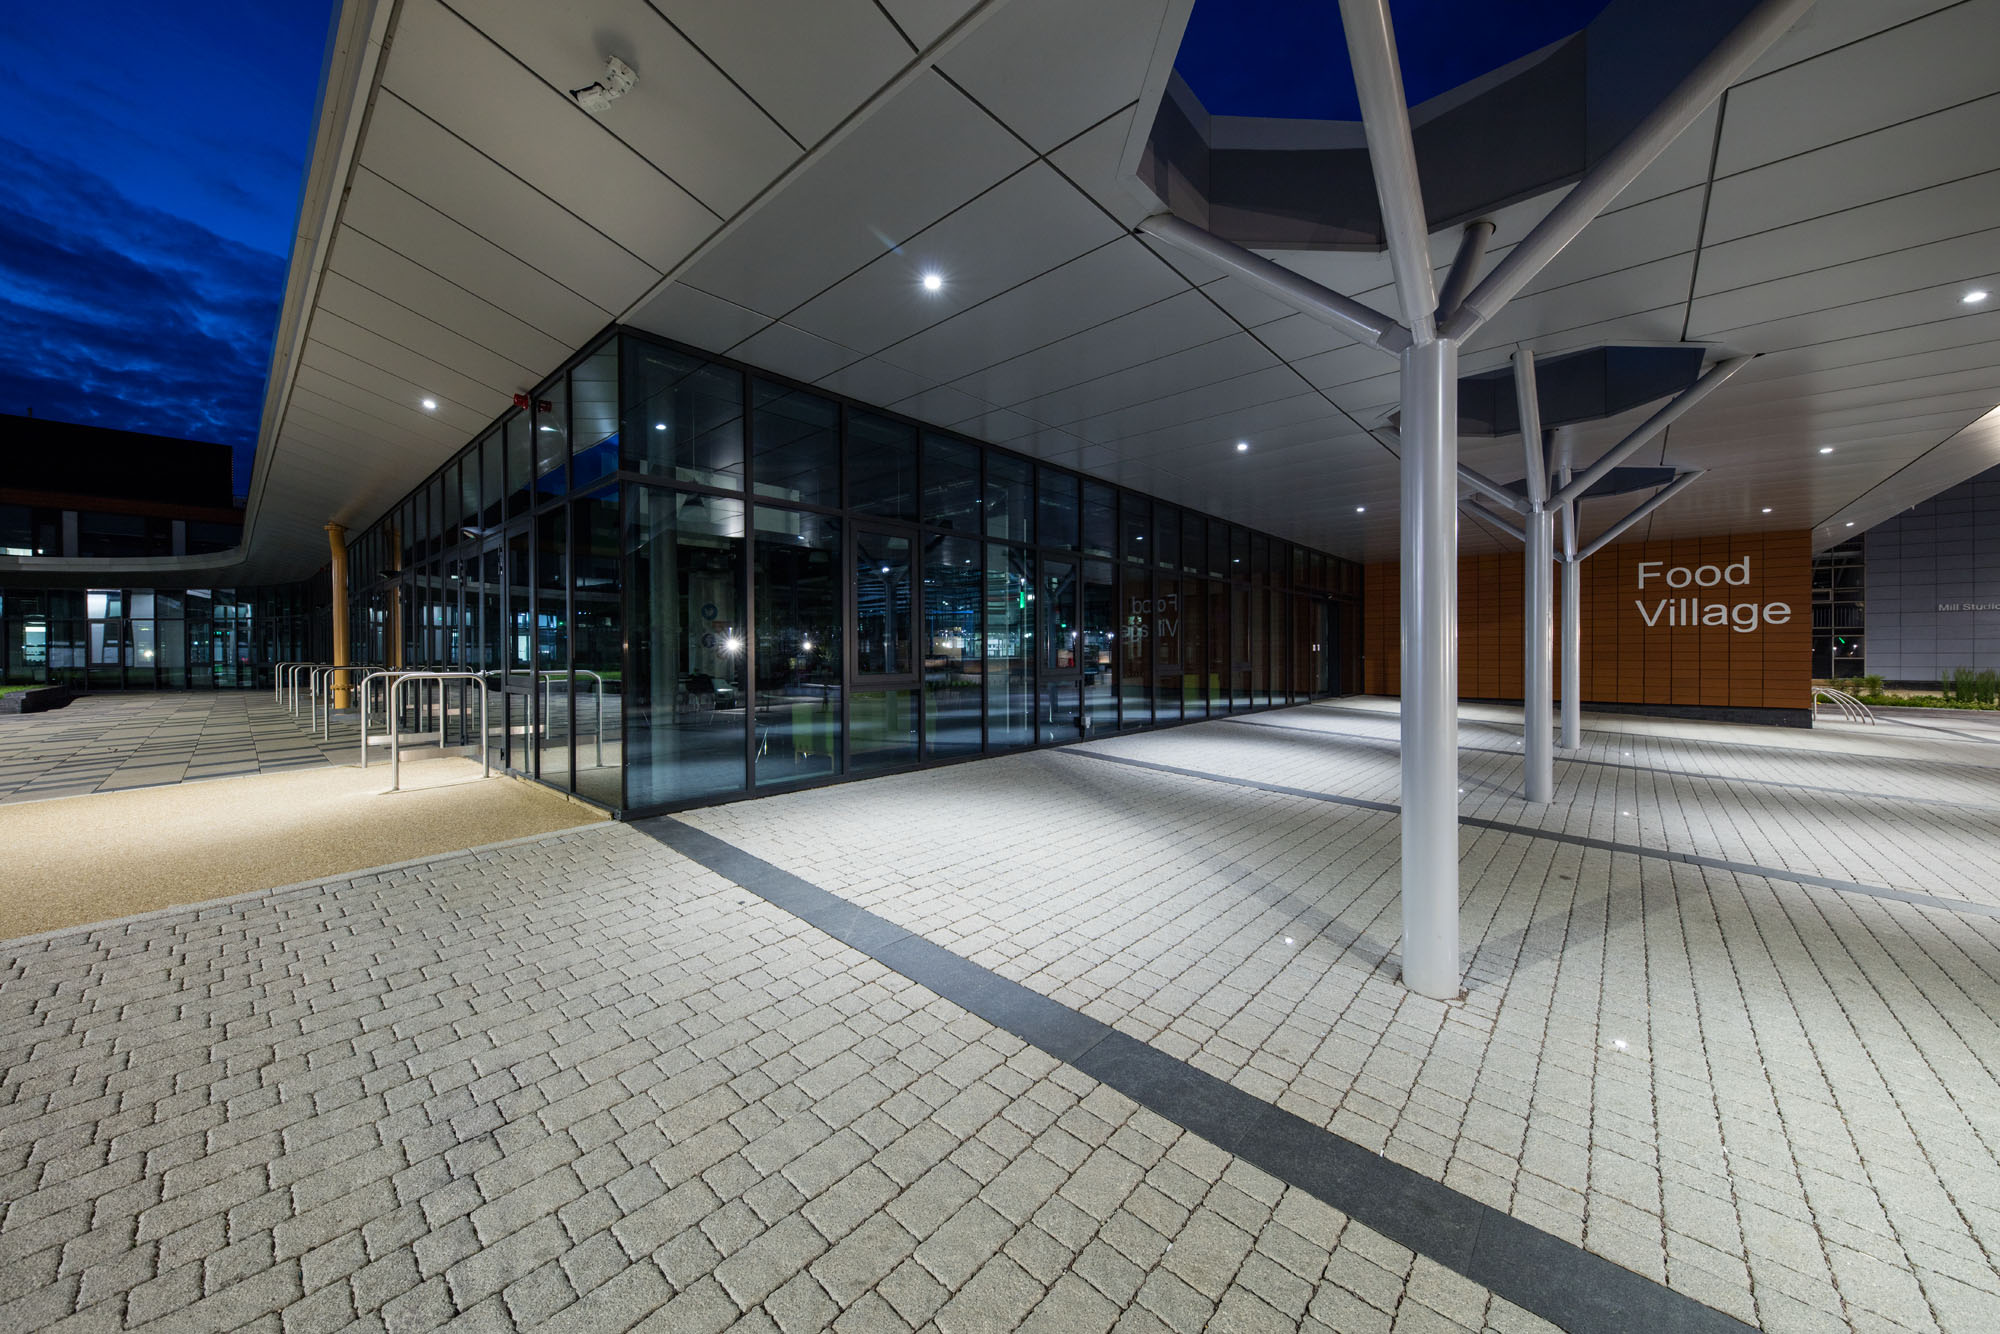
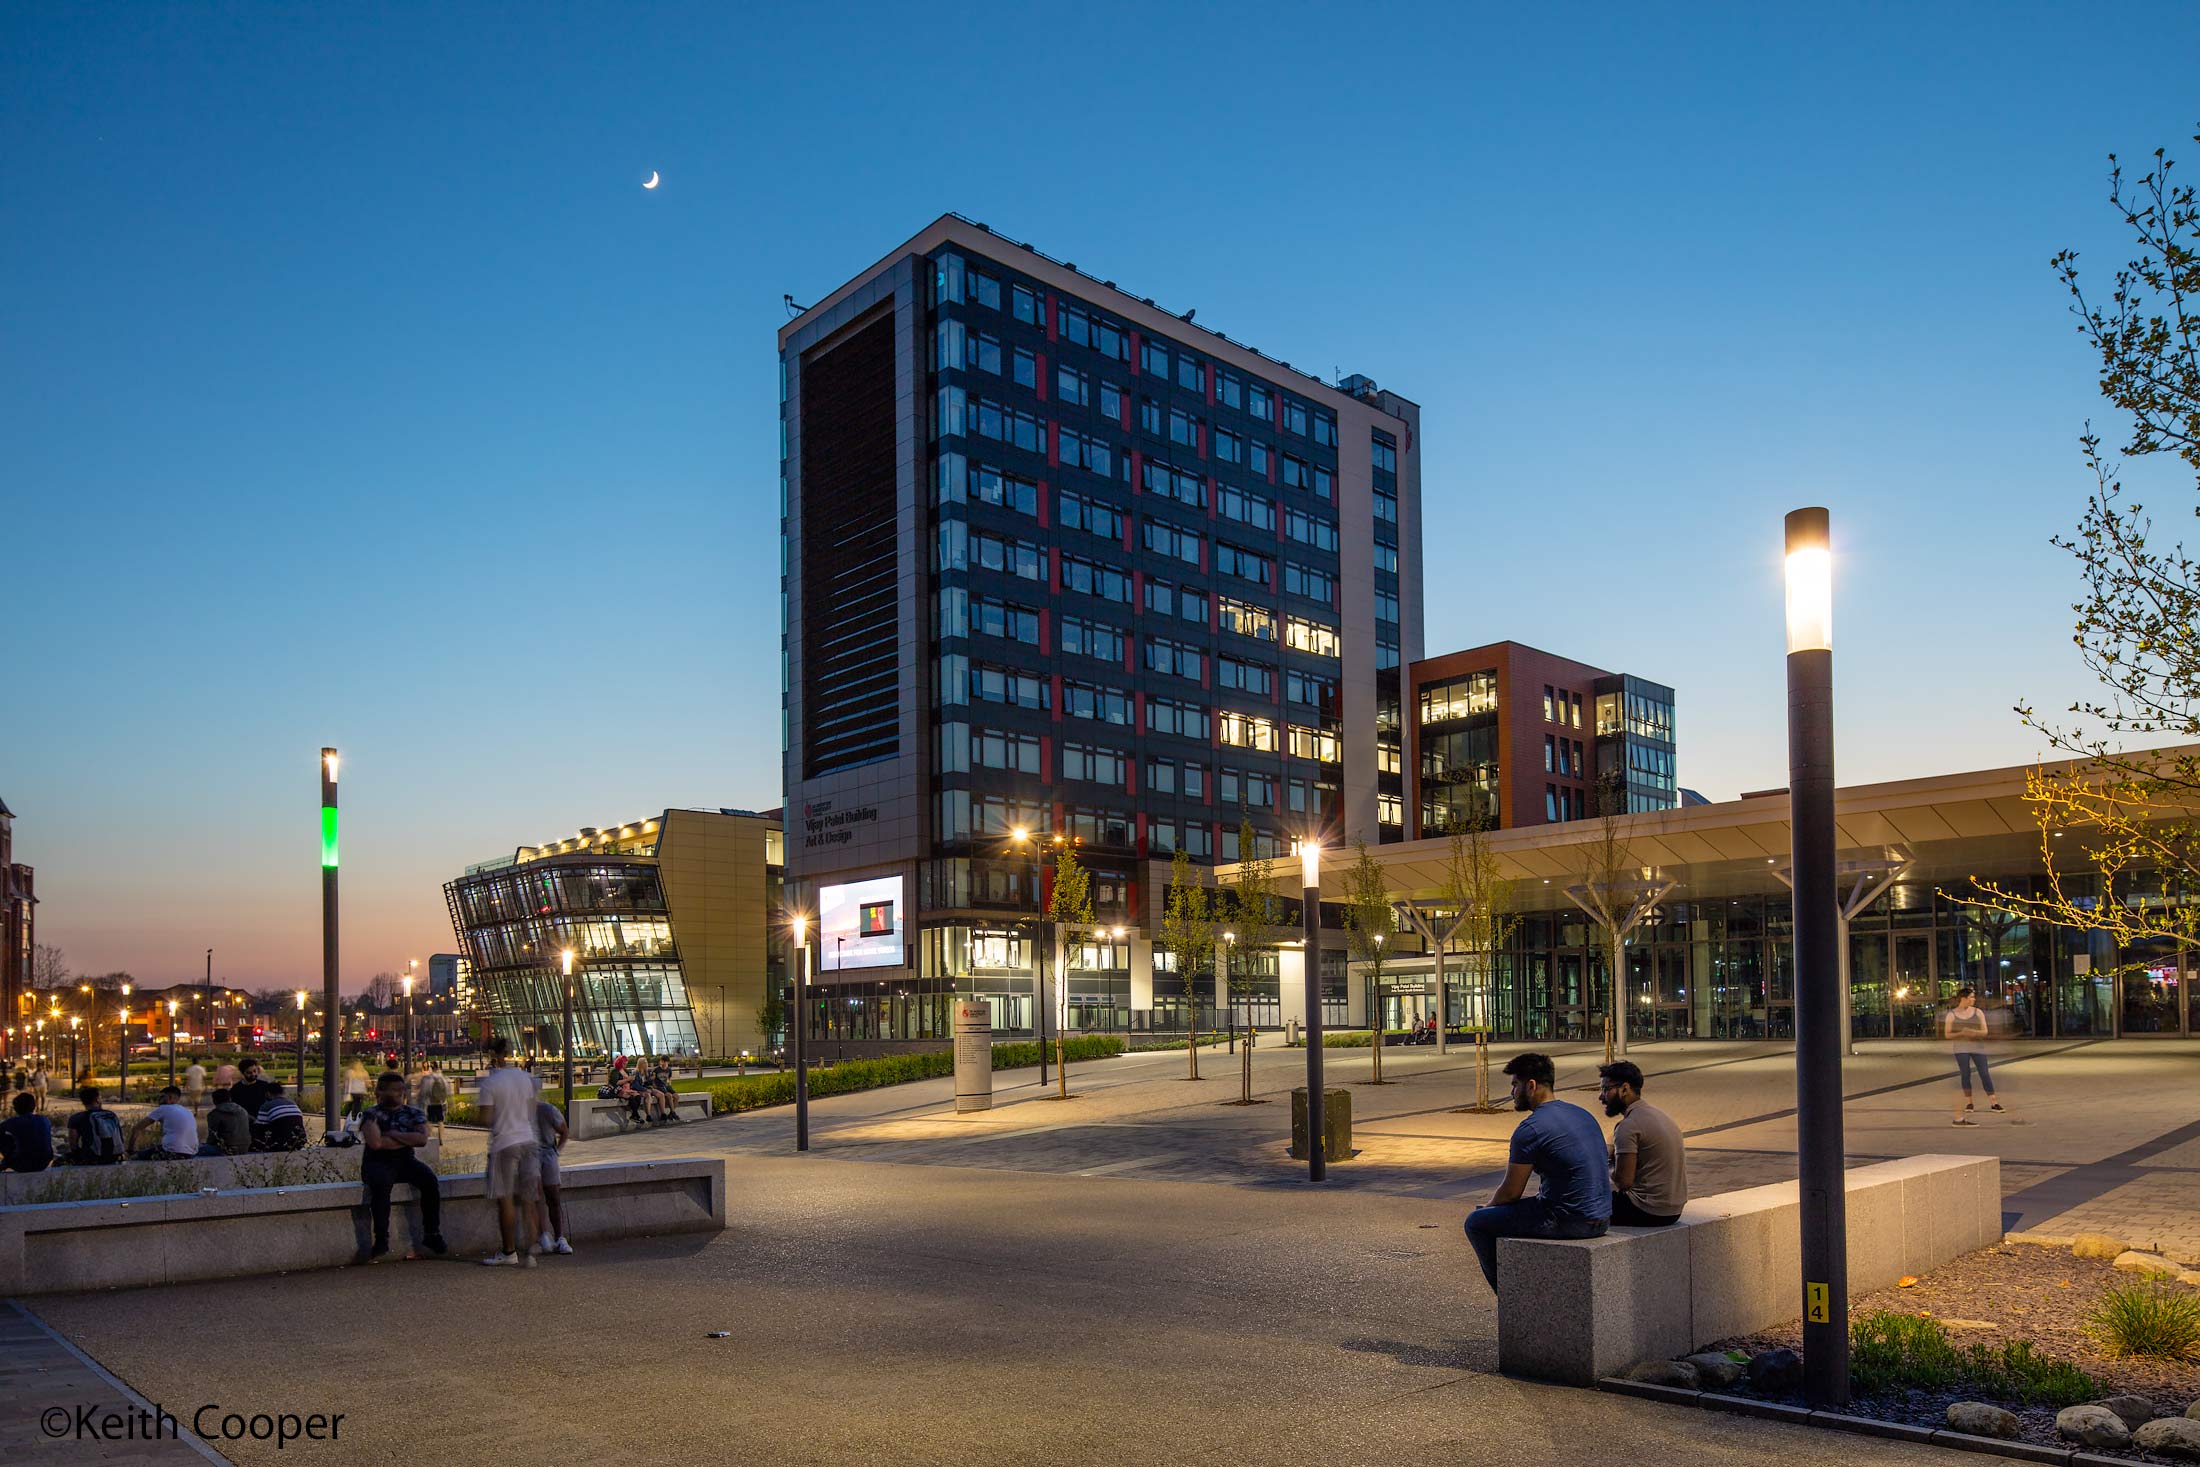
Once the sun starts to go down you’re faced with a number of challenges in matching artificial and natural light.
These three shots taken whilst testing the Samyang 14mm lens (kept level to avoid leaning buildings) show the very different styles of image you can get in just over an hour.

Colour balance is another choice to make when processing images, as you can see in these three very different views of the same roof support feature.
[TS-E 50mm shift lens]
[Samyang 14mm]
[Samyang 14mm]
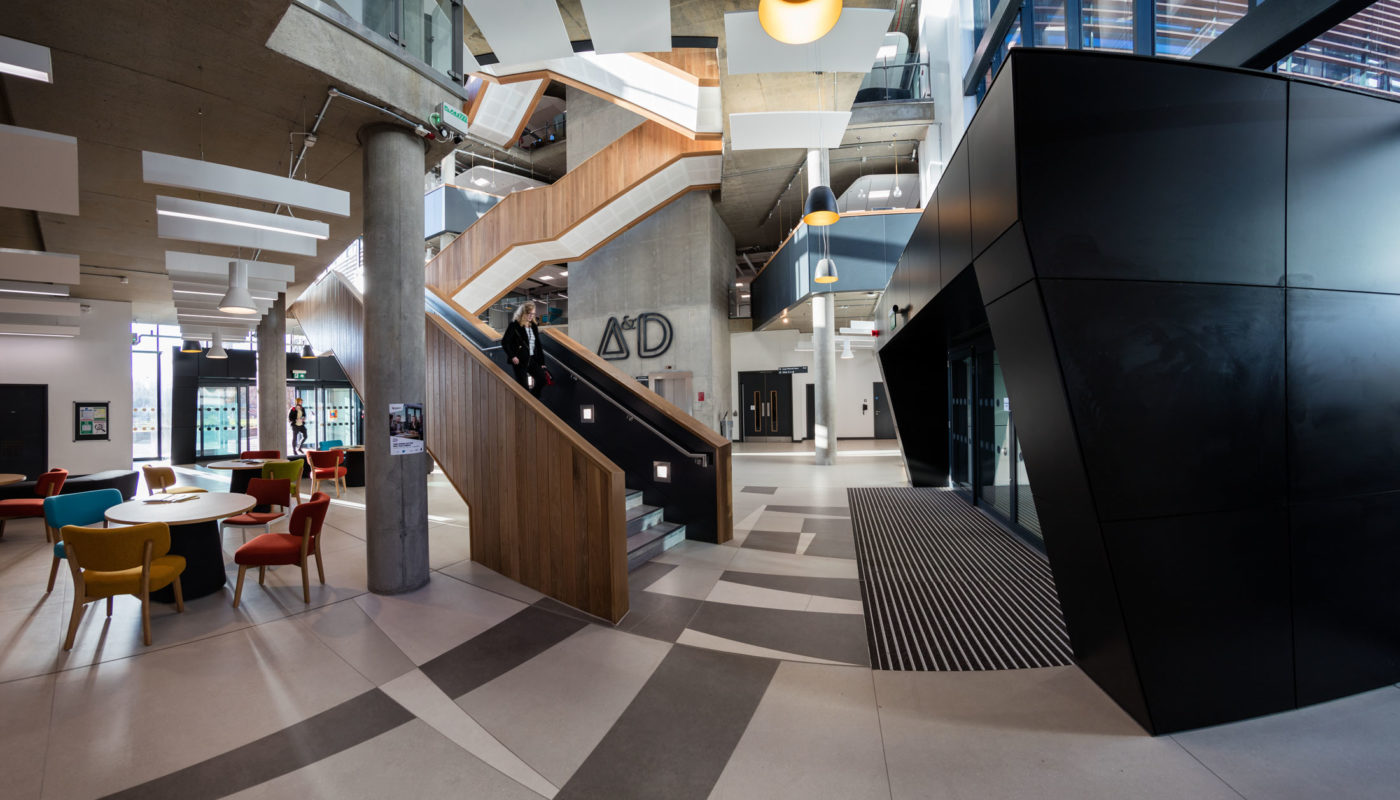
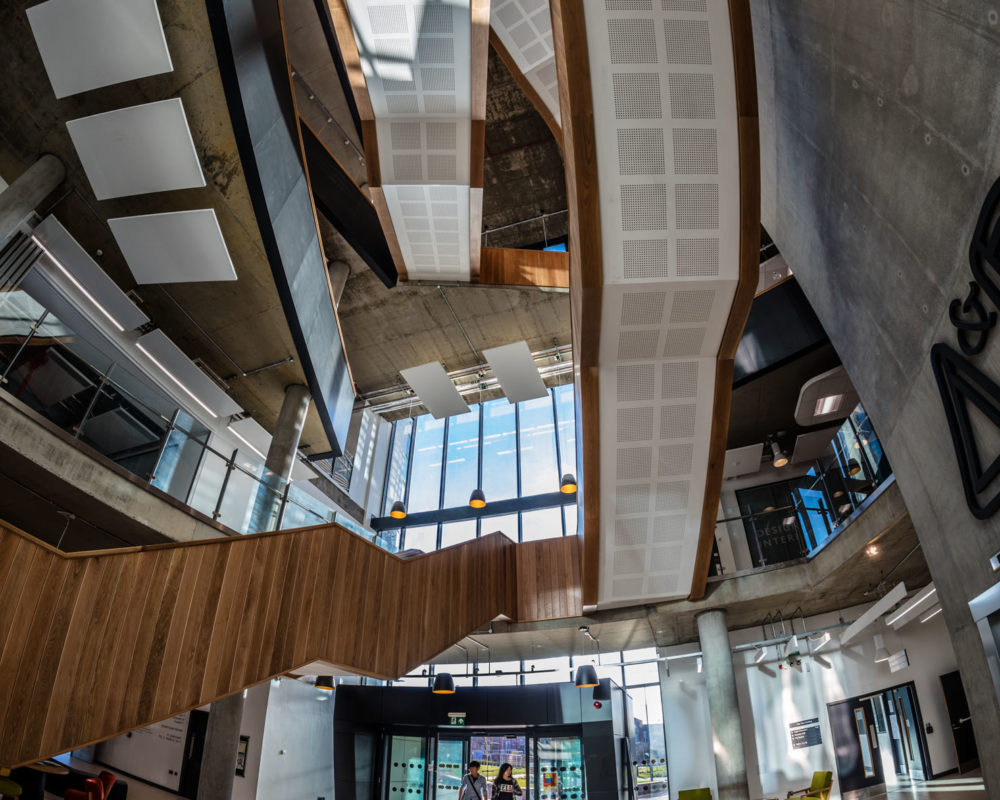
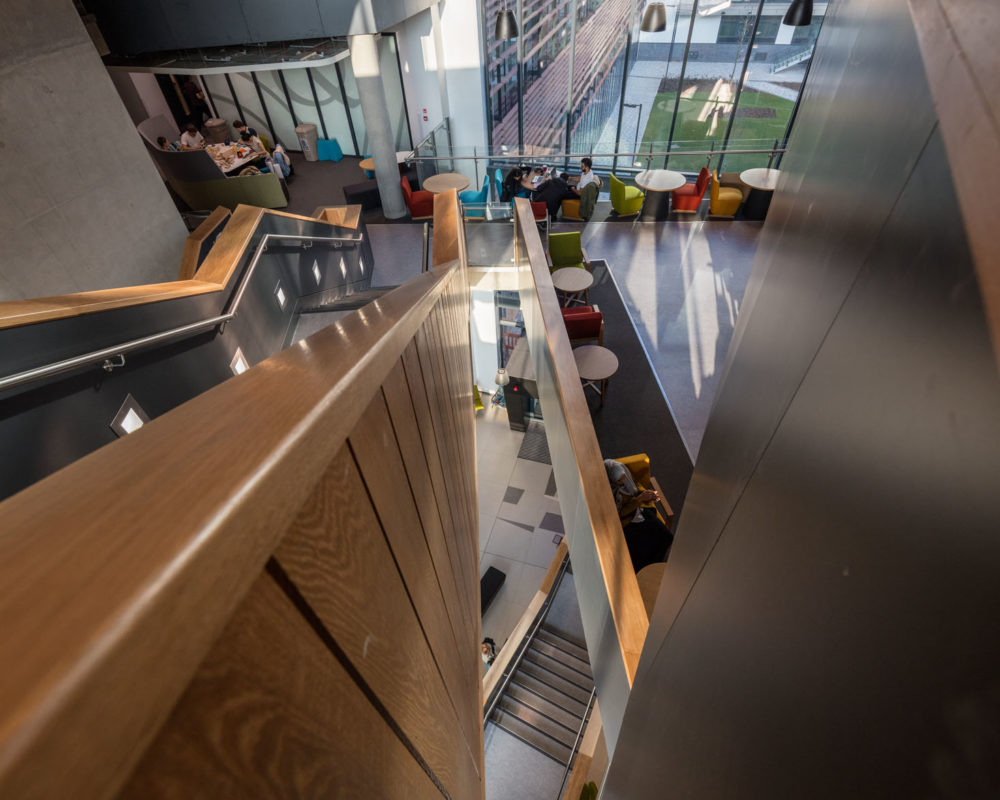
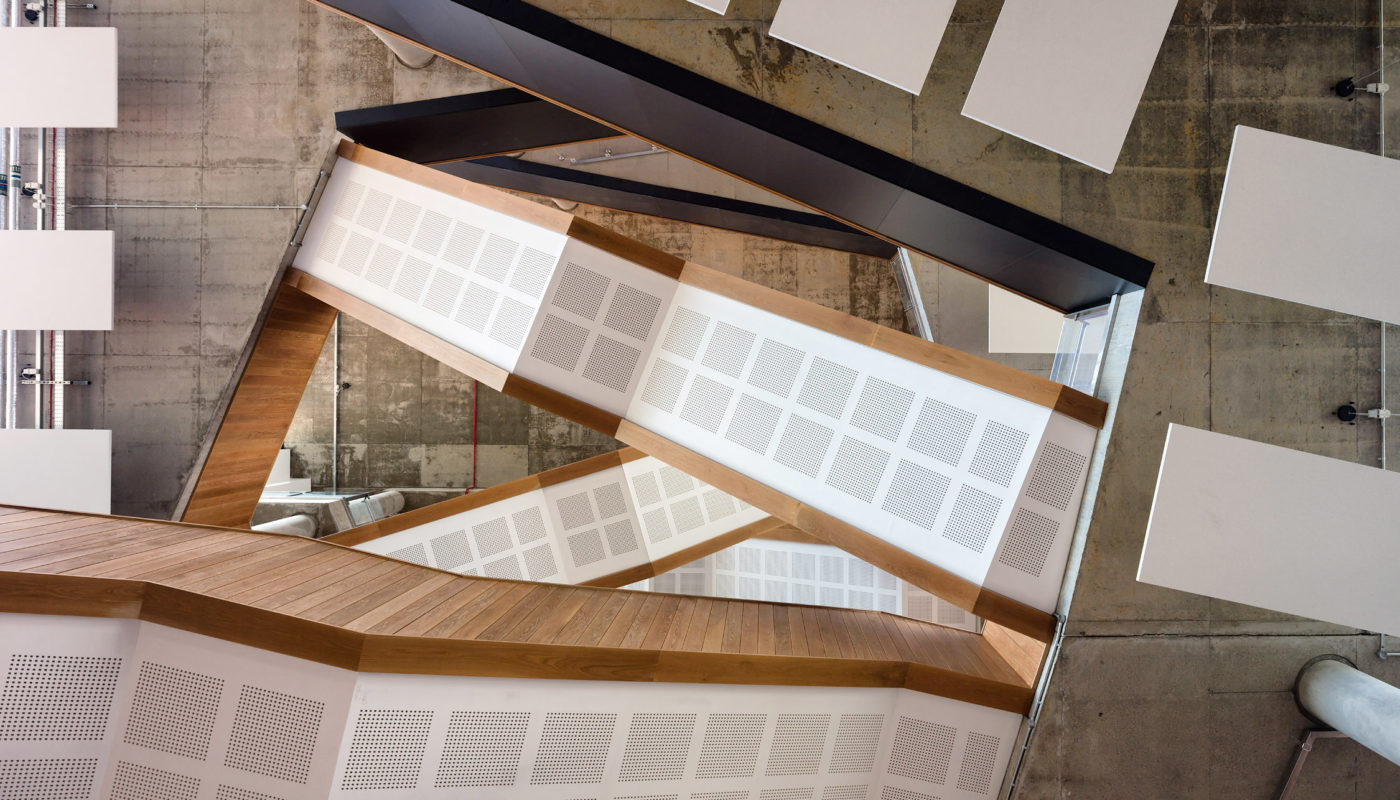
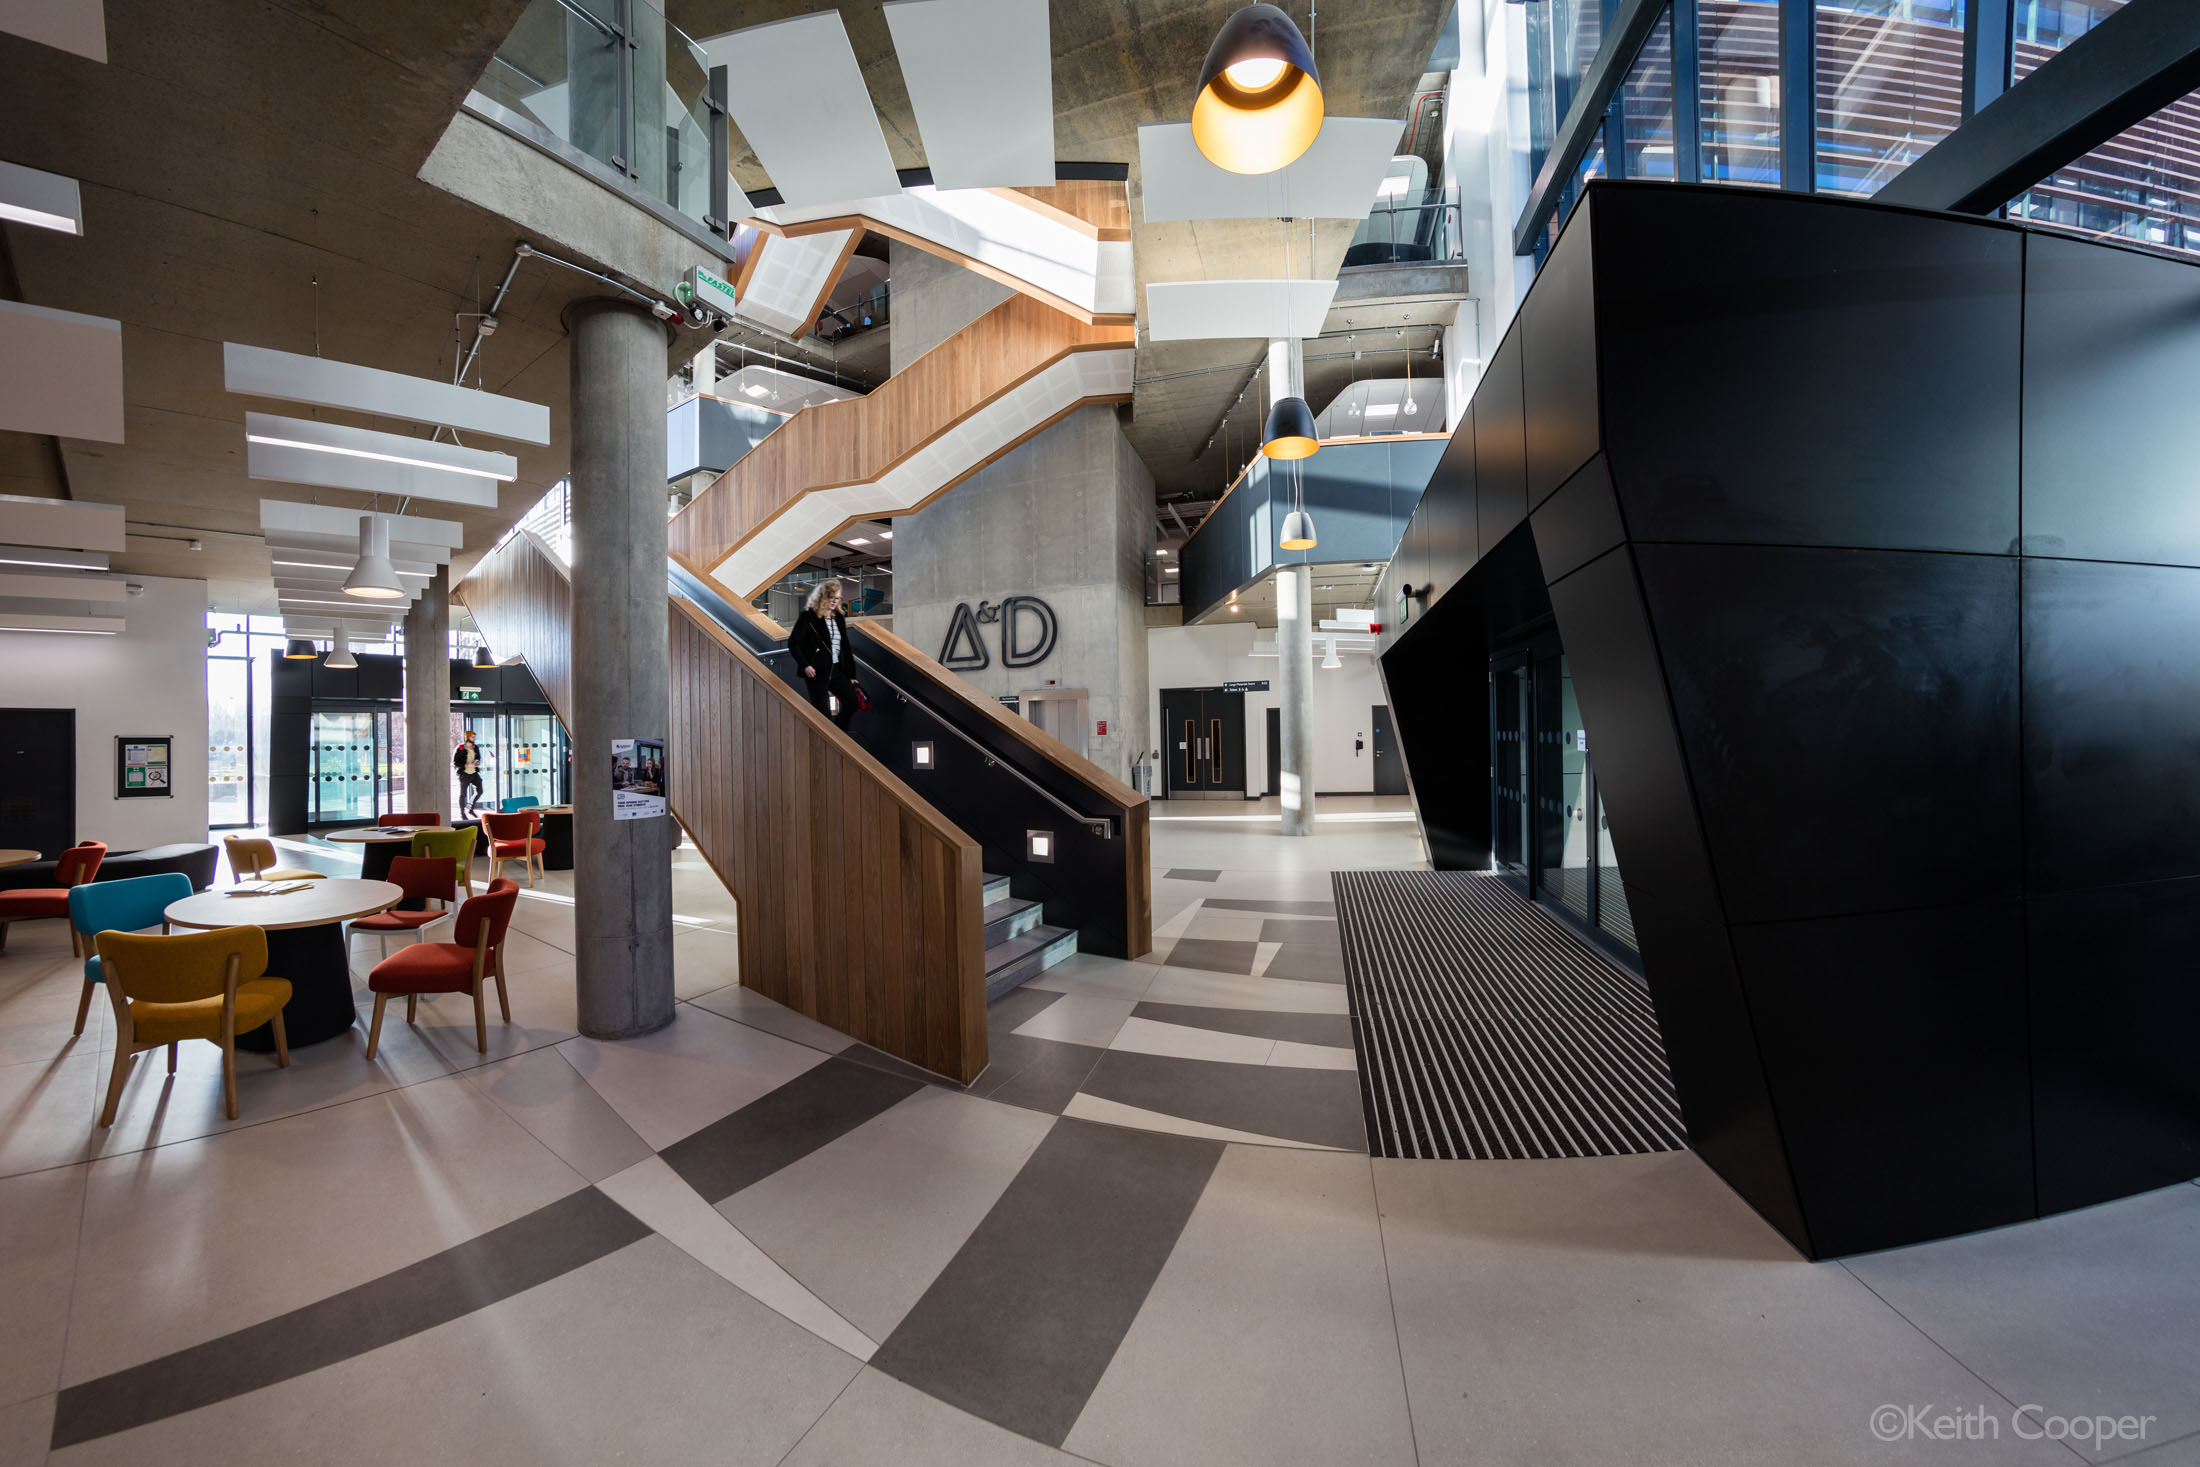
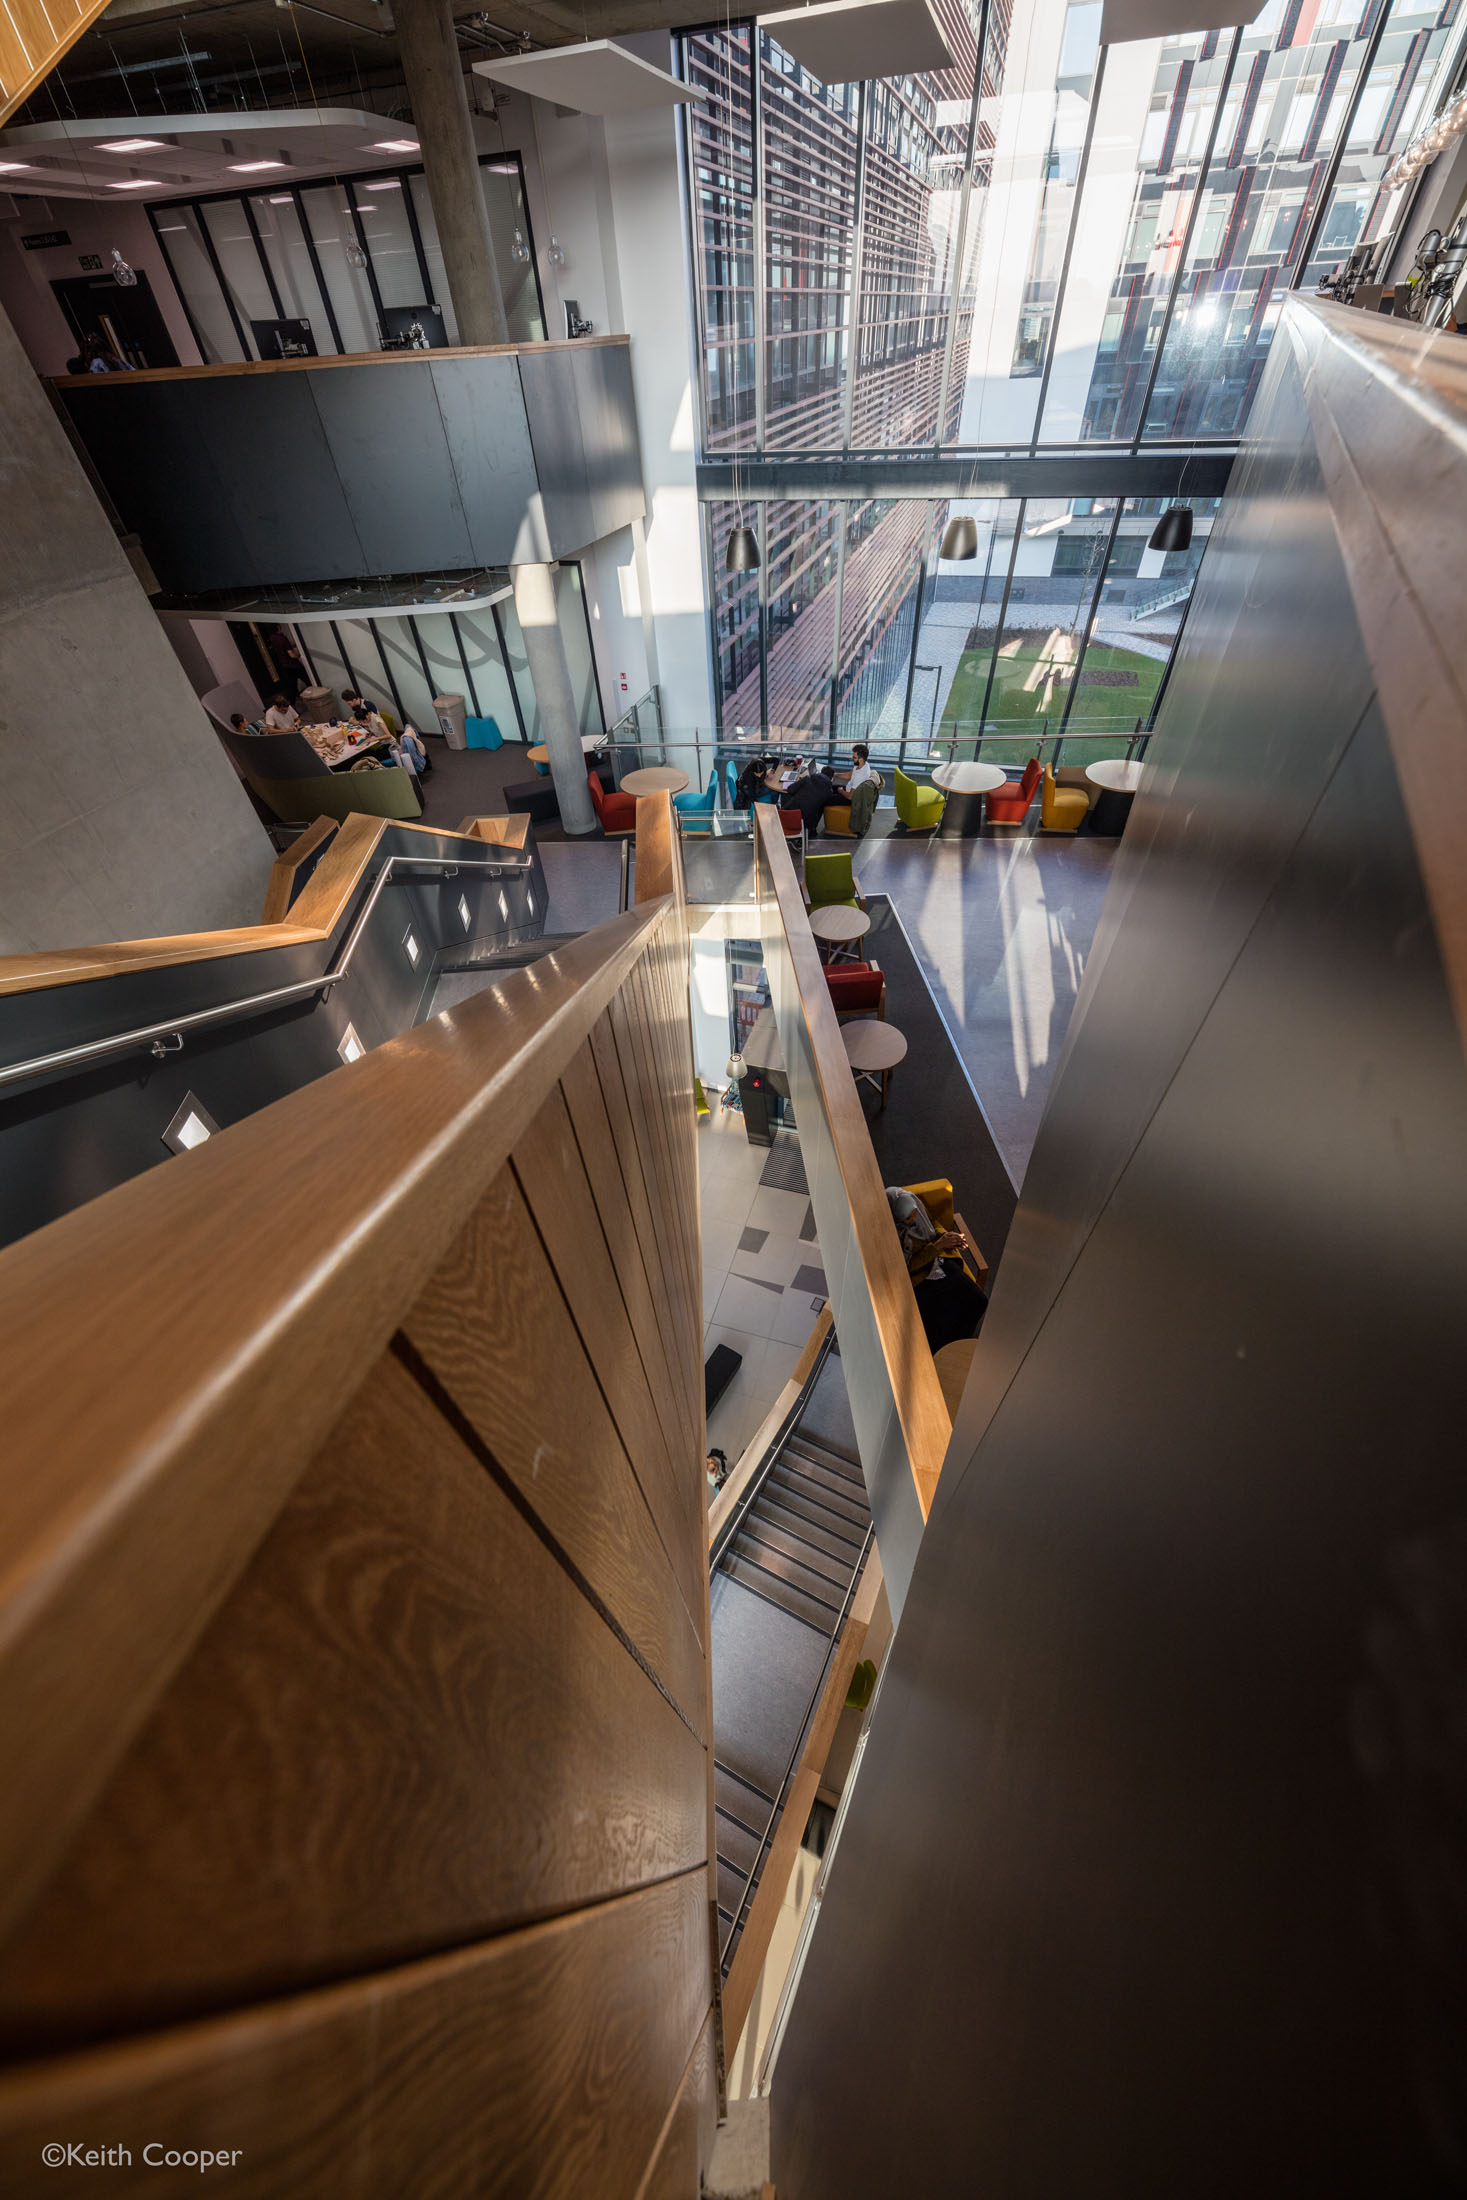
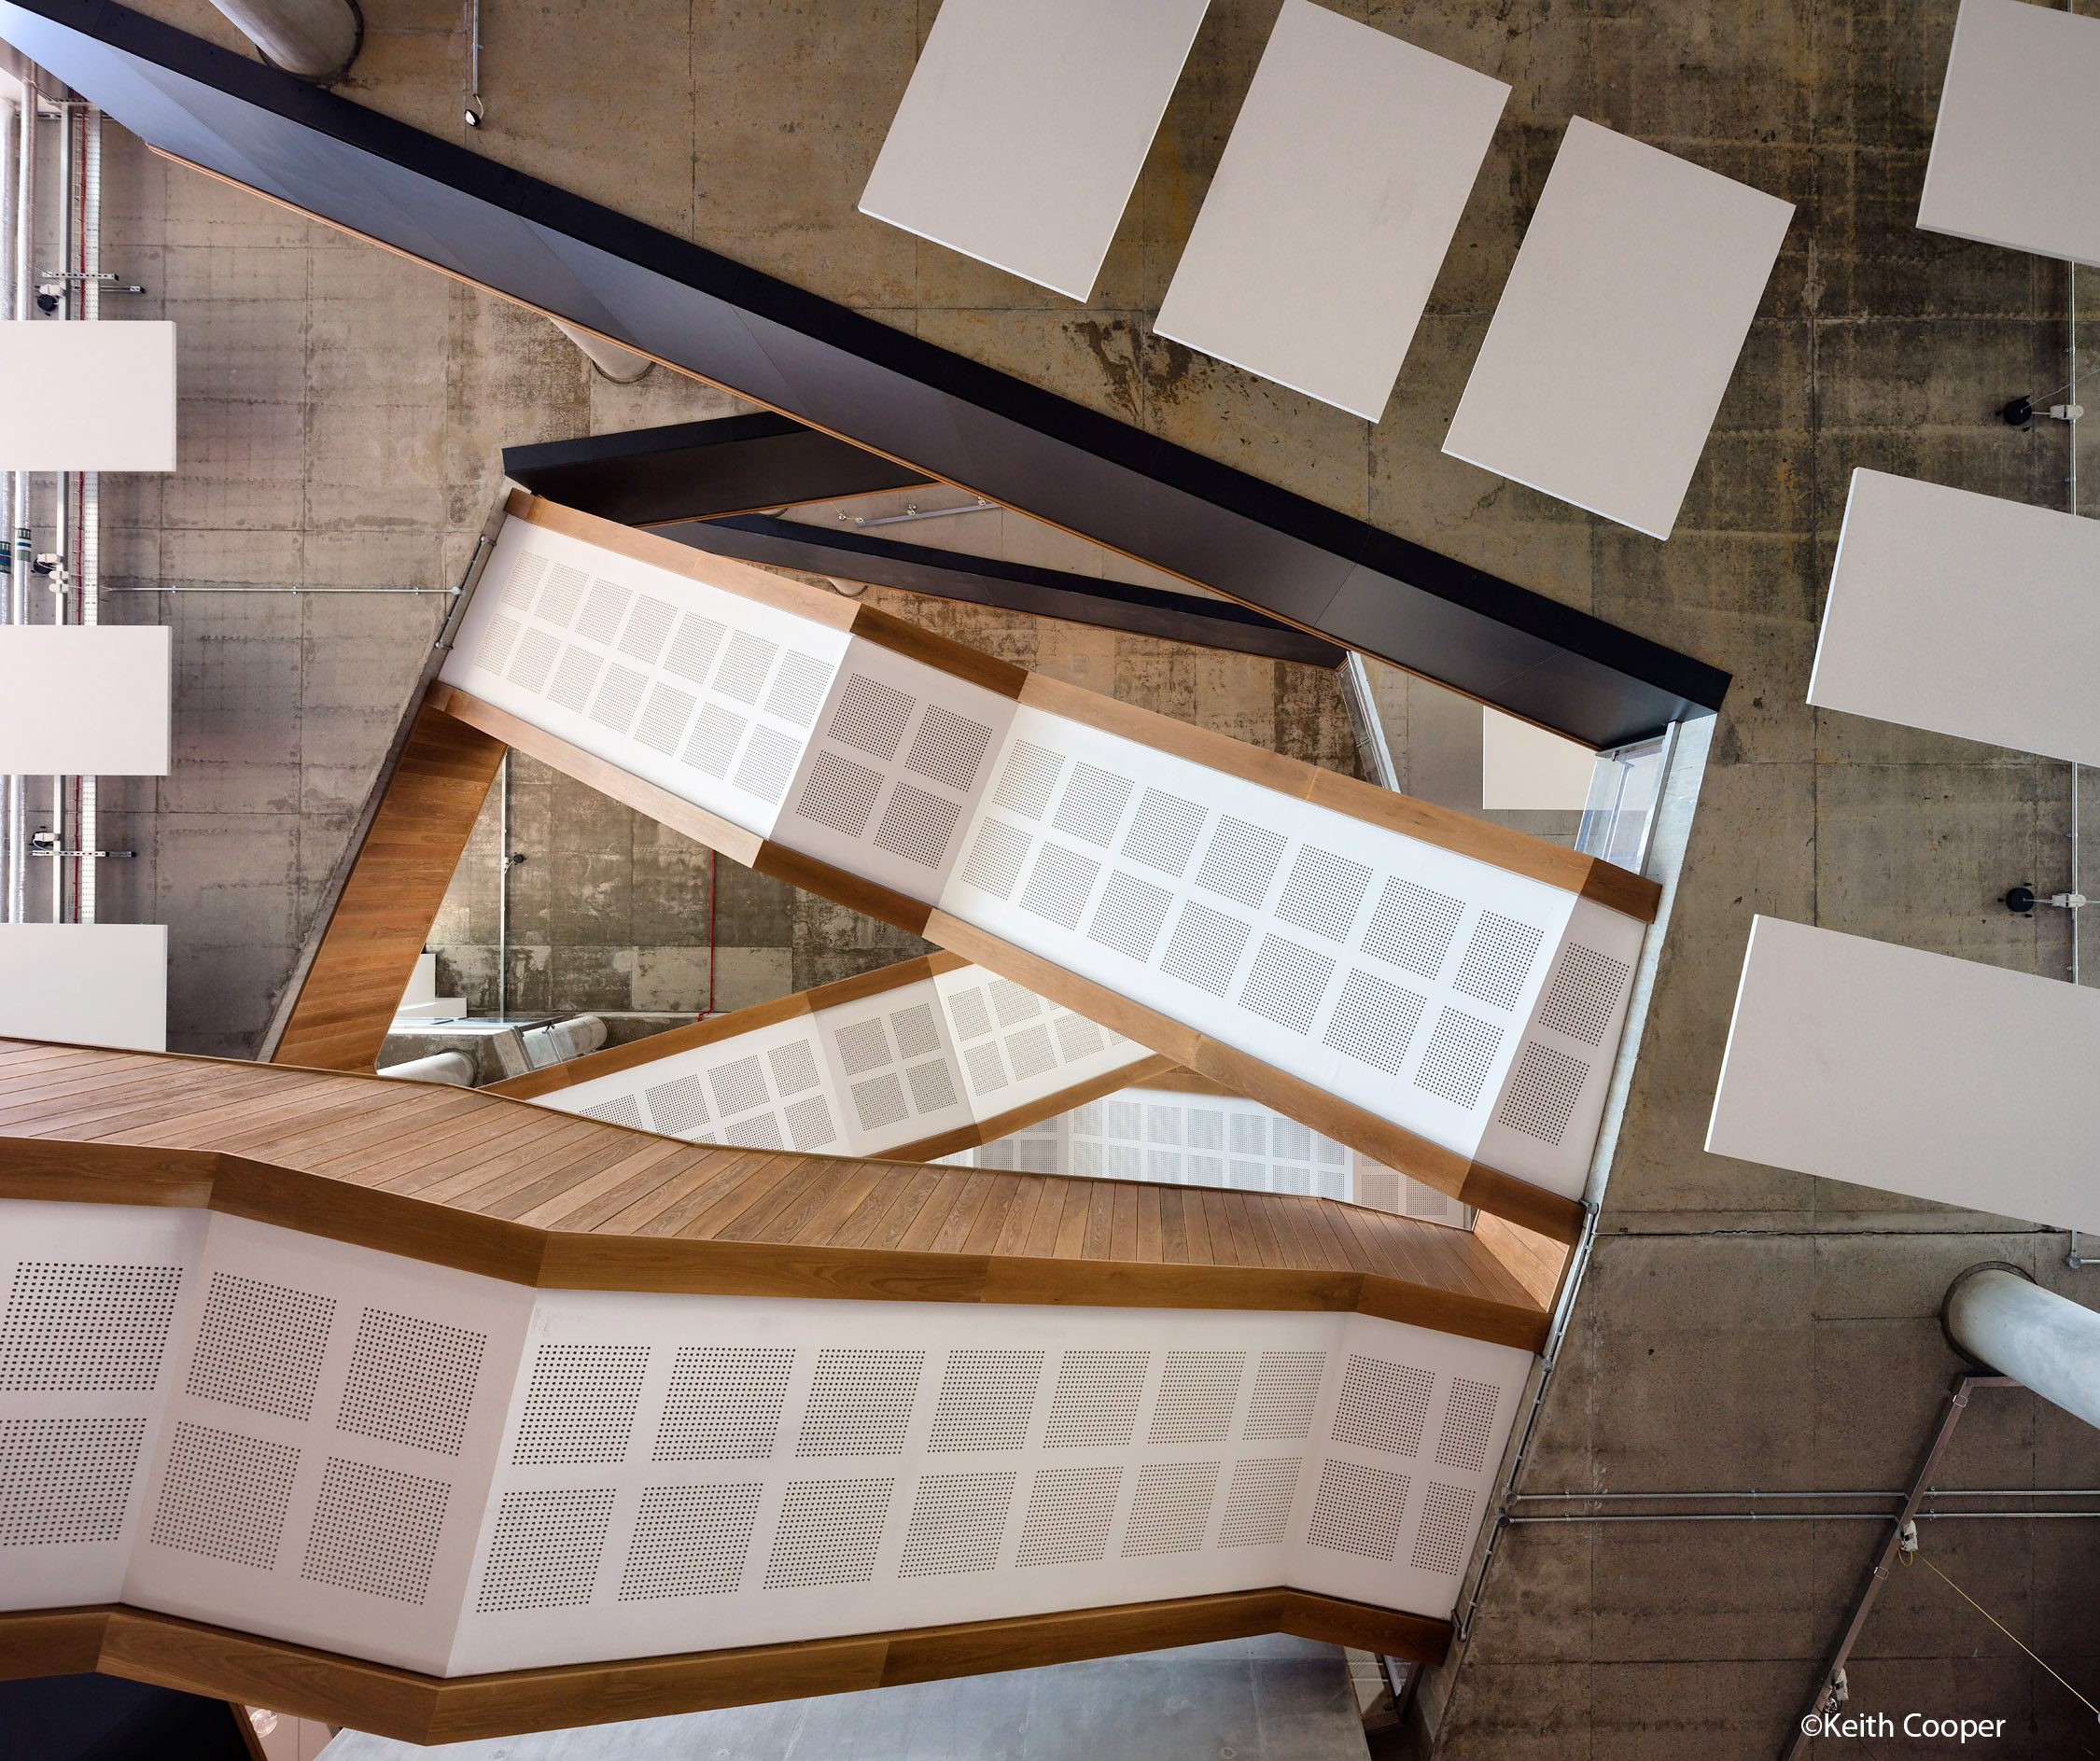
Indoors and those stairs
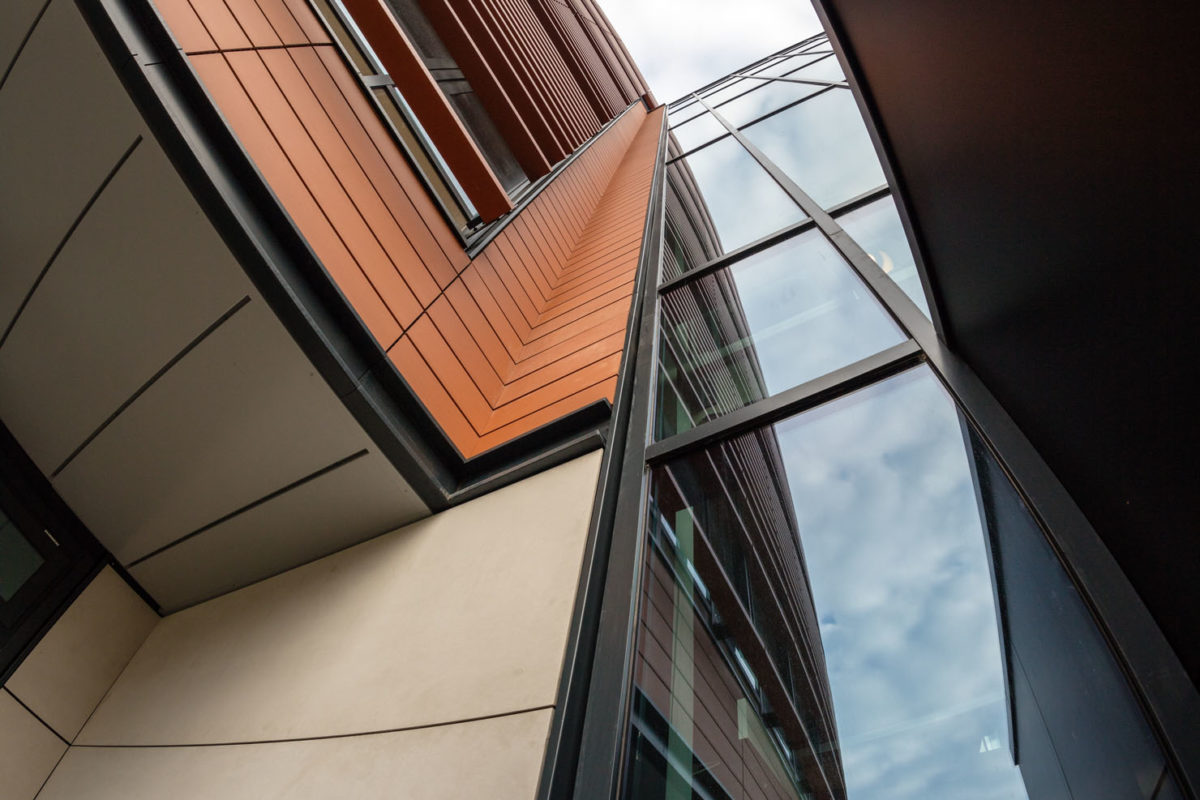
Going inside the building, you’re immediately faced with a big open space filled with staircases.
[Sigma 12-24 @12mm]
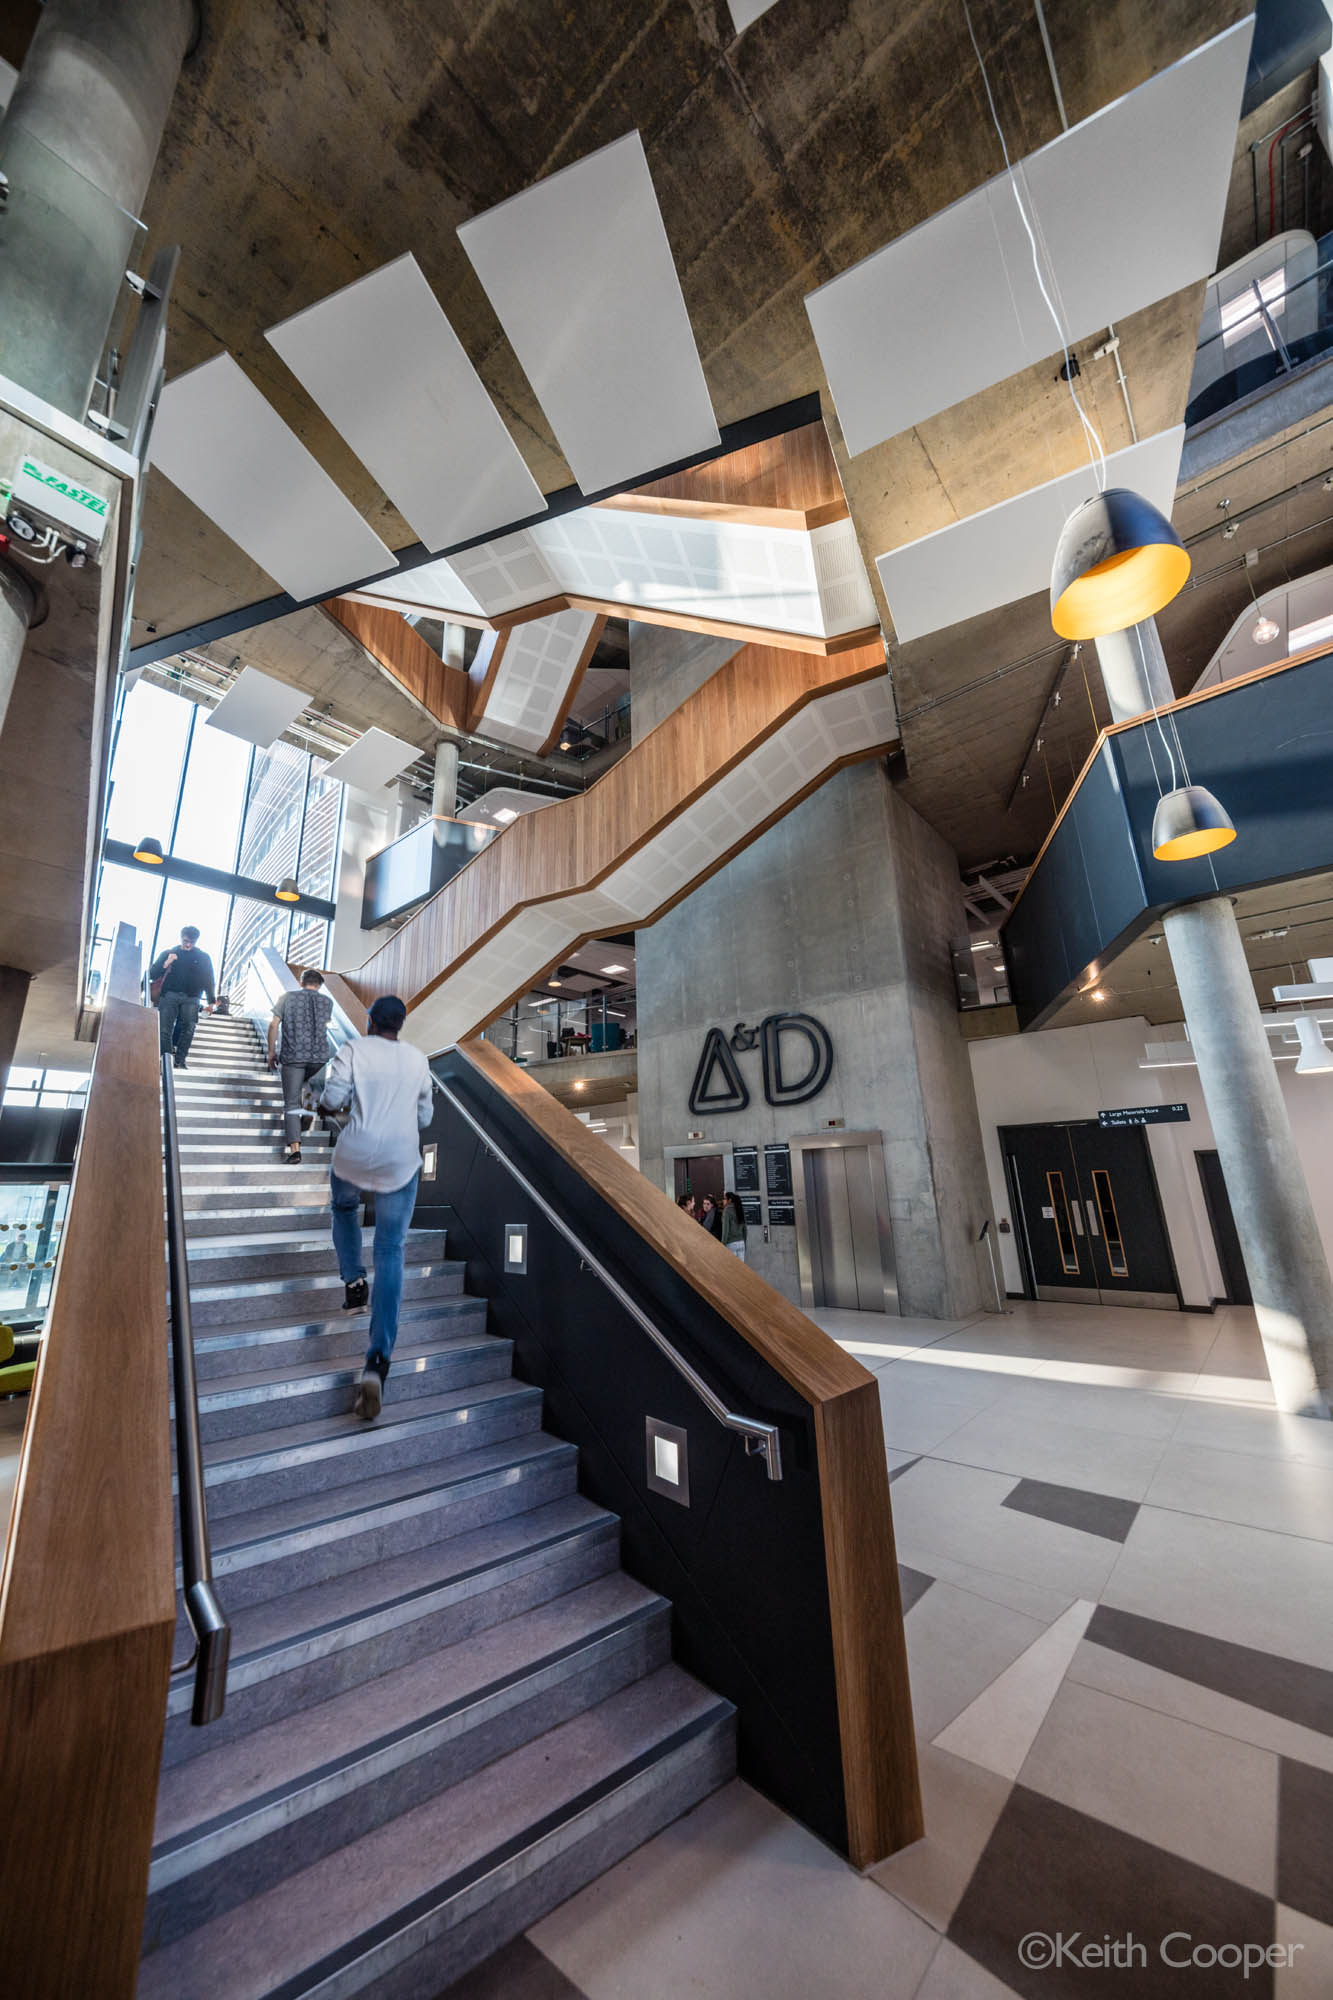
[Sigma12-24 @12mm]
A more extreme wide angle.

[Samyang 12mm fish-eye]
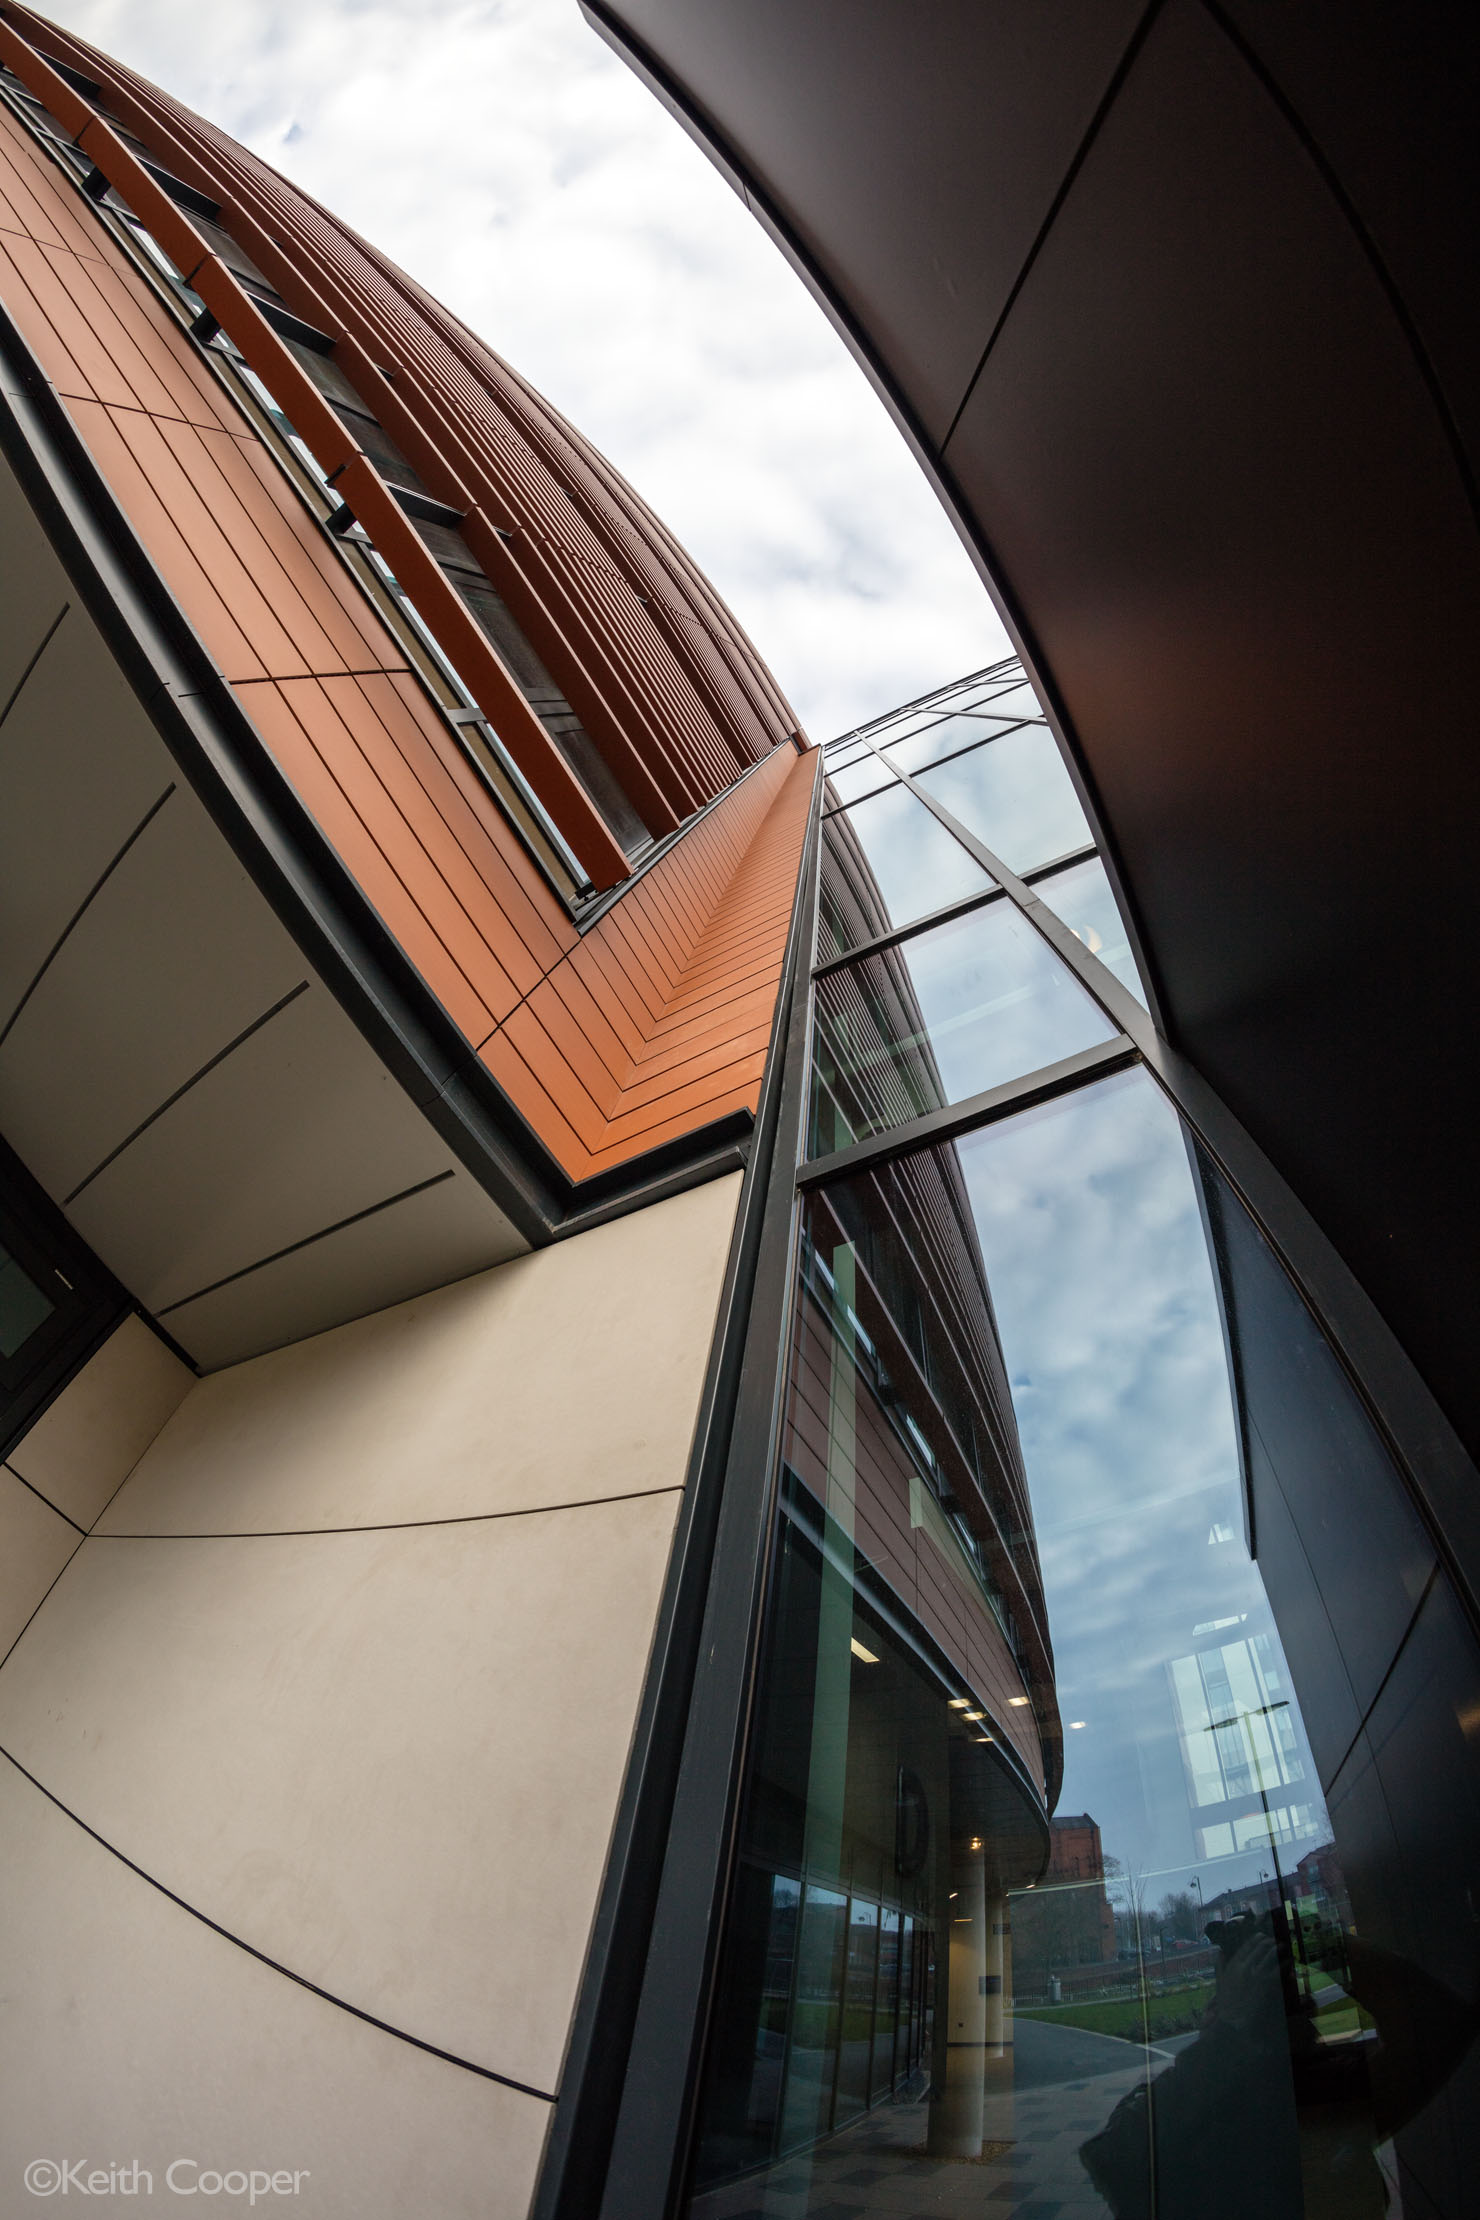
Looking upwards, the leaning verticals only add to the sense of movement.
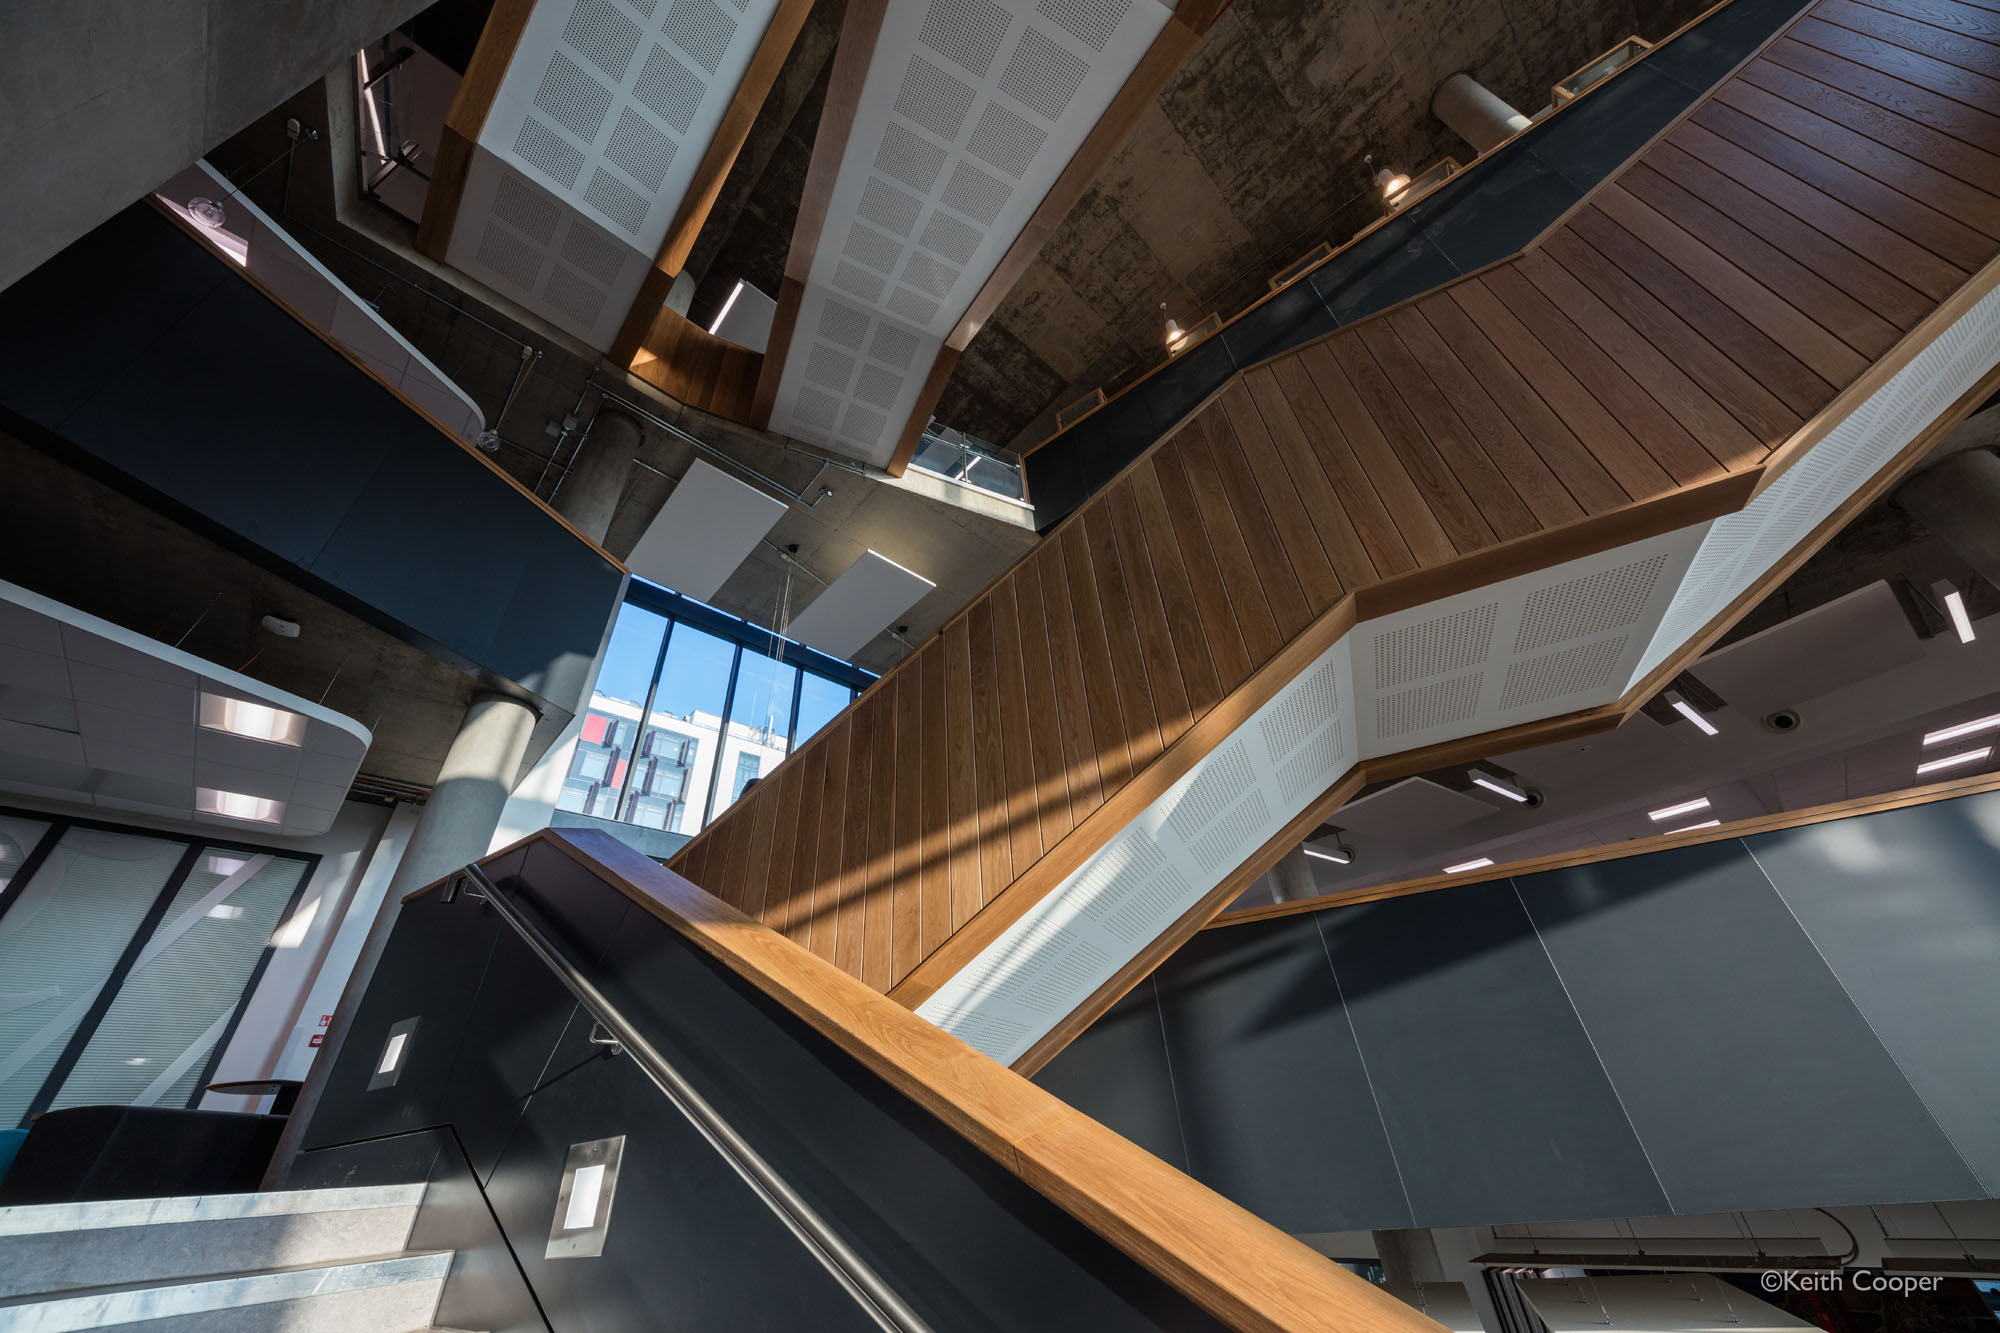
[Sigma 12-24mm @12mm]
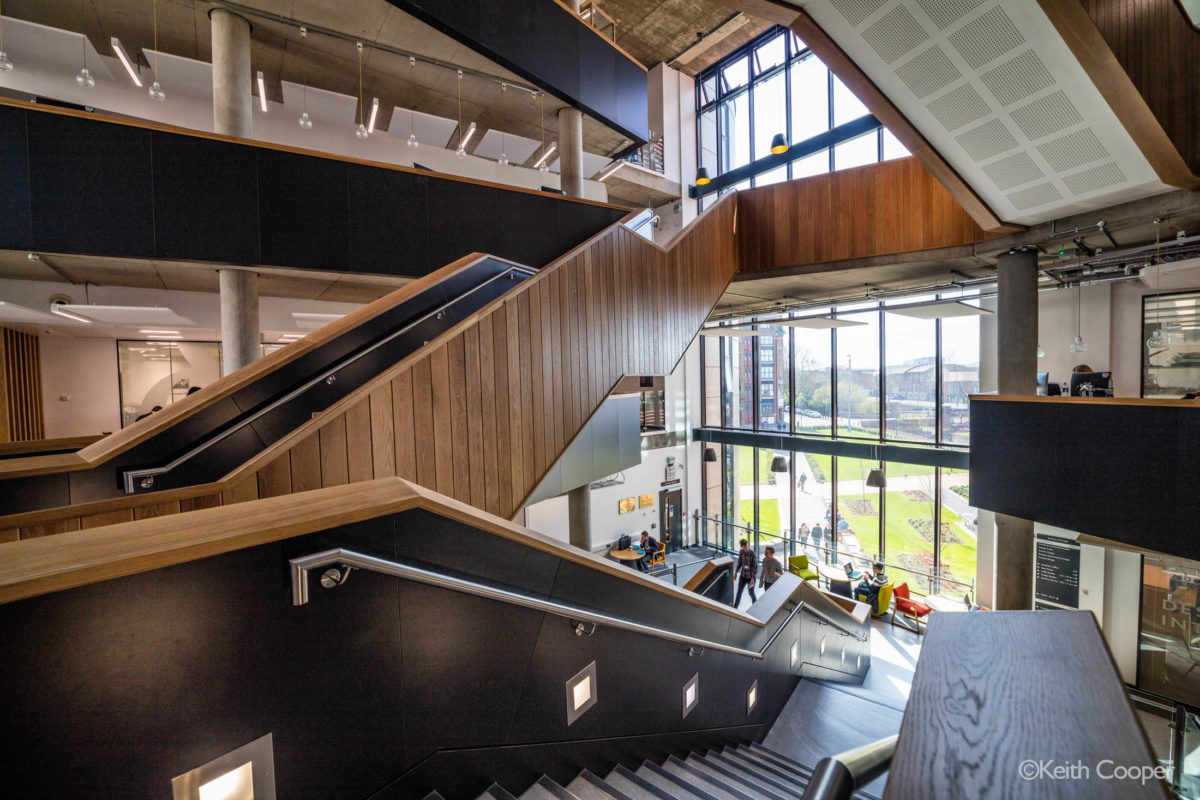
Including more obvious vertical lines stabilises the picture and gives a less hectic feel.

[Samyang 14mm]
I sometimes think its a lack of appreciation of the balance in images that leads some photographers overdoing the ‘wacky angles’ in an attempt to make things look more ‘interesting’ when attempting architectural work – all to often this just points to a lack of the right equipment.
Of course, adding tilt to your lens still lets you go overboard with the effects if you want.
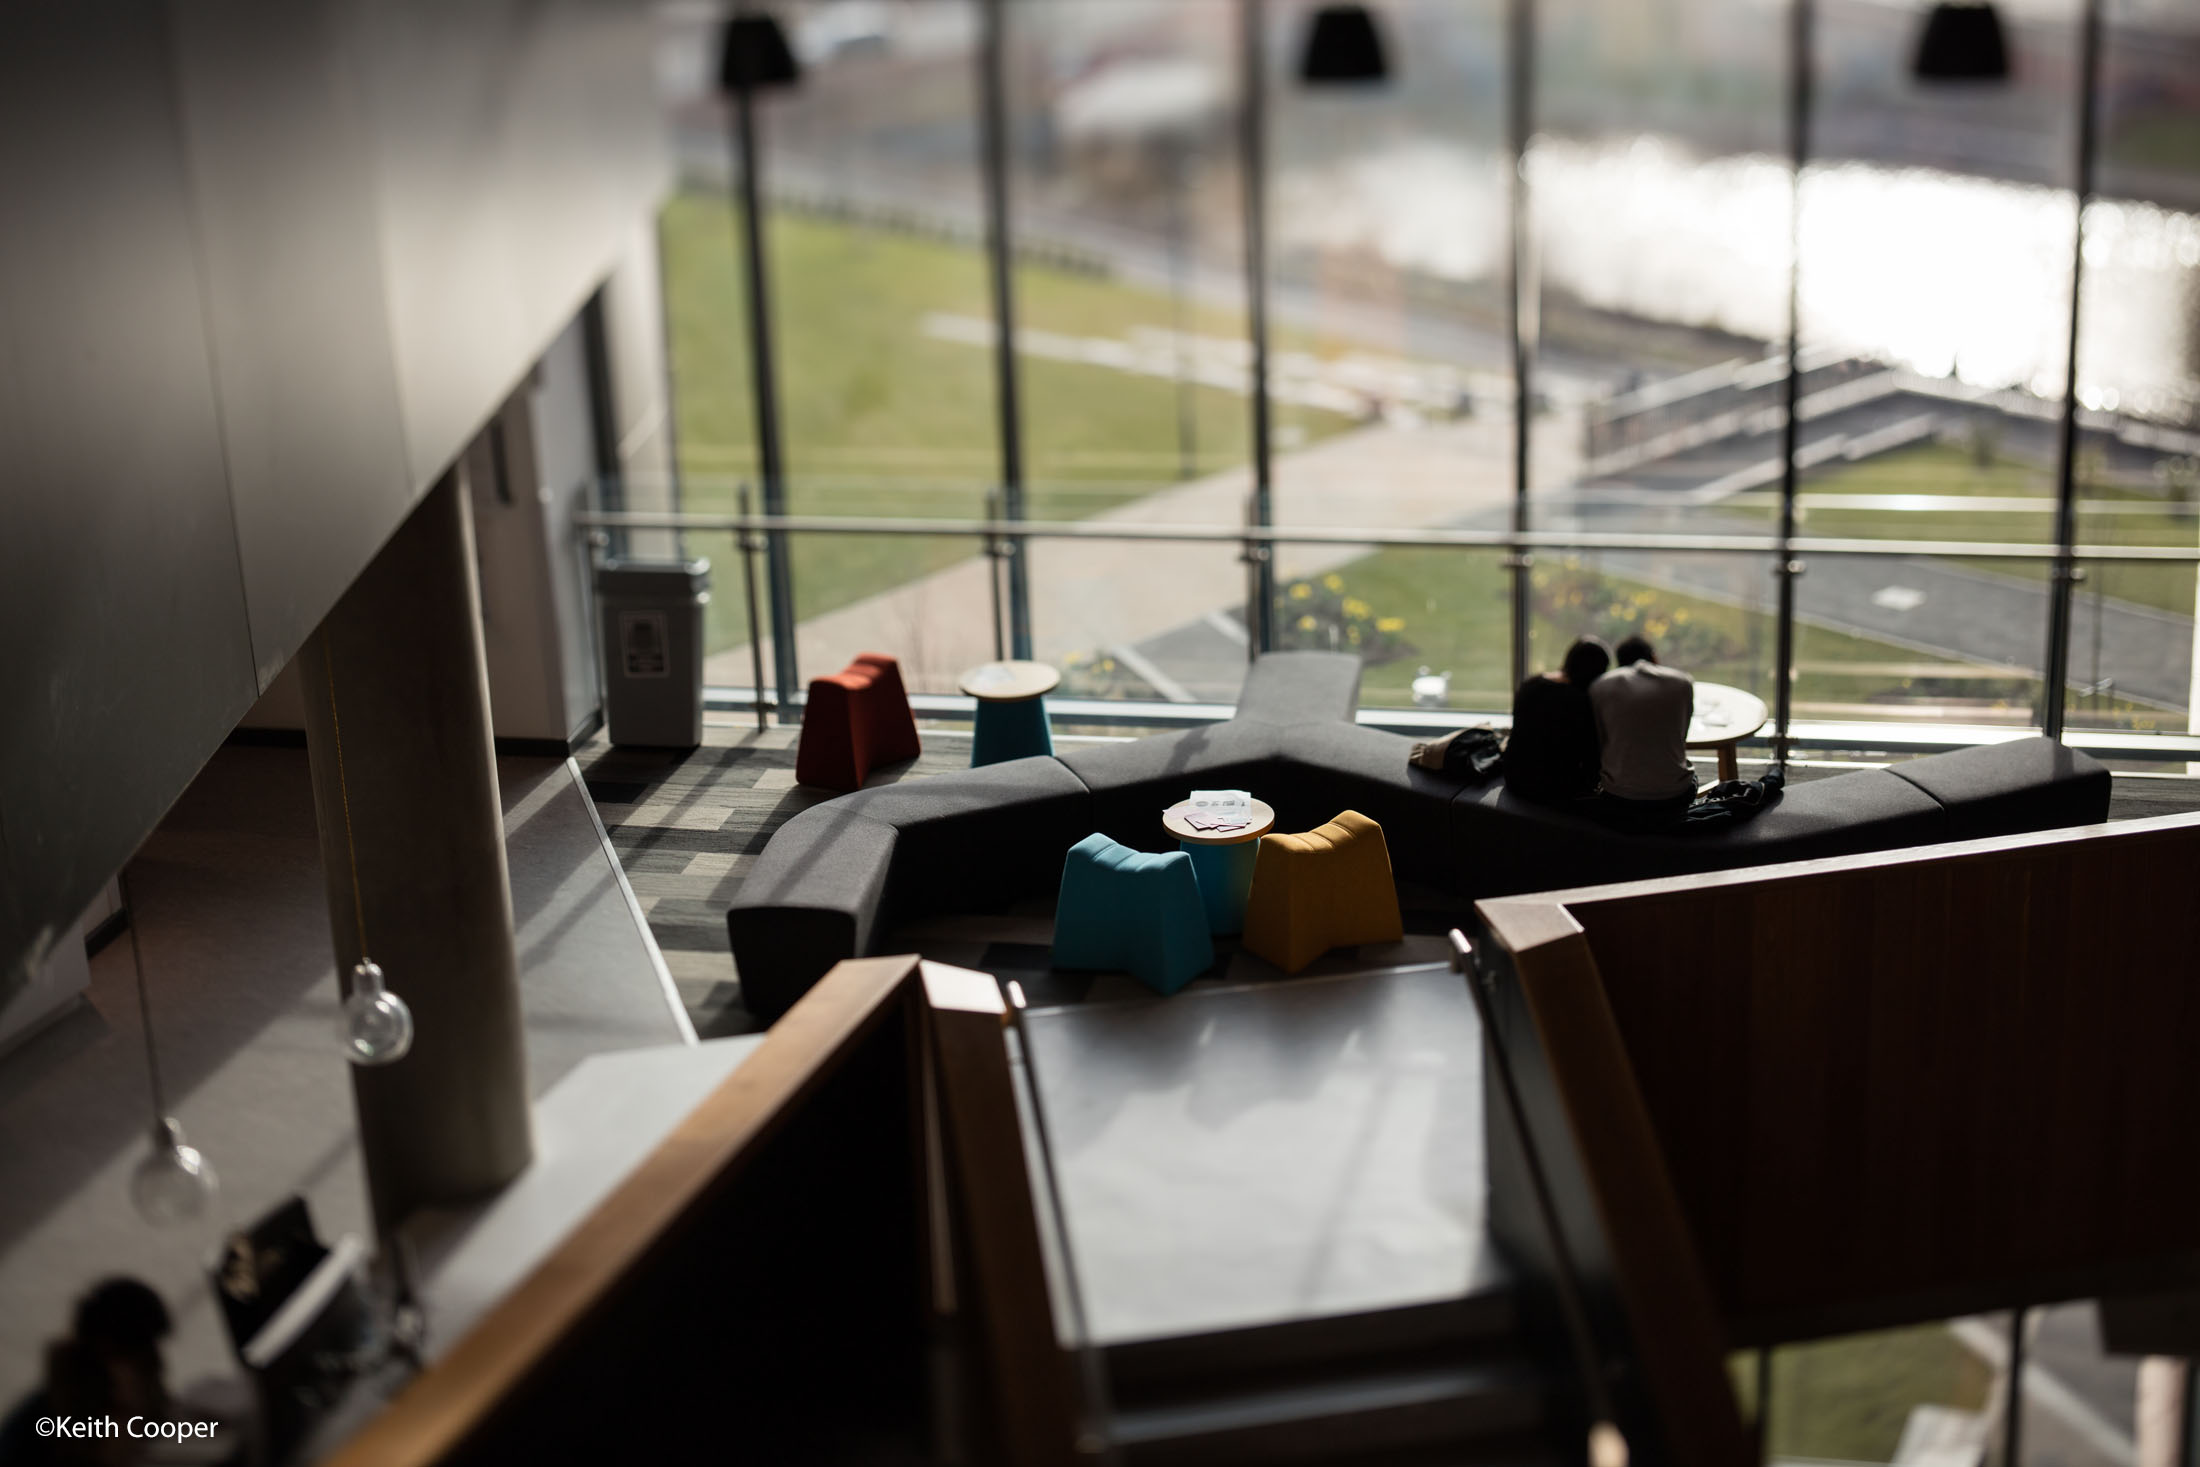
[TS-E50mm – with tilted lens]
The space here, with it’s multiple levels, is great to experiment with when exploring new equipment. My reviews and articles let me test a lot more ideas and techniques – far better here near our office, than on a client’s time.
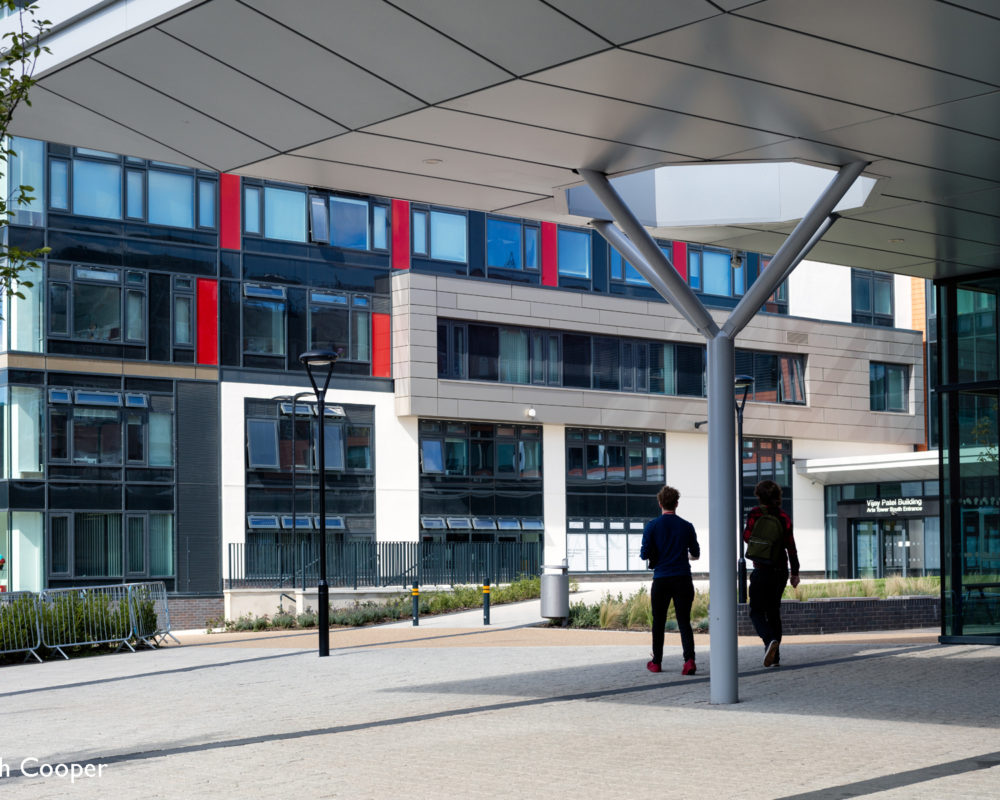
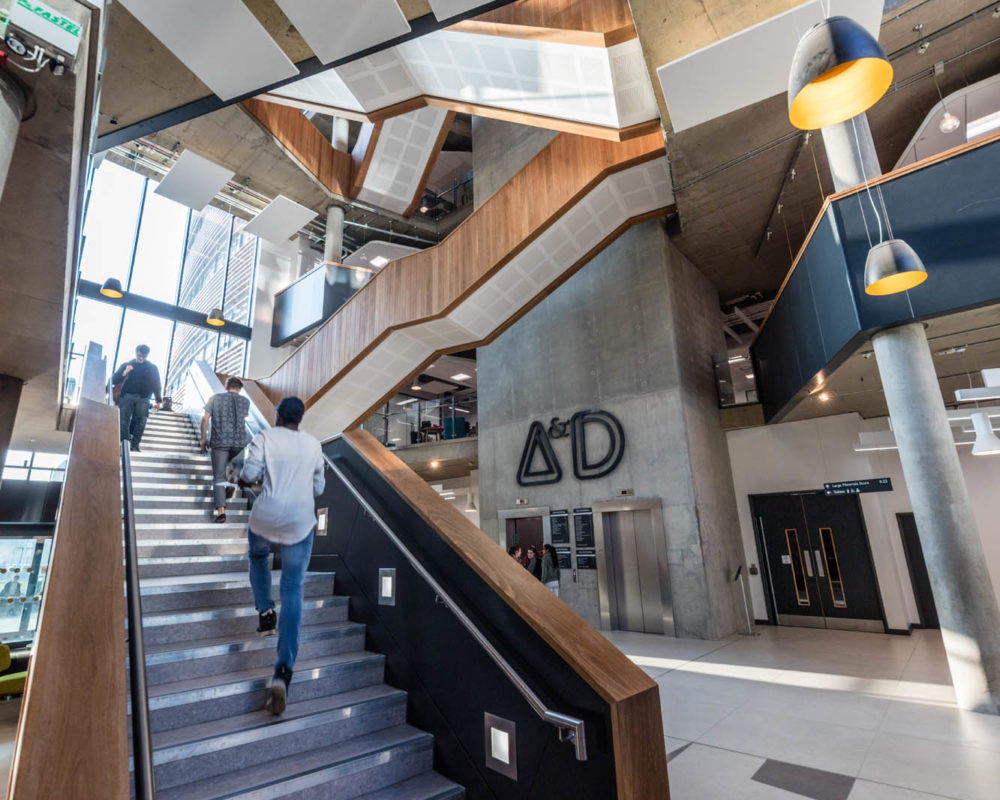
Two views looking at how people can show scale and movement through the space.
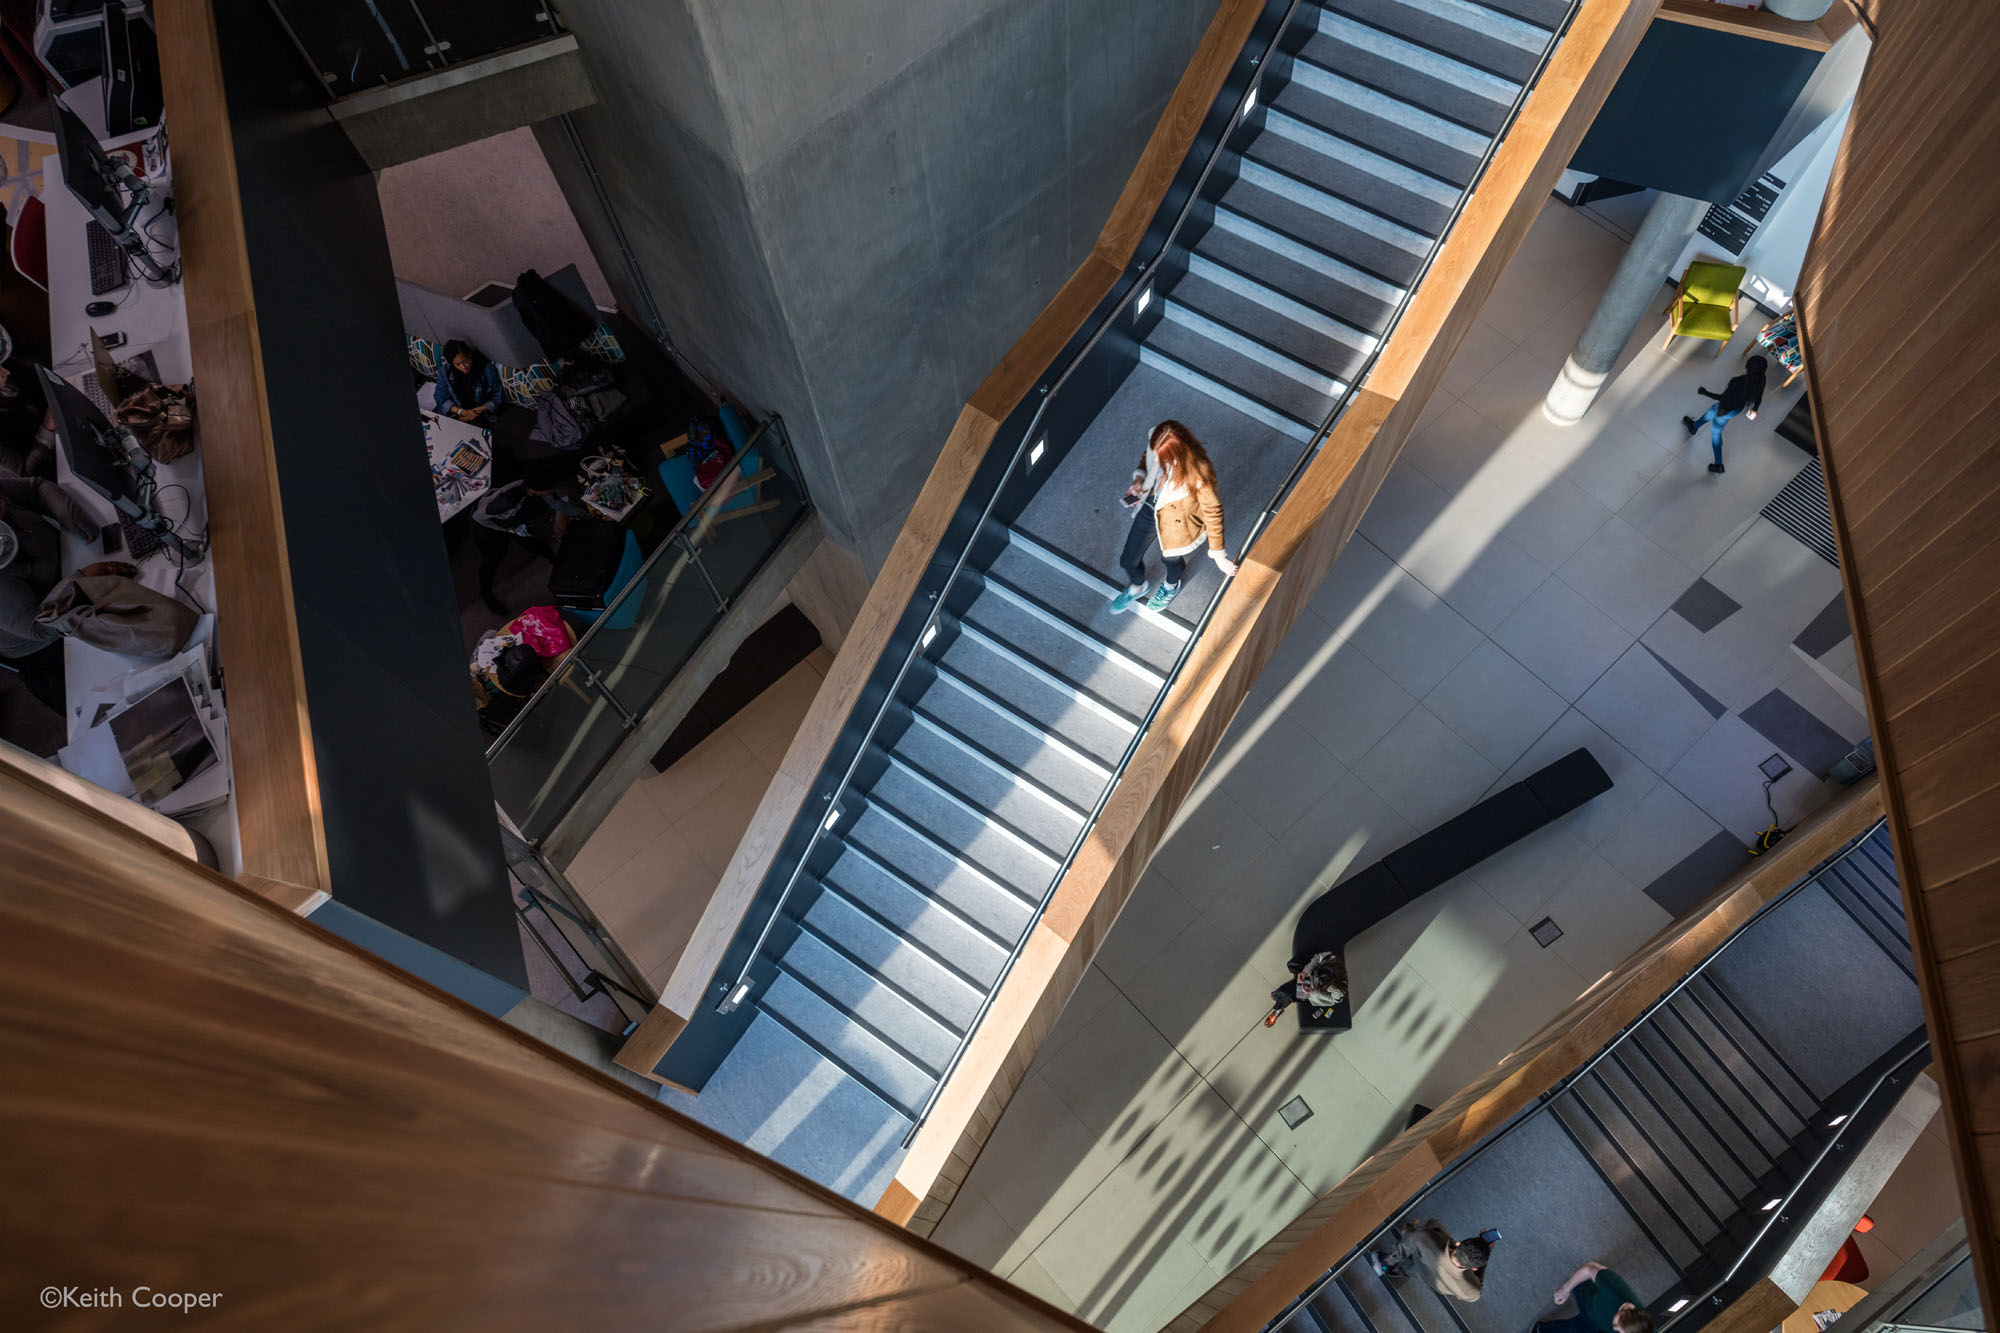
[Sigma 12-24mm @24mm]
[Sigma 12-24mm @12mm]
And back to normal views
In some ways, the most difficult shots to make work are the straightforward views. I’ve shown some of the more unusual angles you can get, but many of the buildings I get asked to photograph offer far less of visual interest.
Using a simple 50mm standard lens (albeit the TS-E50mm tilt/shift version) makes for views that far better match what you’d notice.
Both shots are stitched and result in photos of around 80 Megapixels. More than enough for a wall sized print.
I’ve the equipment to produce images much larger than this (several gigapixels). These can easily best large format film and are quicker and more economical to produce. If you know a UK architectural practice still using large format film, please do pass on our details – it really is time to move on, and we’re happy to show why 😉
Just one other thing – we’re in the UK so better weather can make a real difference.
If you’re looking for the very best shots, please try and allow for weather at different times of the year…

[55mm lens shifted and stitched]
The TSE-24mm
A stitched shot at around 70MP
Looking up at the stairs
The difference in lighting in this next one gives a very different feel.
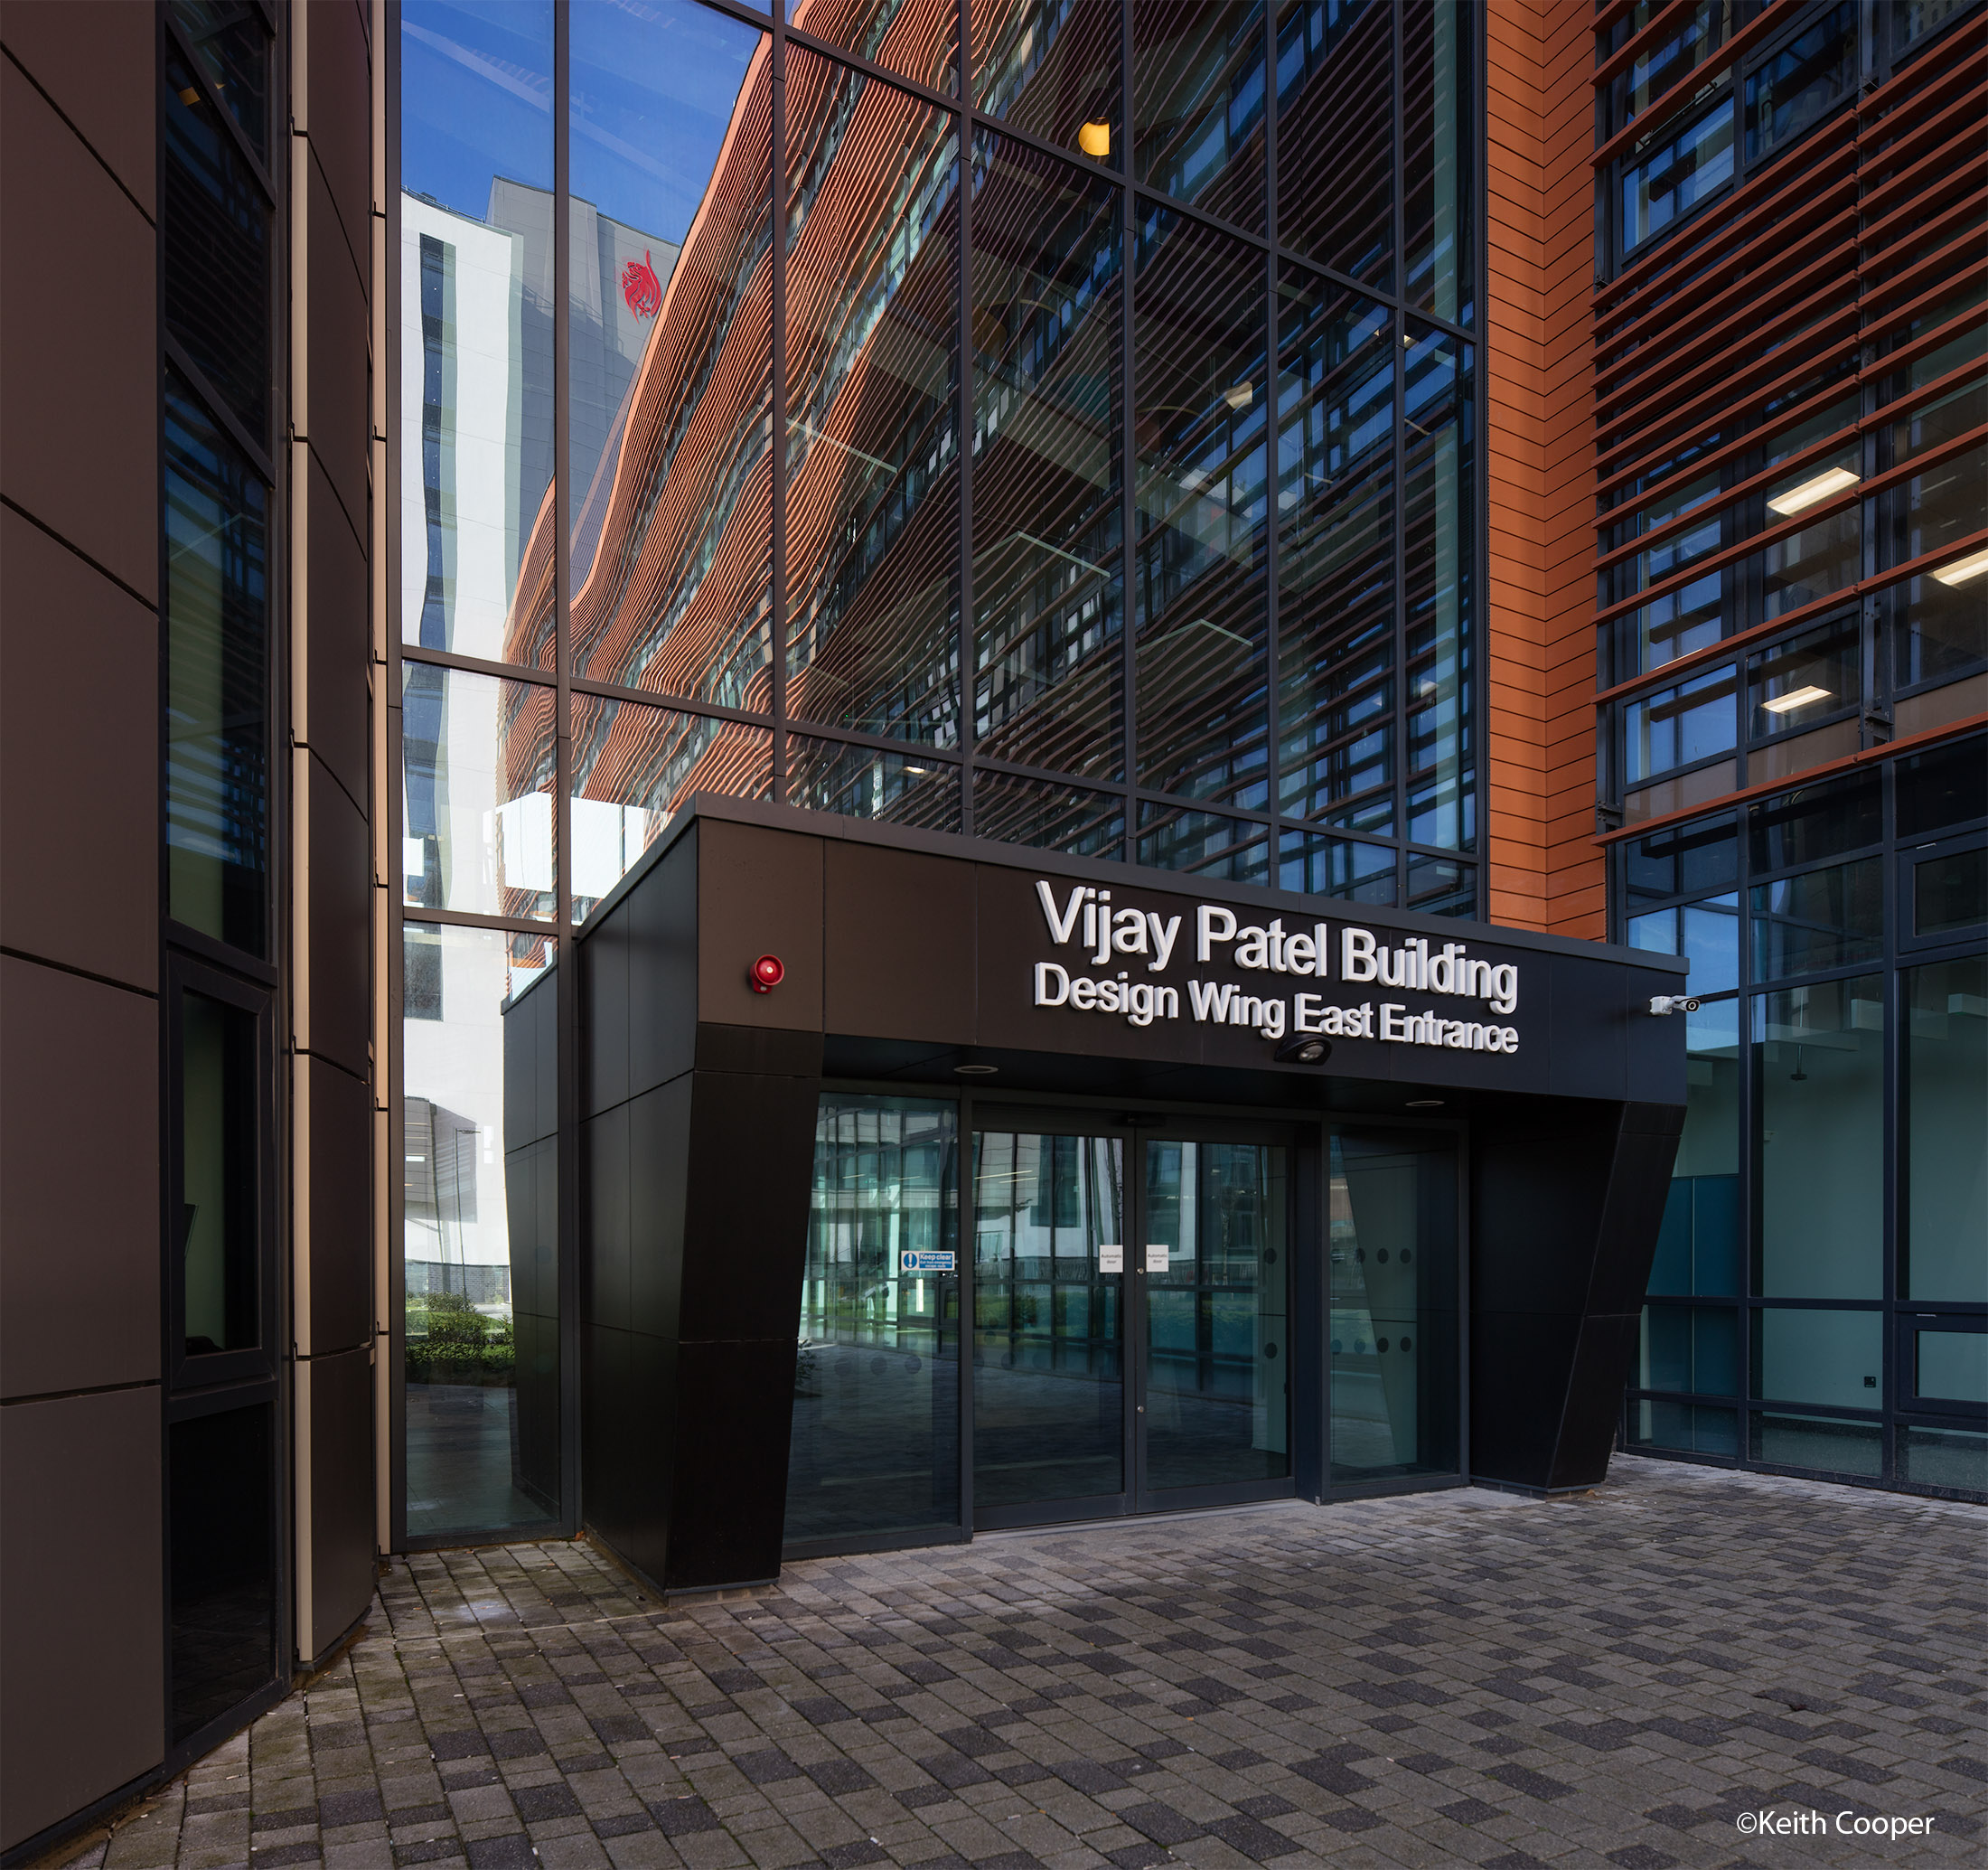
The TS-E17mm
Once again stitched (~80MP), but giving a good feel for the space and how care with foreground choices becomes so much more important as you go to wider lenses.
I’ll finish with another fully rectified TS-E17mm shot that looks so different to many of the others in this collection, that it really shows how lens choice and viewpoint can make such a difference.
More technical details
Many of the images come from my reviews on the Northlight images site.
- Canon TS-E50mm F2.8L Macro – tilt shift lens
- Canon TS-E135mm F4L Macro – tilt shift lens
- Samyang 12mm f/2.8 fish-eye
- Samyang XP 14mm F2.4 wide angle
- Sigma 12-24mm f4 ultra wide zoom
- TS-E24mm F3.5L mkII – tilt shift lens
If you’ve any questions, please feel happy to contact us?
Gallery of images in the article