Elevated photos – using a higher viewpoint to get the shot
Elevated photography for a clearer view
Looking for an alternative view – photos from a height
Sometimes you really do need specialised equipment to get the photo your client wants. This short note looks at how having an elevated tripod going up to 8 metres helped get a key photograph for our client.
We’re regularly asked to photograph commercial properties for sales brochures and web sites. Depending on the property type we may be given some quite specific requirements in terms of people and activity nearby.
If you think about a retail location and photographing the building for an architect, the ideal shot might be early on a Sunday morning to get the right light and avoid crowds of people (and maybe the market stalls too).
However, if you’re selling the property in a retail market, your ideal images might prefer lots of people, so as to show footfall and potential for passing trade. This is how we came to be in Bury St Edmunds in Suffolk on a busy Saturday morning.
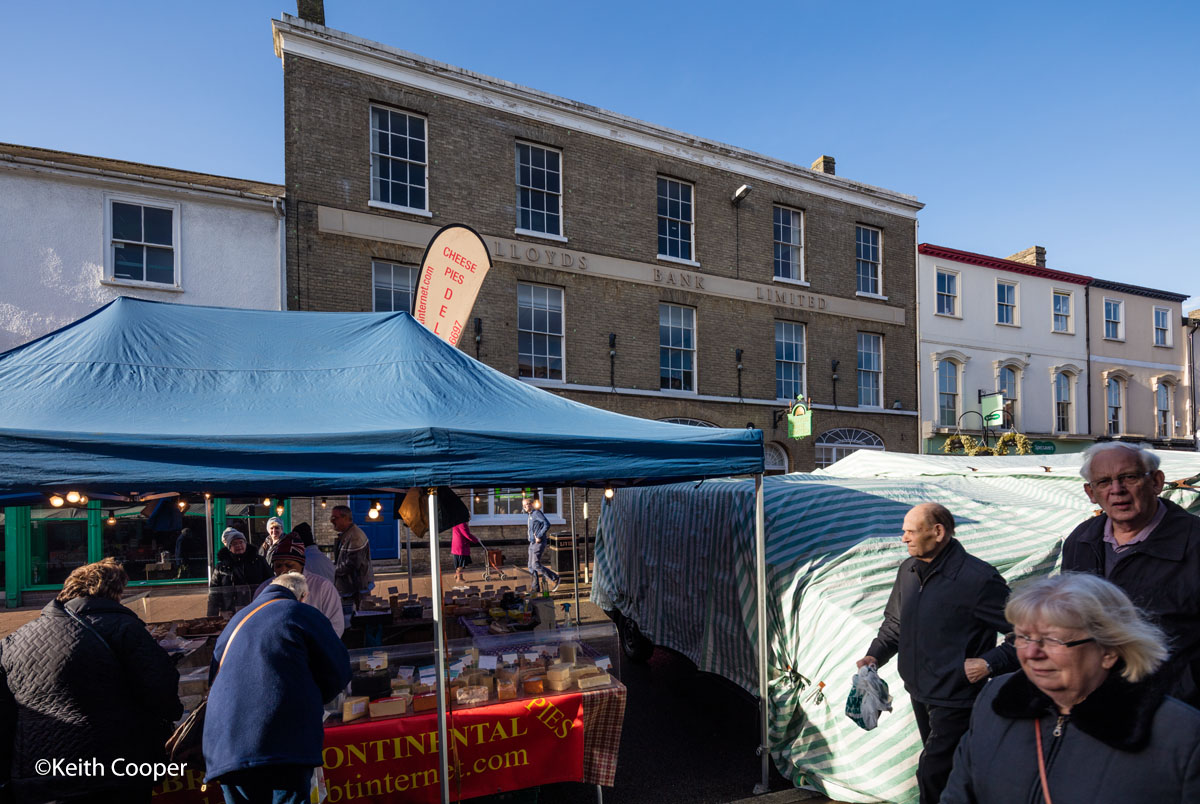
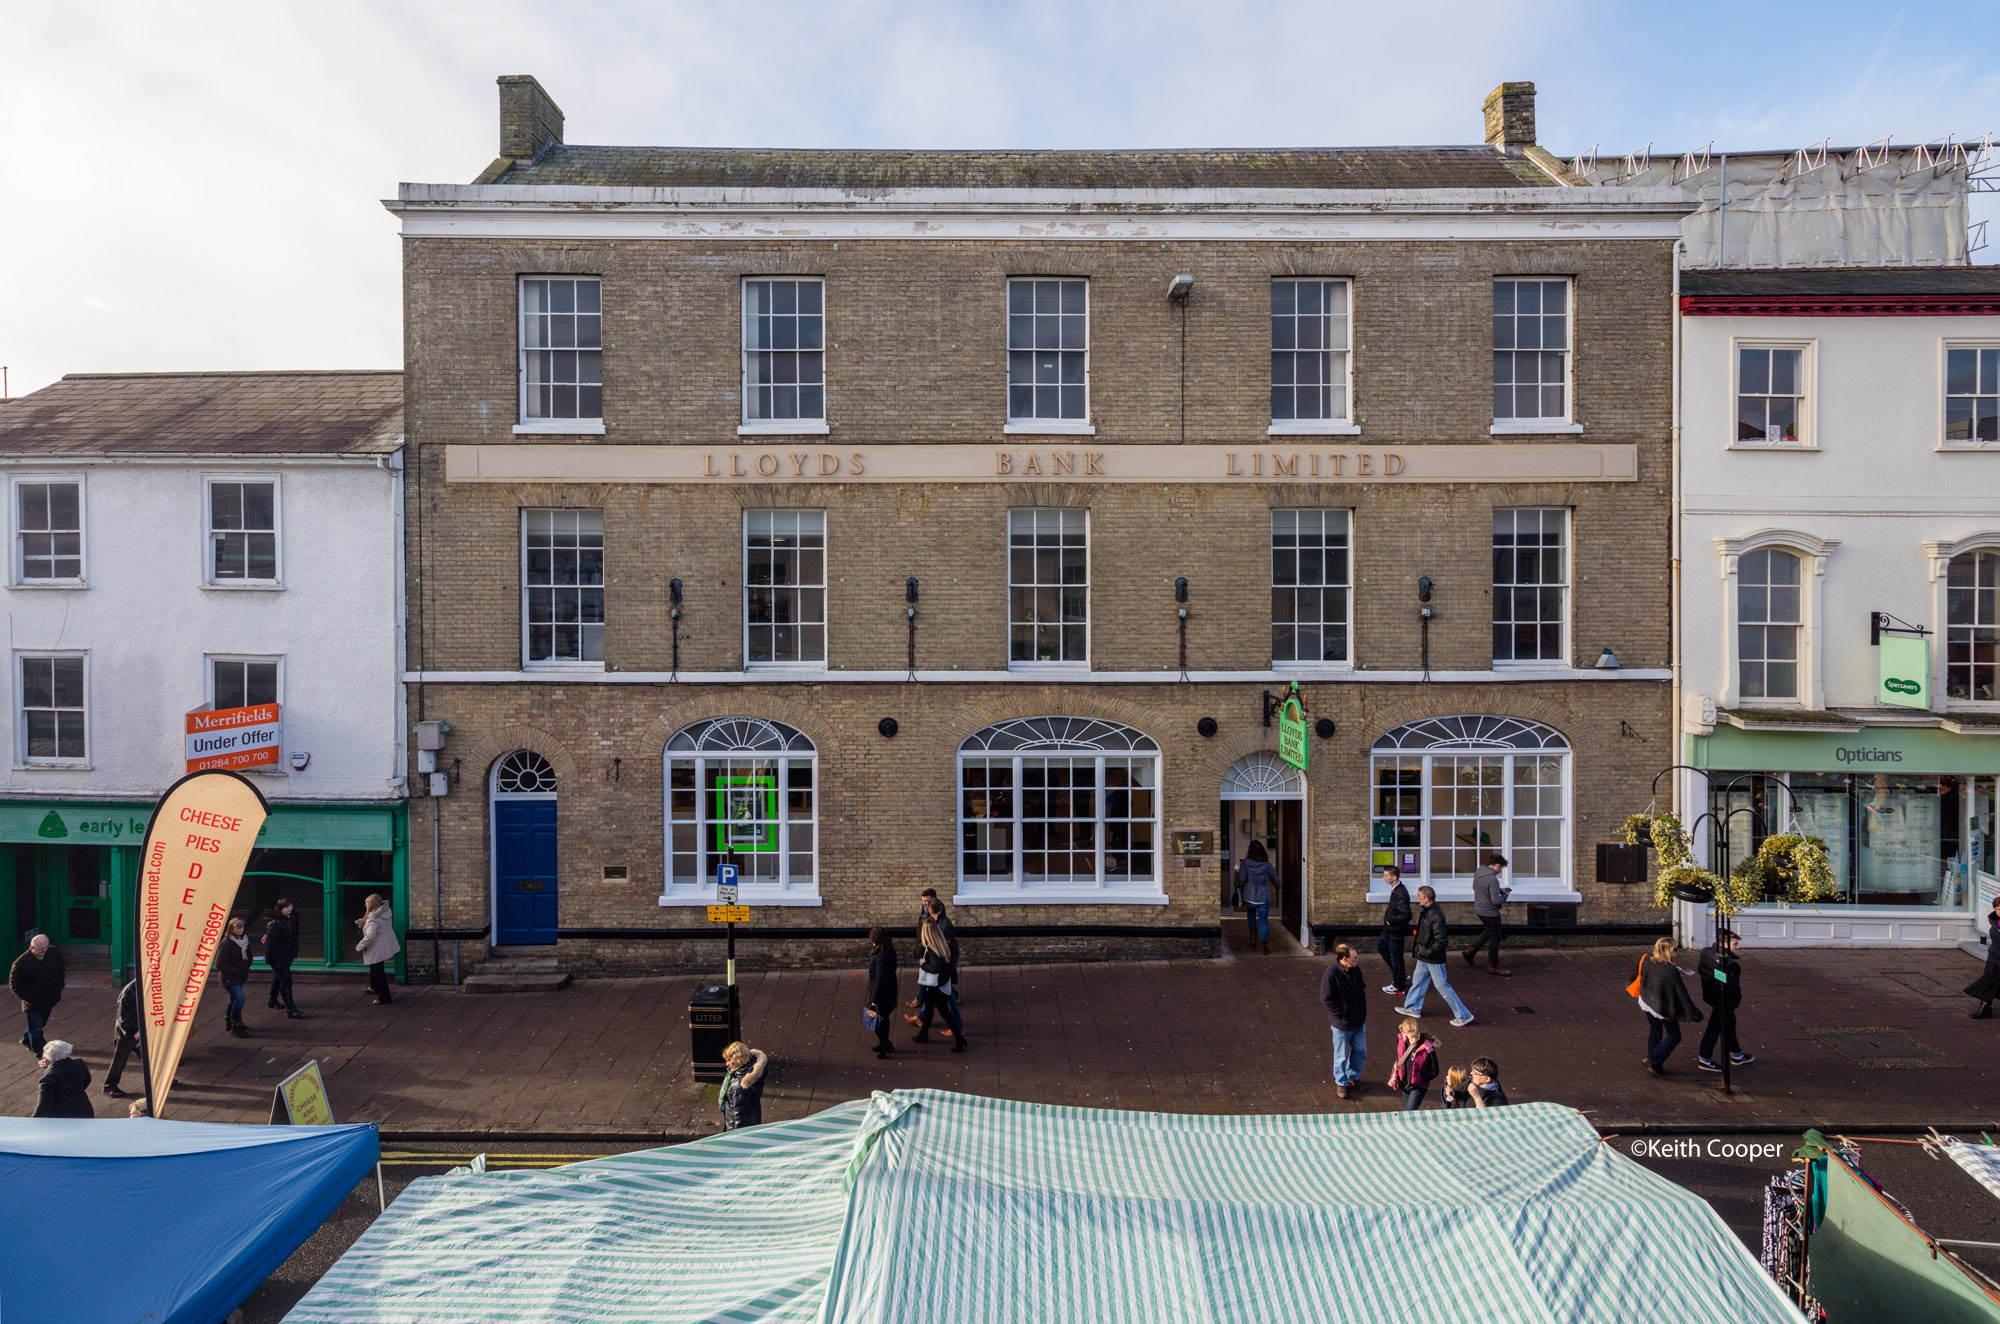
The building I’m photographing is the Lloyds Bank.
Whilst this oblique view shows the building, I can’t move any further to the right without going into the market stalls.
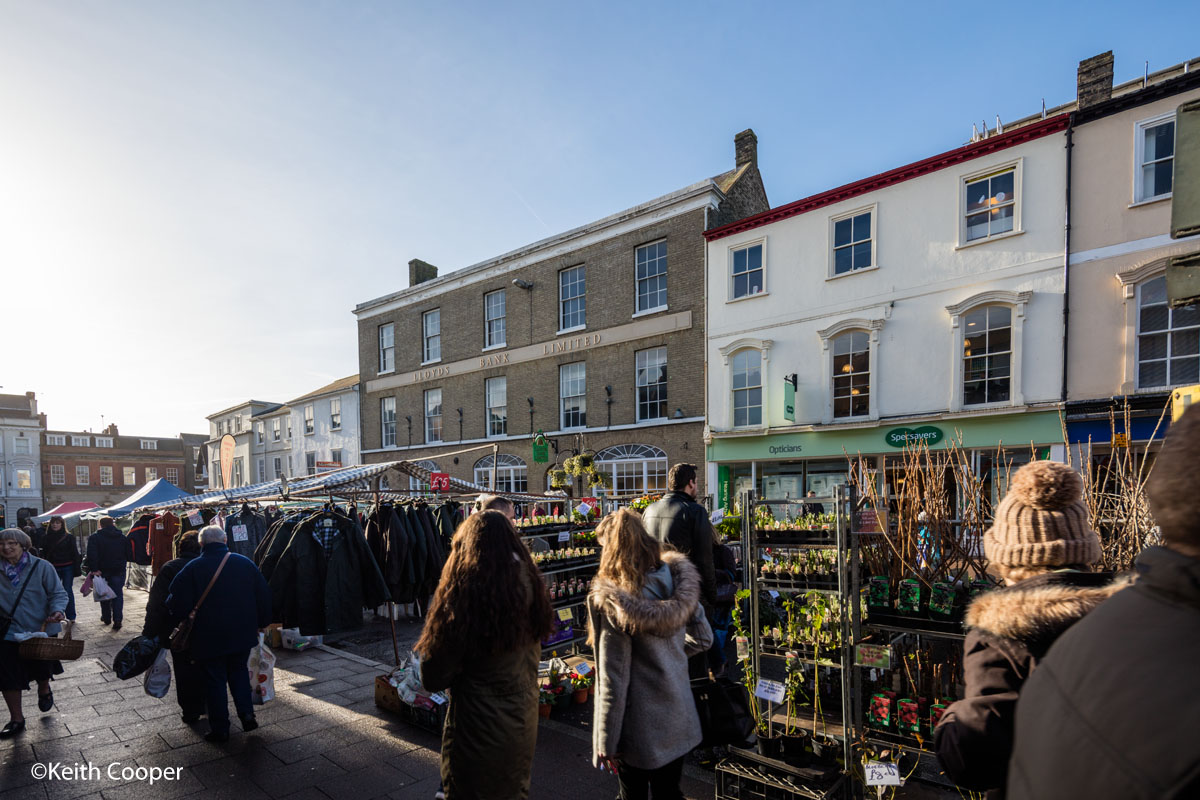
I’ve now got a view of the building, but it’s still rather hidden by the market in front of me.
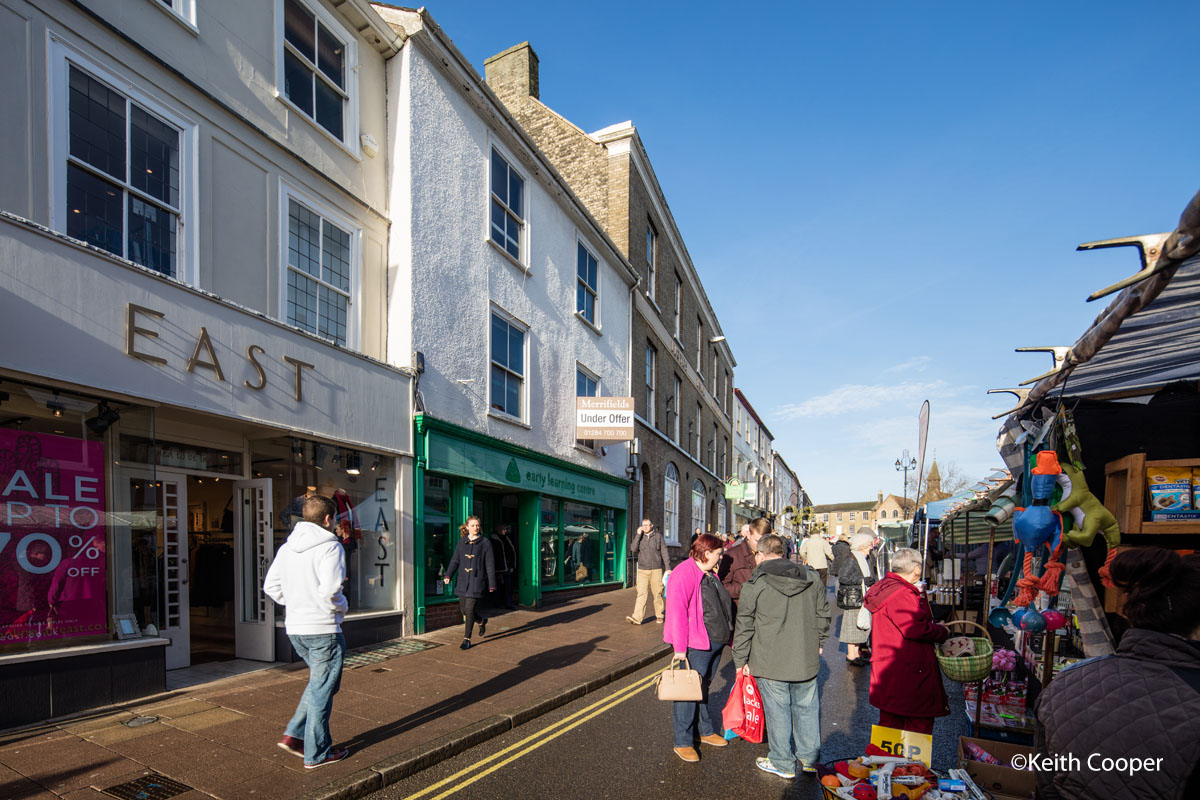
I quite like these shots with the market in them – they give a feel for the character of the location.
Bury St Edmunds is a small town in Suffolk that retains lots of interesting Georgian and Victorian architecture, along with a splendid cathedral and abbey ruins. [Bury St. Edmunds – Wikipedia]
I have to temper my like for the town somewhat and remember that I’m working for a client with some specific requirements – it’s why we’re there on a Saturday.
Whilst I have some pretty wide angle lenses (such as the Canon EF11-24), I’m just not going to be able to stand in front of the building and get a realistic view.
I can get some interesting views, but if I’m to show the whole building clearly, I need a different viewpoint.
Using the elevated mast
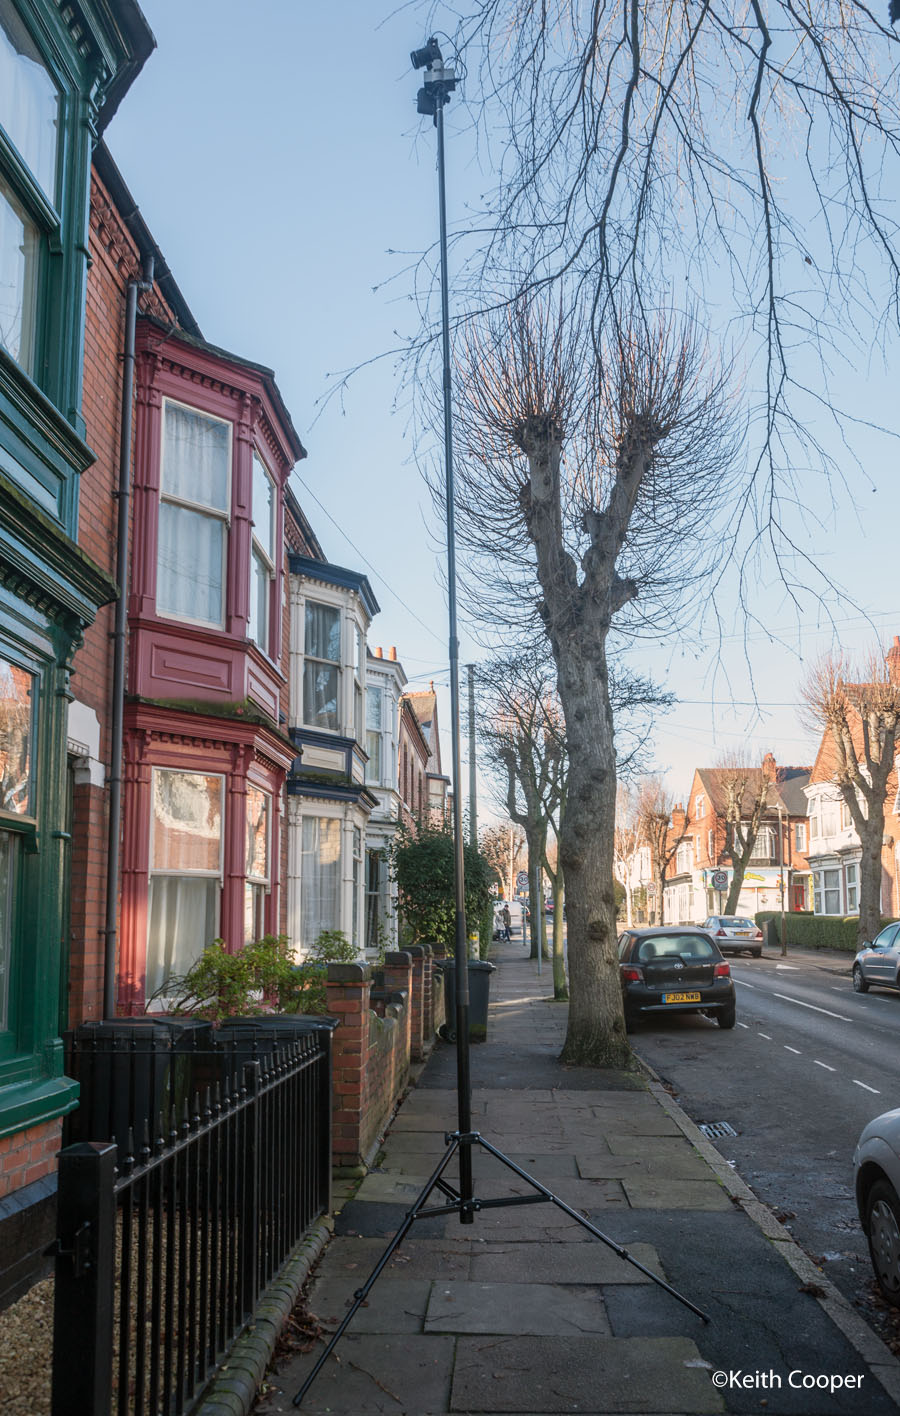
This was why we have my 8 metre MegaMast with us. A carbon fibre tripod with a centre section that goes up to 8 metres (~27 feet) is lightweight and quick to set up.
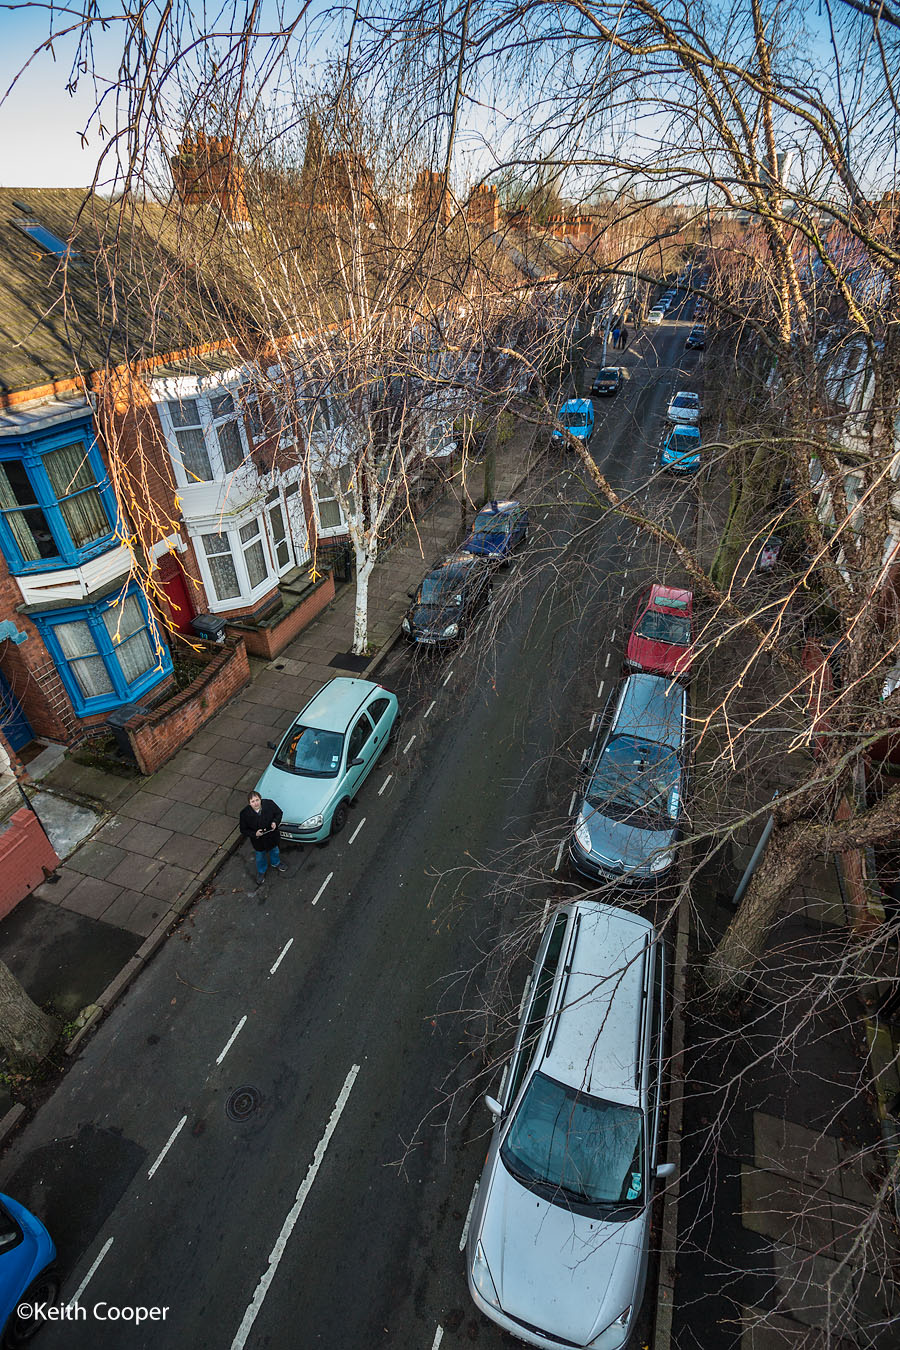
Here’s a view of me, operating the camera – which is at the top of the mast – via my iPad.
Of course, you don’t have to go to 8 metres – a few metres may be just enough to reduce the impact of a foreground wall or parked cars – see the examples at the Leicester Fire HQ
The photo is from a detailed review I wrote about using the MegaMast and CamRanger kit , which is on the main Northlight Images web site.
The tripod is lightweight and easy to set up on my own. If we’re in a busy street by the market, I always make sure I’ve got an assistant with me to prevent it being a hazard to pedestrians, whilst I’m concentrating on controlling the camera.
It’s not big, but you can see how the extended legs might be a trip hazard – yes, we do health and safety risk assessments. We’re insured too – something you should always check with any photographer you engage on a job.
One of the problems I find when I raise the camera to an elevated position, is that it’s not properly lined up.
This is especially noticeable since I’m using our 17mm shift lens for the shot, which has fully manual adjustments. This is exacerbated by the fact that we are on a busy bit of uneven pavement and want to get the shot done with minimal disruption.
Correcting verticals and lining up the shot
The photo of the bank I’m showing was taken at a decidedly tilted angle.
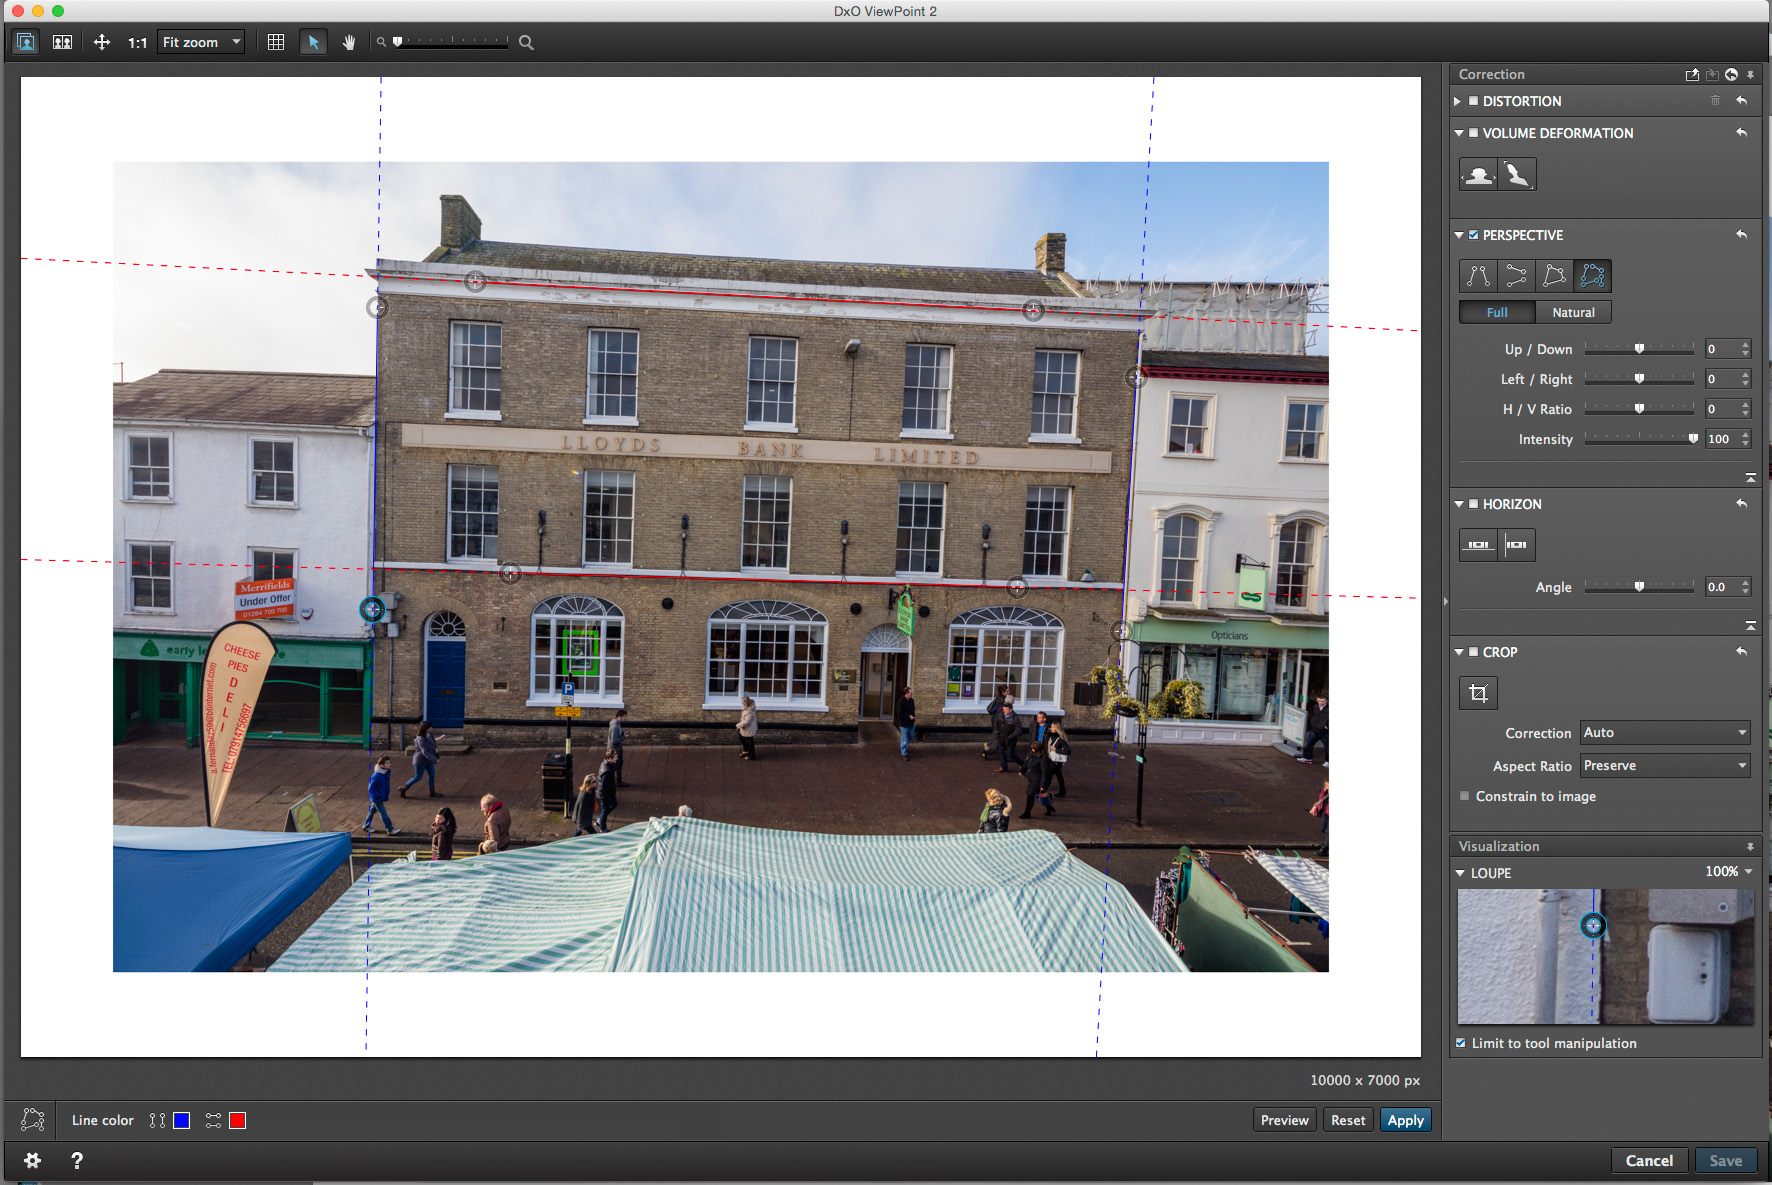
However, since I’m using the 50MP Canon 5Ds camera, and the image is only being used for a small print in a brochure I can use a nifty bit of software called DxO Viewpoint to rectify the image. [ViewPoint review on Northlight Images]
All I need do is identify horizontals and verticals in the image.
This is a simplified example of how we work to create fully rectified images for survey photography.
If it was a photo for a large fine art print, I’d take a lot longer setting everything up and work with rather more precision.
However, you have to then say, that I might not be there on a crowded market day…
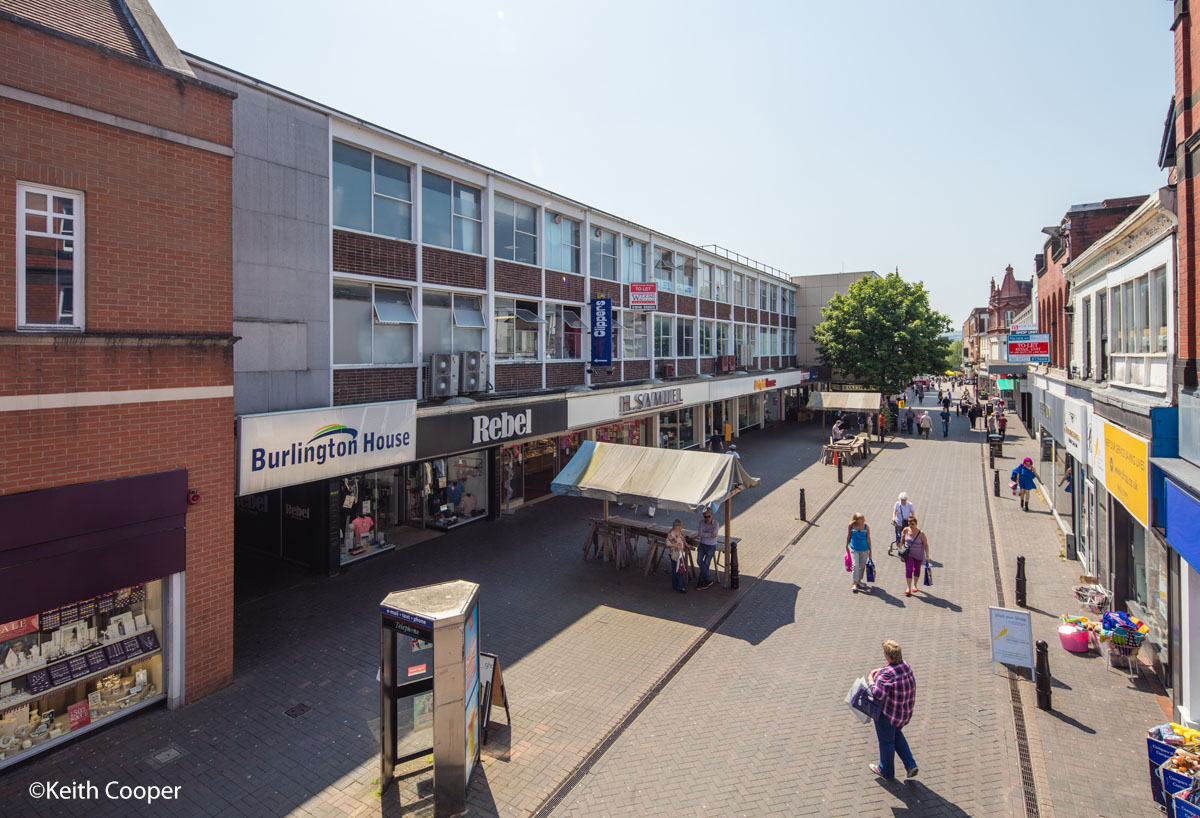
A similar use of the mast, for an elevated shot is this property in Chesterfield, where the street furniture makes it tricky to get a clear view of the offices above the shops.
Why is this important? Well, the property I’m photographing this time is just those offices.
Specialised equipment matters
I’m always aware that photos we provide to clients have a job to do and hope this short note helps explain some of how we go about our work.
Practical problems like photographing the bank in Bury St Edmunds need specialised equipment, but without the vision and skill to use it, you won’t get the photos you want.
All our architectural photography services are covered on this site.


